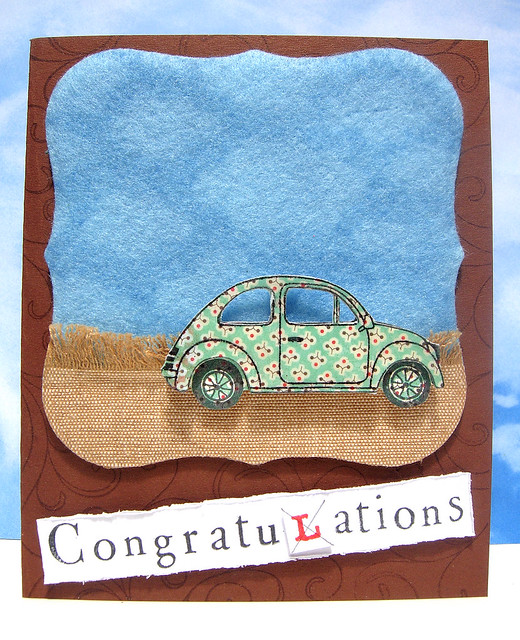
This is a card to congratulate someone on passing their driving test. Here in Ireland learner drivers must have L plates (a red “L” on a square white background) on their cars until they pass their driving test. I’ll never forget how delighted I was years ago when I passed my test and could tear up my L plates! So I wanted to incorporate something about getting rid of L plates on the sentiment.
Stamps (Hero Arts) - Going, Clouds, Flourish Background, Type and Small Variety Alphabet.
Using VersaMark, I stamped the Background Flourish on the brown card base. I wanted a bit of texture behind the car so stamped the Clouds Background on a scrap of felt using faded jeans distress ink. A scrap of frayed upholstery fabric was used for the ground.
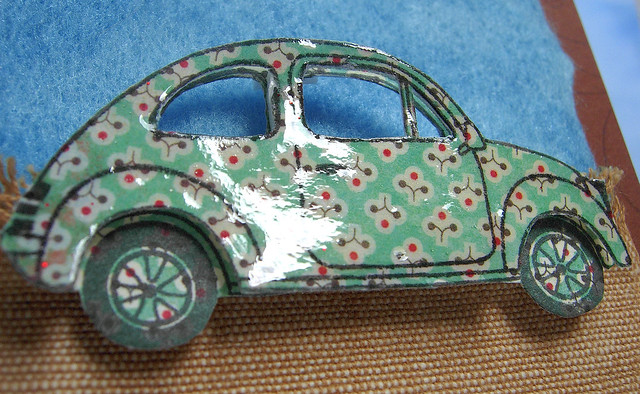
The car was stamped twice on paper from the Hello Luscious Paper Pad (thanks again, Sharon). The body of the car is layered and covered with a layer of glossy accents.
Thursday, June 30, 2011
Wednesday, June 29, 2011
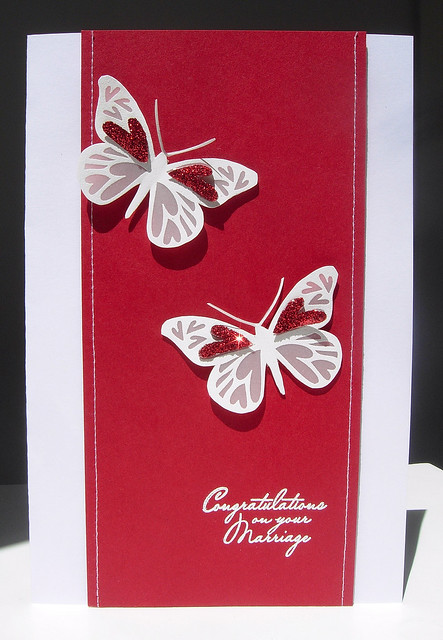
Glittering Wedding Wishes
My last wedding card was in muted colours so this time I wanted to use bolder colours and try to keep the card plain and simple.
Stamps (Hero Arts) - Heart Winged Butterfly & Warmest Wedding Wishes
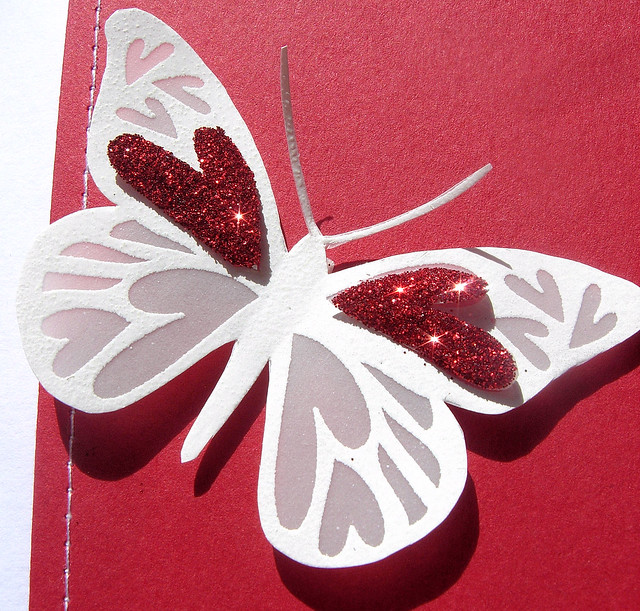
I love using the Heart Winged Butterfly on wedding cards and started by white embossing the butterflies on vellum.
To emphasise the hearts on the image I embossed the image again, cut out some of the hearts and covered them (and myself!) with a layer of red glitter. The sentiment was also embossed in white and I just added some machine stitching to finish.
Monday, June 20, 2011
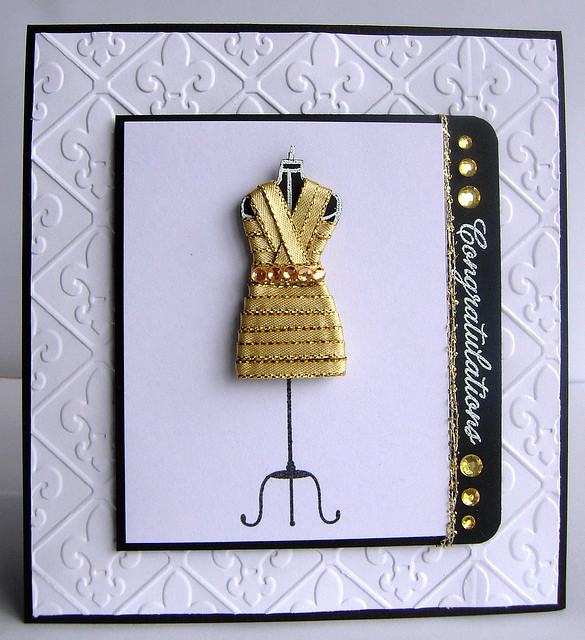
Ribbon Bandage Dress
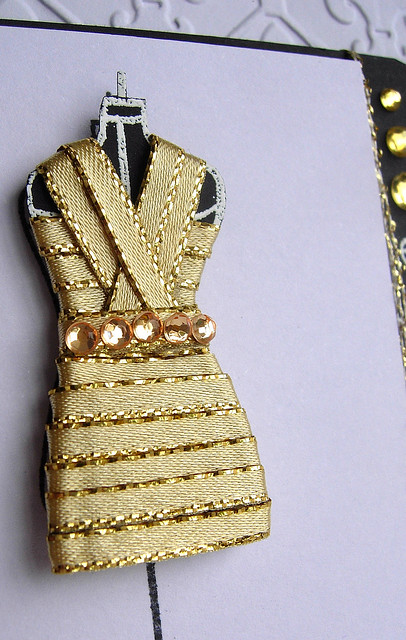
I just thought I’d squeeze in another card before I go back to work, so two posts today but it will probably be a while before I post again! This is a congrats card I made for a friend who is a big movie buff and big into fashion. I thought I’d make her my version of an Oscar statue in the form of a bandage dress.
I embossed the tailor’s dummy in white on black card and made the “dress” with thin ribbon and some gems. The sentiment is also embossed in white and I just added some gems and gold yarn to finish. One of my kids asked me if I was making a mummy when he saw it, hopefully it doesn't look too much like a mummy!
I’m submitting the card into a few challenges – Lily Pad Cards Ribbon Challenge, the I’m Sew! Excited Challenge in the Moxie Fab World, the current Hero Arts Challenge and Lisa Spangler's Make-It + Mail-It Challenge.
Labels:
Cuttlebug,
embossing,
Everyday Sayings,
Hero Arts,
Sew Artsy
Fuzzy Quilt Card
When I saw Cath's I'm Sew Excited! Challenge in the Moxie Fab World, I just had to make something! The challenge is to use sewing icons on a project. I love quilts so I wanted to incorporate something to do with quilts on my card and used this sentiment because I thought it would go with the idea of being snuggled up in a quilt.
Stamps (Hero Arts) - Everyday Sayings & Sew Artsy
I had patterned paper (Tulip by Andrea Jayne) left over from some baby cards and cut these into squares and circles for the scallop edged “quilt”. The pieces were randomly put together and machine stitched with a small zigzag stitch. The base of the pin cushion was coloured with watercolour pencils. I cut the top of the pincushion out of a scrap of felt and added the Hero Arts heart gems (thanks again, Anita) to the tops of ordinary pins. The “fuzzies” letters were also cut out of felt scraps using an X-cut alphabet die.
I love Lisa Spangler’s Make-It+mail-It Challenge so I’m also submitting the card to her challenge as it will be on the way to a friend very soon.
Friday, June 17, 2011
Wedding bits and pieces and gift box tutorial
Since I went back to work recently, I haven't had much time (or for that matter, energy!) to make anything. So I was really delighted to get the chance to play and make this wedding favour box, place card and candle for the current Hero Arts Challenge.
Stamps (Hero Arts) - Blossom Art & Small Variety Alphabet
I white embossed the flowers on white card, applied shabby shutters & tumbled glass distress ink and spritzed lightly with water. Then I added some Hero Arts lace, pearls (thanks again, Sharon) and heart gems to the favour box and place card. A quick tutorial for the box is further down the post.
Then I decided to make a wedding candle.
Stamps (Hero Arts) - Blossom Art & Small Variety Alphabet
The flower is made in the same way as above. For the flower centre I embossed the couple's initials on a circle of kraft, lightly applied white chalk ink to the edge and added a couple of Hero Arts heart pearls.
Now to the gift box tutorial. I hadn't realised my writing is so small but you can click on the photos to get a clearer view! Cut two pieces of card 14cm x 14.5cm. Score at 3.5cm on three of the sides as in the photo below.
Cut out the two 3.5cm squares at the base of the pieces of card. Then adhere the two pieces of card together.
Flip the piece of card over and apply double sided sticky tape as shown in the photo below.
Adhere one side of the box together...
.. and then the other side.
When the box has been completed adhere a die cut piece of card to each side. I used the second biggest die from the Labels 8 set for my box but you can adjust the size of the box to fit any of these dies.
Hopefully it won't be as long till I post again! Hope you all have a wonderful weekend:)
Stamps (Hero Arts) - Blossom Art & Small Variety Alphabet
I white embossed the flowers on white card, applied shabby shutters & tumbled glass distress ink and spritzed lightly with water. Then I added some Hero Arts lace, pearls (thanks again, Sharon) and heart gems to the favour box and place card. A quick tutorial for the box is further down the post.
Then I decided to make a wedding candle.
Stamps (Hero Arts) - Blossom Art & Small Variety Alphabet
The flower is made in the same way as above. For the flower centre I embossed the couple's initials on a circle of kraft, lightly applied white chalk ink to the edge and added a couple of Hero Arts heart pearls.
Now to the gift box tutorial. I hadn't realised my writing is so small but you can click on the photos to get a clearer view! Cut two pieces of card 14cm x 14.5cm. Score at 3.5cm on three of the sides as in the photo below.
Cut out the two 3.5cm squares at the base of the pieces of card. Then adhere the two pieces of card together.
Flip the piece of card over and apply double sided sticky tape as shown in the photo below.
Adhere one side of the box together...
.. and then the other side.
When the box has been completed adhere a die cut piece of card to each side. I used the second biggest die from the Labels 8 set for my box but you can adjust the size of the box to fit any of these dies.
Hopefully it won't be as long till I post again! Hope you all have a wonderful weekend:)
Saturday, June 4, 2011
Wedding Card
I’ve been really busy with a few things recently and it feels like forever since I posted anything! This month part of the challenge on the Hero Arts blog is to make something to do with weddings. So I decided to make a wedding card.
Stamps (Hero Arts) – Warmest Wedding Wishes & Lace Background
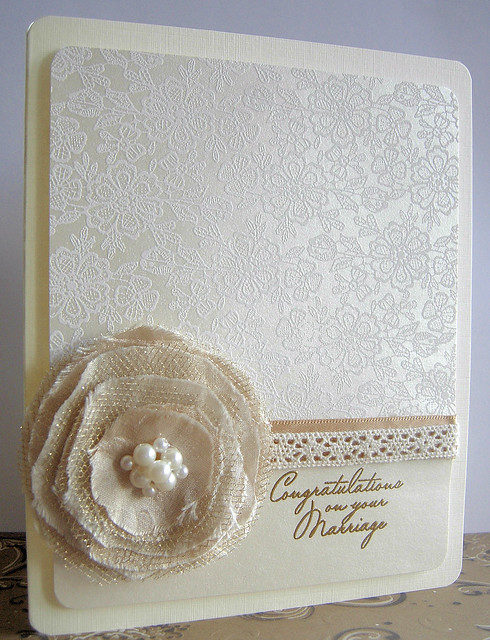
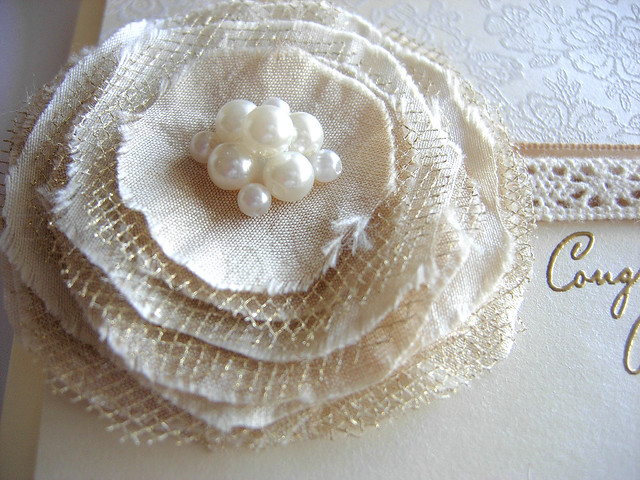
On the upper part of the background I embossed the Lace Background in white on ivory pearlescent card. The sentiment is embossed in gold. For the flower I wanted to use items that could possibly make up a wedding dress – taffeta, tulle and pearls.
To make the flower, I cut six varying sized circles out of taffeta and another six of out tulle. I wanted a bit of frayed look on the flower, so even though I ironed the fabric before cutting out the circles, I ended up scruching them up and rolling them around between my hands to get a more distressed look. After stacking the circles, I stitched them together with a couple of stitches in the middle and added some pearls. The ribbon is recycled off a box of chocolates (the things I eat for craft supplies, lol) and I added some Lace Ribbon from Hero Arts.
I really enjoyed making the card, and the excuse to play with fabric, now all I need is a wedding to go to! Hope you are all having a wonderful weekend!
Subscribe to:
Posts (Atom)