Showing posts with label Big Shot. Show all posts

Friday, April 3, 2015

Happy Rainbow

It's a beautiful sunny day here today but this week we've had our fair share of rain and enjoyed seeing some spectacular rainbows. So I thought it might be fun to add a different kind of rainbow to my card today.


Stamps (Hero Arts) - Happy Stamp & Cut, Clouds Background & Fantastic Birthday


I started by inking up the clouds background stamp with salty ocean and faded jeans distress ink, spritzed it with water and stamped on white card. Then I die cut and stamped the sentiments and added a sprinkling of silver sequins to represent raindrops and also to use some of the big stash of sequins I seem to have accumulated in no time!

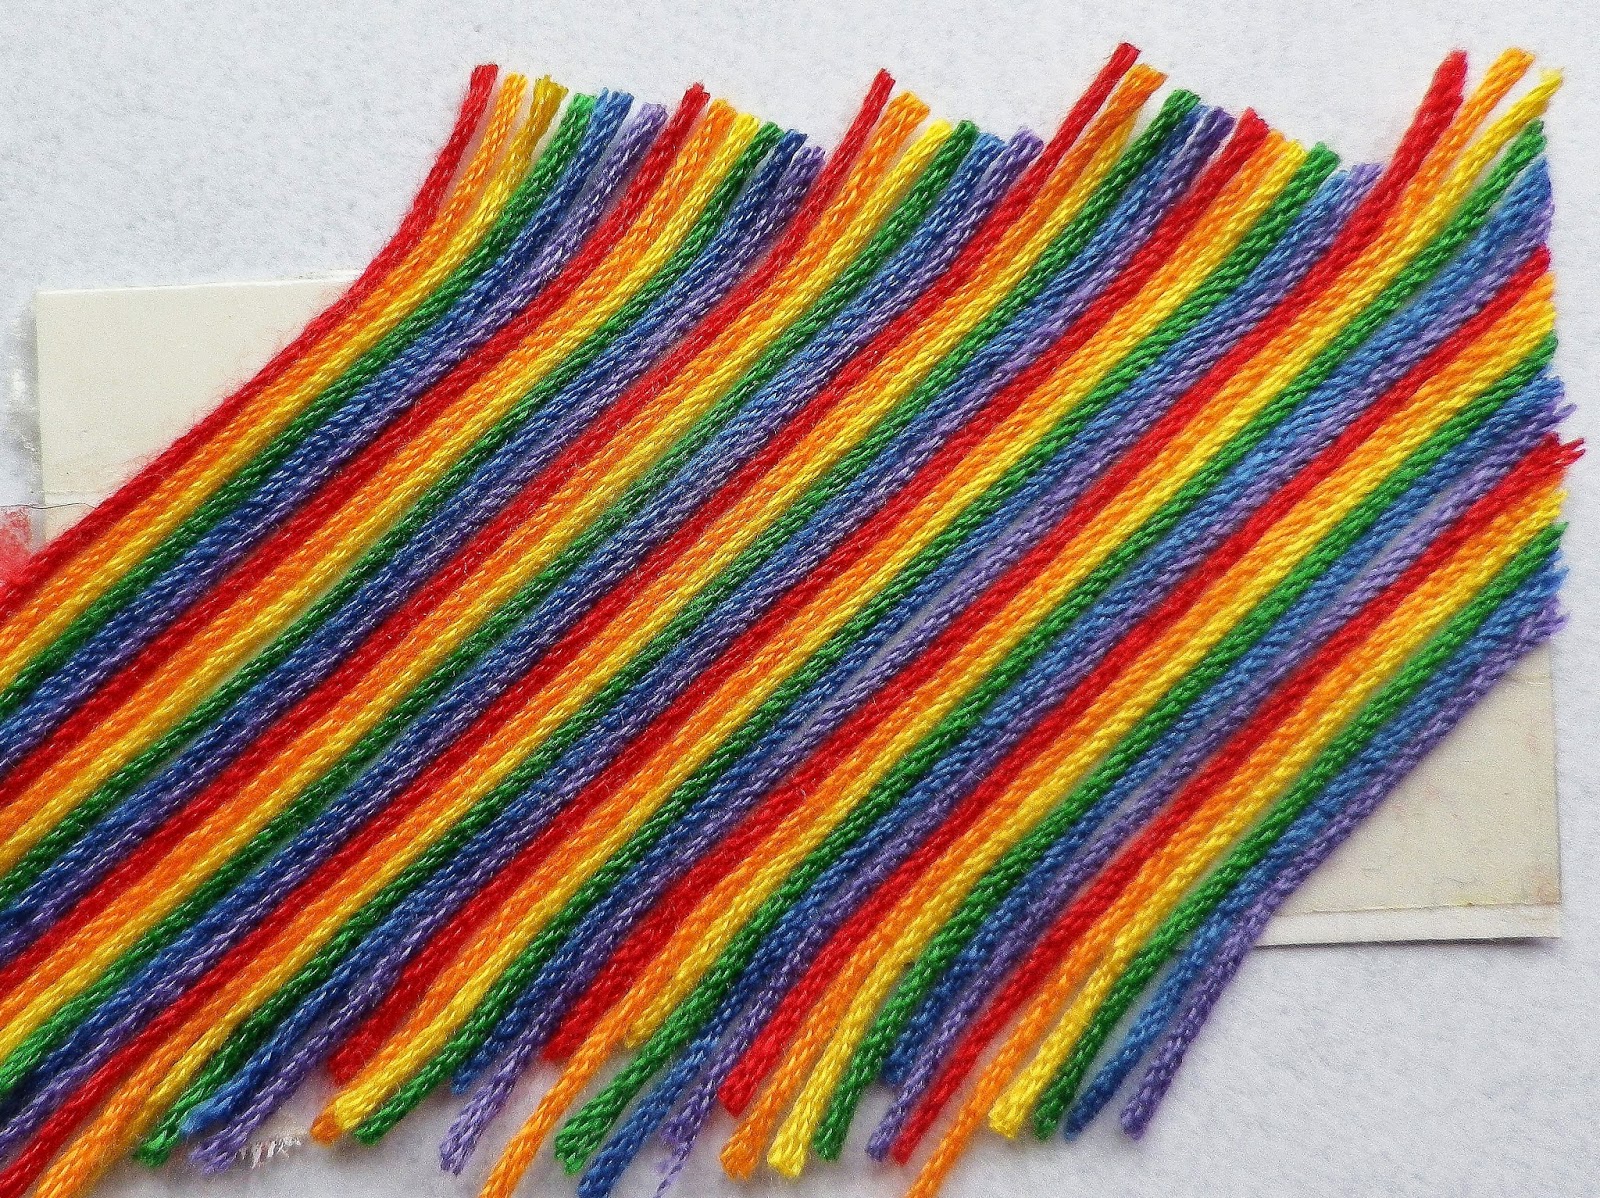
Next it was time to make my "rainbow". I applied double sided sticky tape to a piece of scrap card and added rows of embroidery thread in rainbow colours.


Then I trimmed the excess threads around the edges and added it to the back of the cloud panel.


After adhering the tiny extra pieces from the die cut sentiment I added strips of yellow card to the panel and used foam pads to adhere it to a red card base. I'm submitting this card into Simon Says Stamps' Happy Birthday Challenge.

Sunday, January 11, 2015

Card for 100th Scramble

Last night over at the Hero Arts Group on Flickr Barb hosted the 100th Scramble in the group. Her theme was to use your all time favourite Hero Arts image stamp as well as your all time Hero Arts sentiment set.

As so many of my Hero Arts stamps are my favourites I had a hard time picking just one. I had whittled my choice down to two different stamps and even though my hubby didn't see which stamps I was dithering over, he said "it's got to be butterflies" so that's how I picked between the two! The butterfly I used is from the Antique Engravings set and has been inked up over and over again as I love it so much.


Stamp - Antique Engravings (Hero Arts)


I started by embossing and sanding the background. Then after stamping and cutting out the butterflies, I coloured them with Promarkers and added touches of diamond distress stickles to the smaller white dots on the wings.


Stamps (Hero Arts) - Antique Engravings & Lil Hoot


Then I added some thread for the antennae and stuck the butterflies on the main panel using foam pads. After adding the sentiment, again on foam pads, I used glossy accents to adhere the gorgeous green sequins that my friend Trinh sent me - thanks again Trinh:)

Some ladies manage to make two or even three cards during the Scrambles but I inevitably only manage one and literally end up scrambling to get the card made and uploaded in time. So please just pretend you don't see the wonky card, places I missed colouring and blobs of glossy accents;) Even though it's a mad scramble it is so much fun. If you'd like to join in on a Scramble you'll find the timetable here.

I'm submitting this card into the Die Cut Divas Anything Goes Challenge. Happy stamping and enjoy your Sunday:)

Sunday, November 2, 2014

Sequin Ornaments and Gift Tags

This year I'm hoping to make more Christmas cards to send than I managed to make last year - hope you're not getting sick of all the Christmas stuff on my blog!

My friend Trinh sent me a gorgeous collection of sequins in a wonderful range of colours and I wanted to use some of them on my cards and gift tags.


Stamps & Die set - Hero Arts Stamp and Cut Ornament


To make the card I die cut ornaments windows in panel of kraft card, embossed it with Darice's Snowflake Trim folder and lightly inked the edges with white ink. The sentiment was embossed. I then cut ornaments from red glitter card, stuck sequins on the ornaments and popped them behind the windows in the kraft panel.


To complete the card I added thread and gems.

As I had two die cut ornaments left over from cutting out the windows on the card, I decided to use them to make a couple of gift tags to go on pressies. I have a huge roll of brown parcel paper (that seems endless!) so used some of this to wrap a present. To make the wrapping paper I embossed some snowflakes and added gems and baker's twine.

The first tag was made by embossing an ornament in white and adding a sequin and gem to the centre.


Hero Arts - Designer Snowflakes set & Stamp and Cut Ornament


The second tag is supposed to match the card so I again embossed an ornament on the die cut and cut out the centre piece. Another ornament was die cut from red glitter card and after I added sequins, I adhered the upper layer with some foam pads.


Hero Arts - Designer Snowflakes set & Stamp and Cut Ornament


I'm submitting these projects into Hero Arts' Holiday Challenge (Anything Goes & Tag It), Simon Says Stamp's Anything Goes Challenge, Die Cut Diva's Any Holiday Challenge and a2z Scrapbooking Anything Goes Challenge.

Hope you're enjoying the weekend. After two very wet and windy days it's wonderful to see the sun shining here again today!


Thursday, October 30, 2014

Poinsettia Tag Card

I had a bit of time today to make another Christmas card and, thanks to my friend Linda W, used a lovely poinsettia image from Hero Arts' new Peace Poinsettias set.


Hero Arts Stamps - Peace Poinsettias, Lattice Background, Stamp and Cuts Ornament & Merry Merry Decorate It set

I started by embossing a white piece of card with the holly ribbons folder from Cuttlebug. Then I die cut a tag, stamped the lattice background in gold ink from the Merry Merry Decorate It set and added ribbon. After cutting out the poinsettia flower and leaves, I added beads to the flower centre and a layer of crackle accents.


The sentiment was embossed in gold. I'm submitting this card into the Mad About Metallics and Tag It categories in Hero Arts' Holiday Challenge and Simon Says Stamp's Anything Goes Challenge.


Saturday, October 18, 2014

Sparkling Season's Greetings

I haven't posted in a while but now that I've finished making things to donate to Christmas fairs and am back from our holiday in Disneyland Paris, I'm all ready to get into making more cards for Christmas.

Hero Arts has a great Holiday Challenge going on at the moment with a number of different fun categories. I decided to combine two of the categories - - Mad About Metallics and White Out.


Ornament stamp & die set (Hero Arts) & pine branch die (Impression Obsession)


My good friend Linda sent me a gorgeous new set from Hero Arts called Stamp & Cut Ornament - thanks again, Linda. The set has a few pretty ornaments, a lovely mix of sentiments and a die to cut out the ornaments - love this as it will definitely help speed up my Christmas card making!

To start with I made a card base and using foam pads added a panel which I had embossed using the Snowflake Trim embossing folder from Darice. Linda had also sent me pretty pine branch die cuts from Impression Obsession so I took one of these, embossed it with star dust embossing powder and to add even more sparkle applied a layer of star dust stickles.


I embossed the ornaments in silver, die cut them and then added gems, dots of stickles and thread to suspend them from the branch. The sentiment was also embossed in silver and to finish I added a sprinkling of gems to the background and on the branch.

Hope you are enjoying the weekend. We're having stormy weather with lots of rain and I think it's due to continue on that way for the weekend - it's a really good reason to stay inside and get inky!

Thursday, September 4, 2014

Trick or Treat

I know it might be a bit early to be making Halloween bits and pieces but when I was out shopping earlier I noticed that some Christmas items are already creeping onto the shelves, so maybe I'm not too early for Halloween after all!

Anyway there are a couple of challenges I wanted to play along with - Teri's Fabulous Friday Challenge over at Moxie Fab World and Simon Says Stamp's Stamp It Challenge


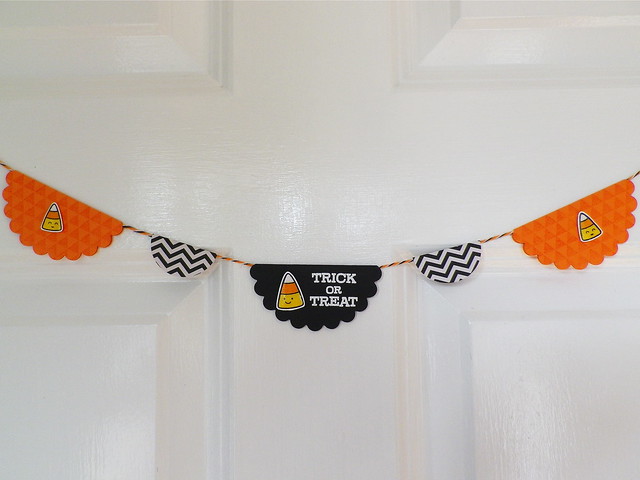
The photo above is the one to be used for inspiration for the Moxie Fab World Challenge. It inspired me to make a garland, use yellow, orange and black, and also to use chevrons and triangles. For the Simon Says Stamp Challenge you have to stamp - lol I love nothing better:)

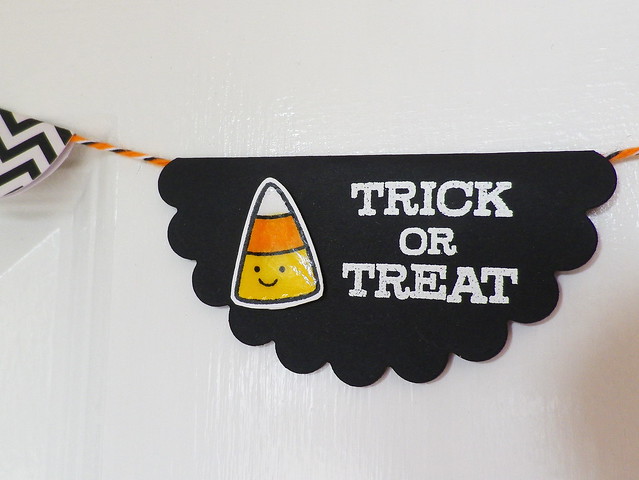
So first up is the little garland. I die cut circles from plain paper and patterned paper. On the orange ones I stamped Hero Arts' Tiny Flags using spiced marmalade distress ink and on the black circle I embossed the Lawn Fawn sentiment from the Trick or Treat set.

IMGP3937

Stamps - Trick or Treat (Lawn Fawn) & Tiny Flags (Hero Arts)

The cute candy corns which are from the same set were stamped, coloured with ProMarkers and covered with glossy accents.

IMGP3909

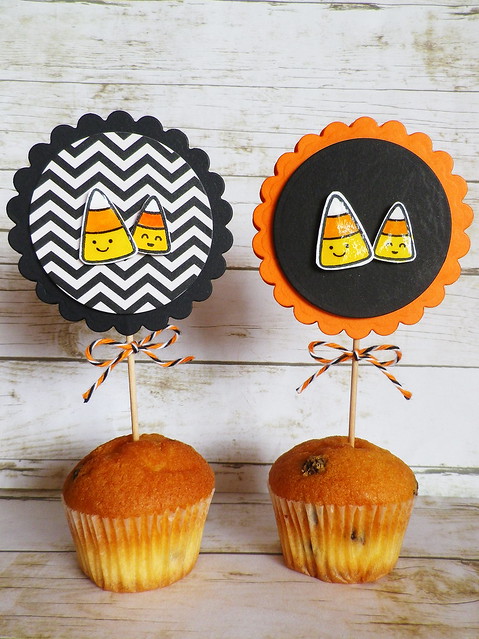
Next up are a couple of cupcake toppers, again using the same dies and stamps. At Halloween they will be stuck in cupcakes that are spookier than the mini chocolate chip ones I have here:)

IMGP3918

Stamp set - Trick or Treat (Lawn Fawn)

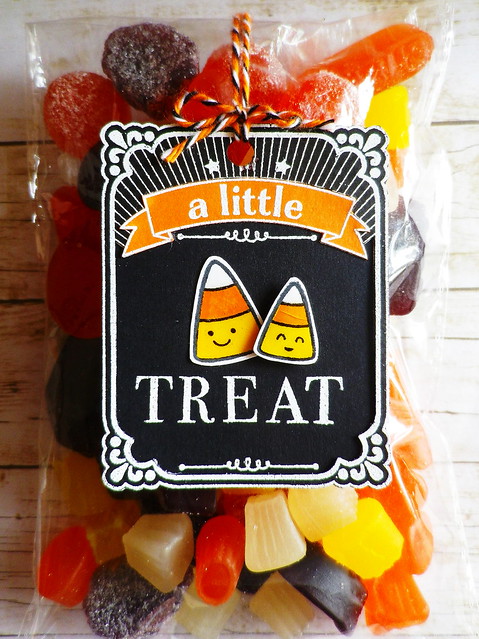
Well since Halloween wouldn't be Halloween without treats, I had to make up a little bag of treats and a tag.

IMGP3934


Stamps - A Little (Hero Arts) & Trick or Treat (Lawn Fawn)


The tag was embossed and pieced and I again added candy corns that had been coloured and glossed. I used baker's twine from a Halloween assortment pack from Doodlebug Design. Only a little over eight weeks to Halloween now but I think these treats might be eaten a little before then;)


Sunday, August 3, 2014

Happy Birthday Sparkle

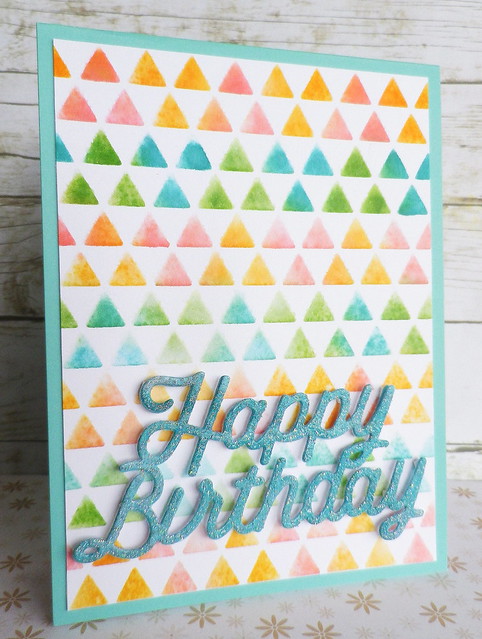
I needed to make a quick birthday card and this time used only dies rather than stamps to make my card.

IMGP3769

Hero Arts die - Triangle Background
Xcut die - Large Sentiments


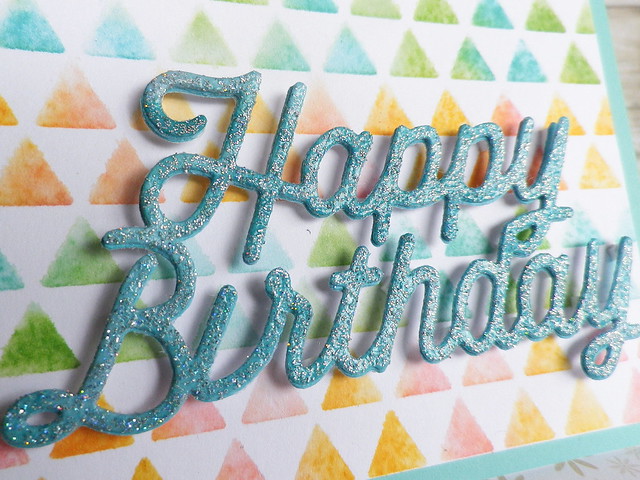
I used a Triangle Background die cut (thanks again, Linda!) as a stencil, applied distress inks (spiced marmalade, worn lipstick, mowed lawn and peacock feathers) to white card and spritzed with water. Then I die cut a sentiment piece and embossed it with stardust embossing powder.

IMGP3761

The sentiment was layered on another two die cuts and added to the card with foam pads. For the card base I used card from Hero Arts pool mixed layering paper pack. I'm submitting this card into Simon Says Stamp Anything Goes Challenge and A Blog Named Hero Die a Little Challenge.

Tuesday, July 29, 2014

There's No One Like My Favourite Artist

Unfortunately, I can't draw but I did ask my favourite artist, my son Mark, to draw some quirky images for my cards and I'm delighted with what he came up with!


Dog image - by Mark
Stamps - Critters at the Dog Park (Lawn Fawn) & Woodland Creatures (Hero Arts)


One of the first images he drew for me was this dog that I just love. After colouring the little guy with ProMarkers I added some glossy accents to his eyes and nose. For the oval panel I die cut some grass and added it to the blue background. The bones and paw prints in the background and the sentiment were embossed. To finish I just added a couple of enamel dots to the sentiment panel.

I'm submitting this card into Simon Says Stamp Emboss It Challenge.

Saturday, June 28, 2014

Quilted Thanks and Bookmark

I knew it wouldn't be long before I'd want to play again with the Quilt Cuts 2 dies from WPlus9 and this morning used them to make a card and matching bookmark.


Die - Quilt Cuts 2 (WPlus9), Stamp - Making the World a Better Place (Hero Arts), Papers - Snippets (Studio Calico) & Basics (Pebbles)

After die cutting and assembling the quilt blocks, I layered them on a strip of paper which I had punched with Fiskars threading water punch. The sentiment was stamped with faded denim distress ink. To finish I added a wooden button threaded with twine.

Then I made a little bookmark with another block. I layered the block on a scallop square die cut and sandwiched a large paper clip between this and another scallop square die cut.


I'm submitting these into Simon Says Stamp Anything Goes Challenge. Hope you're enjoying the weekend:)

Wednesday, June 25, 2014

Quilt Block Card Set

I wanted to make a set of cards to include with my Mum's birthday present so pulled out one of the dies from WPlus9's Quilt Cuts 2 set.


Die (WPlus9) - Quilt Cuts 2, Stamps (Hero Arts) - Dolls, Everyday Sayings and It's Your Day, Paper (Studio Calico) - Snippets

Having dabbled in quilting in the past, I just LOVE this set and am looking forward to making lots more blocks in the future, using fabrics as well as paper. It will be a perfect way of using up some of my mountain of scraps.


Die (WPlus9) - Quilt Cuts 2, Stamp (Hero Arts) - Dolls & Paper (Studio Calico) - Snippets

Anyway I still had Studio Calico's Snippets paper out on my desk from making this card the other day so decided to use the same papers again.

Die (WPlus9) - Quilt Cuts 2, Stamp (Hero Arts)- Everyday Sayings & Paper (Studio Calico) - Snippets

After die cutting and putting together the quilt blocks I added little heart gems to the centres. Then using Nestabilities, I die cut scallop squares to use as a border around the blocks. The sentiments were stamped using Hero Arts Cup O' Joe shadow ink.


Die (WPlus9) - Quilt Cuts 2, Stamp (Hero Arts)- Everyday Sayings & Paper (Studio Calico) - Snippets

I'm submitting this card set into Simon Says Stamp Anything Goes Challenge.


Die (WPlus9) - Quilt Cuts 2, Stamp (Hero Arts) - It's Your Day & Paper (Studio Calico) - Snippets

The birthday girl should be here any minute so I'm off to get the cake ready!


Monday, June 23, 2014

Turning Snowflakes into Flowers and a Bit of Blarney

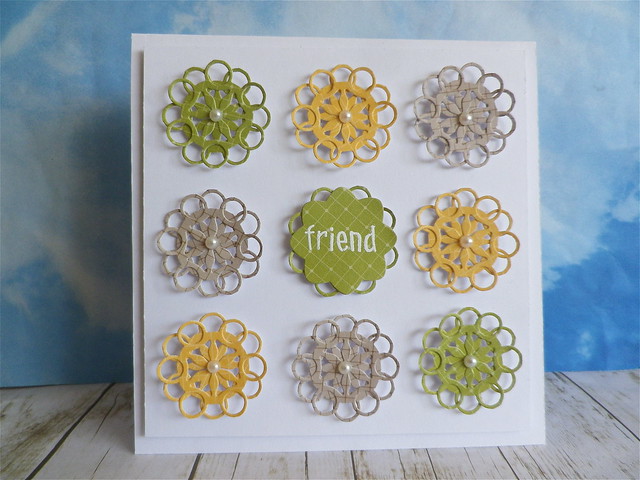
In this post I used the pretty Simon Says Stamp Kate Snowflake die to make a border and today pulled out another very pretty snowflake die from Simon Says Stamp called the Eliza Snowflake, to see what non Christmassy thing I could make with it.
IMGP3239

Die (Simon Says Stamp) - Eliza Snowflake, Stamp (Hero Arts) - Be Happy


I thought I'd try to make some flowers this time and cut out the bits and pieces I needed from Studio Calico (Snippets) patterned papers.


After die cutting, I trimmed away the pieces I didn't need and layered two pieces to form a flower.


To finish the flowers I added a little pearl to the centres. The sentiment was embossed on another die cut (Dahlia Nestabilities) and I stuck little pieces, from the snowflake die cut, to the back so that rings peek out between each petal.

I'm submitting this card into Simon Says Stamp Work It Wednesday Challenge and Simon Says Stamp You Gotta Have Friends Challenge

The past few weeks have been busy, busy here so I'm only getting around to posting some more photos of the little trip Linda and I did around the place. Next stop is Blarney Castle.

A beautiful walk, by a little stream, leads to the castle. It was lovely to hear the babbling sounds of the stream and all the birdsong as we made our way to the castle. We were blessed with the weather that morning, it was absolutely glorious.


Both of us skipped kissing the Blarney Stone. I have to say with my head for heights, dangling backwards out over a castle wall doesn't really appeal to me! But in this photo you can see a lady (beside the man in the red jacket) who is just about lean out and go for it - better her than me:)


I enjoyed the views instead and will just have to do without the gift of eloquence!


After visiting the castle we had a lovely stroll around the grounds. There was a fascinating poison garden beside the castle, but I must have been so intrigued with it I forgot to take any photos! I loved the fern garden which has some of the biggest ferns I've ever seen.


Winding through the walks we could tell the wild garlic was in full bloom - the faint smell of garlic wafting in the breeze was lovely.


Blarney House wasn't open when we visited but I enjoyed seeing it again and....


...spotting the wonderful features like this water spout.


We couldn't have picked a better time of the year for our visit with the bluebells and rhododendron in full bloom.


Hope you enjoyed the little bit of Blarney:)


Thursday, May 29, 2014

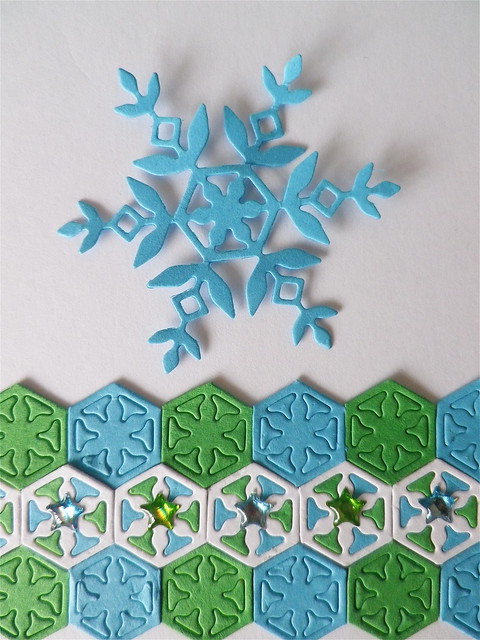
Birthday Border Made From Snowflakes

I recently bought the very pretty Kate snowflake die from Simon Says Stamp (thanks again, Linda, for bringing over my order :) ) but didn't want to wait until I was making Christmas cards to use it.

Birthday Border from Snowflakes

Die (Simon Says Stamp) - Kate Snowflake
Stamp set (Hero Arts) - It's Your Day


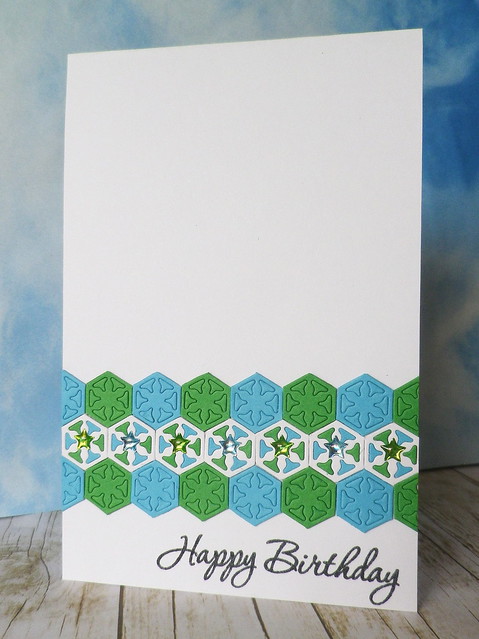
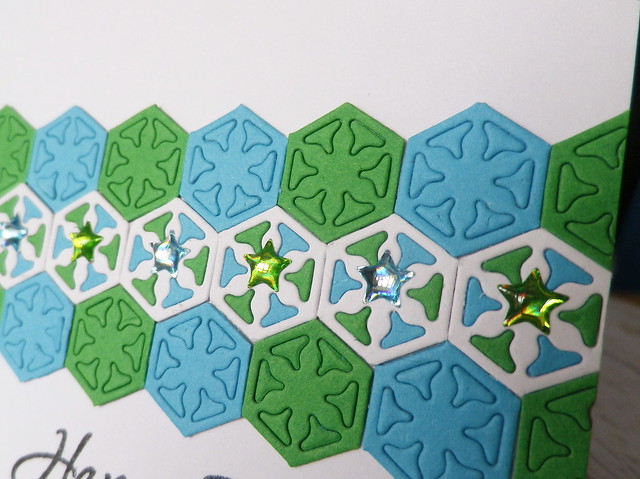
I also wanted to try the inlaid die cut technique I've seen a lot recently. As I have accumulated so many small scraps over the years, I thought it would be a good opportunity to use up some of these too. I didn't cut out a full snowflake each time (or I'd have ended up with loads more scraps to add to my pile!), I just put small pieces of card on the centre of the die before running it through my Big Shot.

Untitled

As you can see I just used three colours when I was die cutting and inlaid a mix of blue and green card on the centre line.

IMGP3162

I had also intended doing the same on the two other lines but changed the plan as I went along as I think I'd be still here next week messing with the fiddly little pieces! To finish I added the Hero Arts sentiment and some star gems.

I'm submitting this card into Simon Says Stamp Work It Wednesday Challenge and Simon Says Stamp Anything Goes Challenge.

Monday, March 10, 2014

Scramble Rainbows

I always enjoy the 90 minute Scrambles over at the Hero Arts Flickr Group and on Saturday had fun hosting one. The theme I went for was making any project using mainly neutral colours with dashes of at least three other colours. Over here you'll see all the amazing cards everyone came up during the scramble.

I made a couple of sample cards using the theme and time limit. For the first one I embossed the owls and thought bubble and cut out a window in the bubble.

Rainbow Smile

Stamps (Hero Arts) - Lil Hoot & Write Your Message

Then I embossed the sentiment on a piece of white card, applied distress inks (barn door, spiced marmalade, mustard seed, mowed lawn and broken china) and placed it behind the speech bubble. If I had more time I probably would have added machine stitching but because I was in a hurry just added faux stitching with a white pen. To finish I added googly eyes - I have to start using up the collection I've accumulated over time!

I have lots of little scraps of white card left over from other projects so I decided to use some of these on my second card.

Rainbow Circles

Stamps (Hero Arts) - Tiny Star Background & It's Your Day


I applied distress inks (barn door, spiced marmalade, mustard seed, mowed lawn, broken china and milled lavender) to some of these scraps and stamped the star background on them using the same inks. These pieces were placed behind circular windows I had die cut in a panel of card. Then I just stamped the sentiment and added die cut frames around the windows.

I'm submitting the second card into the rainbow of colour section of Hero Arts birthday challenge.


Saturday, February 15, 2014

Happy Birthday Flower

My good friend Linda's birthday is on Valentine's Day (I think this is such a fun day to have a birthday!) and I made a card for her using one of the pretty flowers from Hero Arts' Flower Text stamp.

Happy Birthday Flower

Stamps (Hero Arts) - Flower Text & It's Your Day

Linda's favourite colour is purple so I embossed a piece of purple card for the background. Then I stamped and cut out one of the flowers from the Flower Text background and intended colouring it purple, but discovered I hadn't got one single purple marker in my ProMarker collection. Lol Linda, I hope you're not too shocked that I didn't have any purple markers, but I did buy a couple of them when I was working in Dublin the other day, so an all purple card may wing its way to you next year! Anyway I coloured the flower with pink and yellow ProMarkers and added stickles and glossy accents for some sparkle and shine.

Flower close up

I added a strip of patterned paper for the stem and leaves from the Flower Text background. I'm submitting this card into the Hero Arts Birthday Challenge (floral birthday) and the Die Cut Divas Girls Night Out Challenge.


Related Posts with Thumbnails