Showing posts with label sequins. Show all posts

Saturday, November 17, 2018

Sparkly Gift Tags

I really enjoyed joining in on Simon Says All That Glitters is Gold Challenge so when I woke early this morning gathered together some supplies to get a start on Christmas gift tags for bottles.


Dies - Eliza & Kate Snowflakes (Simon Says Stamp), Fancy Cut Christmas (Hero Arts), Circle Nestabilites (Spellbinders) and Stitched Circles (Pink & Main)


I think shaker cards are so fun so made a shaker to go on my first tag. I adhered five glittery gold stars to the plain black background of the shaker element, added a mix of sequins and stars and used a gold frame over the acetate to trap all the shaker pieces inside. A pretty bow, not made by me but recycled from a box of chocolates, finished off the look I wanted.


I love the way my friend Linda used a die to emboss the background on her bicycle card here. So I did the same with the Eliza Snowflake die on this tag, added the Kate Snowflake cut from glittery card and a little gold gem to the centre of the snowflake.


When I was taking photos of the tags on the bottles who should come along with his own bottle of Buck's Fizz looking for a chase - Toby! I don't know if it was coincidental or if he recognised the similarities between what I had and one of his toys, but I had a good laugh when I saw him and managed to get him to pose for a few seconds after I chased him down the corridor.


Tuesday, November 15, 2016

Snowflakes and Sequins

As soon as I saw Hero Arts Paper Layering Snowflakes die set I knew I had to get it. I love the way the dies can be either used to do partial cuts on card so the layers can be popped up for some extra dimension or, by adding the frame dies, they can be used to cut out snowflakes. Today I used the die for partial cuts but at a later stage I'll be cutting the snowflakes out completely to make decorations for our Christmas tree and also for more cards, gift tags and gift wrap. Lol that's of course presuming I'll have a lot of crafting time between now and Christmas!

Anyway on to the card. I used the dies on a panel of white card and added it to the card base. Then I used glossy accents to adhere sequins to the centres of the snowflakes. I always love a little, or a lot, of sparkle on Christmas cards so added strips of gold glitter card to the sides of the panel.


Dies (Hero Arts) - Paper Layering Snowflakes & Fancy Cut Christmas

Since I was on a sparkly roll I also die cut the sentiment from glitter card, layered it twice, for strength and dimension, and added it to the card with foam pads.

These dark, wintery evenings give me a good excuse to start lighting candles again. So I decided to decorate a couple of chunky jars to hold nightlights. Soon these will go on our mantelpiece along with greenery and some Christmas decorations.


Die (Hero Arts) - Paper Layering Snowflakes


Again for the jars I used the dies to do partial cuts on a panel of card, popped up the snowflakes and added strips of gold glitter card and sequins.


I'm submitting the card into Hero Arts Holiday Card Making Challenge.

Monday, October 31, 2016

Trick or Treat

I love Halloween but here in Ireland we don't send Halloween cards to each other so I suppose that's why I have only two Halloween stamp sets - as for my Christmas supplies, now that's a completely different story! My friend Linda recently sent some fun die cuts that I used along with Hero Arts Ghostly Greetings set on today's card.

I started by stamping the sentiment on a square of card and added the pretty die cut wreath Linda had sent me. To decorate the wreath I used glitter bat die cuts, again from Linda, and some orange sequins I picked up when shopping with Linda during the summer.

Dies (Hero Arts) - Halloween Trimmings Stamp & Cut & My Monthly Hero September Kit
Stamp (Hero Arts) - Ghostly Greetings (sentiment)


Even though I have a huge jar of googly eyes, I discovered the little ones either had brown or pink eyes, so the bats ended up being brown eyed.

I'm submitting the card into Hero Arts Holiday Challenge and Simon Says Stamp Anything Goes Challenge.


Our clocks went back at the weekend so in an hour or so it will be dark and the trick or treaters should start arriving. I'm looking forward to seeing what all the kids are dressed as and moving a lot of the mountain of tempting treats out of the house! Hope you have a wonderful Halloween!


Monday, August 8, 2016

Christmas Shaker

As it’s Monday it’s time again to set my friend Linda a Christmas card challenge. This week’s theme is to make a shaker card. I really love making shaker cards but don’t love taking photos of them! It’s hard to avoid catching lots of reflections from the acetate in photos but here goes anyway:)

I started by making a background with alcohol inks and blending solution. A mix of sequins went in between the background and front of the shaker element.

Die - Pierced Rectangle Frames (My Favorite Things) & Bristol Snowflake (Memory Box)
Gems - Snowflake Gems (Hero Arts)


I added a pretty die cut snowflake and a snowflake gem both of which Linda had sent me.


I was going to leave the card front without a sentiment but in the end added a sparkly die cut sentiment.


Die - Pierced Rectangle Frames (My Favorite Things), Fancy Cut Christmas (Hero Arts) & Bristol Snowflake (Memory Box)
Gems - Snowflake Gems (Hero Arts)


I’m afraid I didn’t get to make a card last week for Linda’s challenge or a matching tag to go with today's card but hopefully in the next few days I’ll play catch up on my card and tags. Here you can find the fun challenge Linda has set for this week.

Wednesday, July 13, 2016

Linda's Snowflakes and Dry Embossing Challenge

As I'm off work for a few days I was able to get straight into making a Christmas card for the challenge set yesterday by my friend Linda - a card with snowflakes and dry embossing.

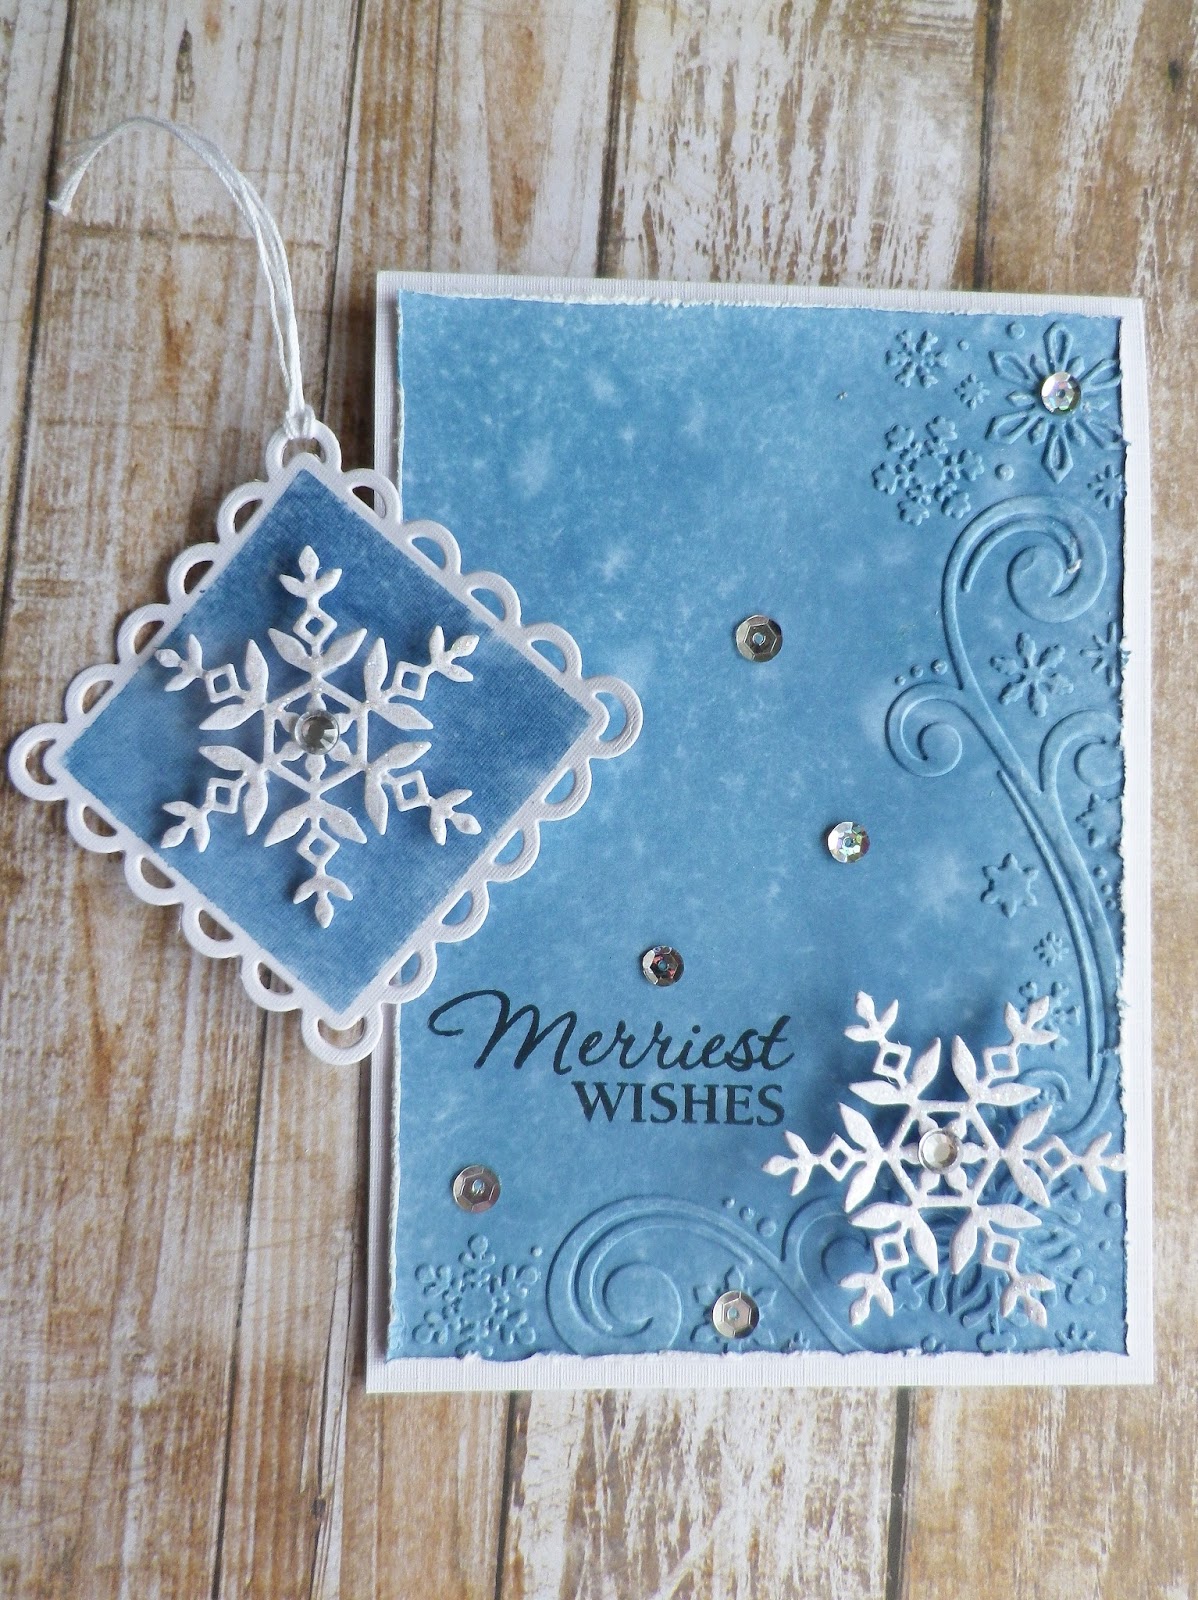
I started by applying distress inks (faded jeans, broken china & tumbled glass) to a piece of white card, spritzed it with water and then embossed it using a gorgeous folder that Linda gave me when we met on holidays recently - thanks again, Linda! The pretty snowflake dies Kristina Werner designed for Simon Says Stamp are my favourites so I just had to add one of them to my card too.


Embossing folder - Snowflake Scroll (Darice)
Die - Kate Snowflake (Simon Says Stamp)
Stamp - Very Merry Christmas (Hero Arts)


The snowflake was die cut from white card and a layer of diamond stickles and a gem applied for some sparkle.


Next up I made a matching gift tag with pretty much the same supplies.


Dies - Kate Snowflake (Simon Says Stamp) & Lacey Squares (Spellbinders)

It's great to have another card and tag to put into my bundle for Christmas. Linda, thanks again for the fun challenge and helping me be better prepared for Christmas this year!

Thursday, February 11, 2016

A Couple of Valentines

For the past number of weeks a few things have completely taken up my time and kept me away from card making but I'm happy to be finally back in the swing of things again to make a Valentine for my hubby. I ended up making two Valentine cards as I thought the first one might be too girly for him. The little glimpse below probably says it all really:)


I had some pretty wedding table sprinkles in my stash and thought they, along with some beads and pearls, would make a nice background for a couple of lovely die cuts my friend Linda sent me - thanks again Linda:) So the card came together fairly quickly once the glue I used for the sprinkles and beads had dried. This month's challenge over at Hero Arts is Fabulous Flowers so since there are flowers on the heart die and flowers in the sprinkles I'm submitting this card into the challenge.


Dies (Hero Arts) - Floral Heart Stamp & Cut by Lia and My Monthy Hero January Kit Add On

After making the card above I thought I'd try to make a more masculine looking Valentine using a favourite Hero Arts die and the inlaid die cutting technique.

Dies - Renaissance Heart (Hero Arts), Bundle of Stitched Shapes (Simon Says Stamp) & Alphabet (Docrafts)

Even though I was going for a masculine look I couldn't resist using glitter card in the heart to represent the sparkle hubby brings to my life - sorry for the soppiness but I think I can get away with it this week:)


I'm submitting the cards into A Blog Named Hero's is A Bit of Sparkle Challenge and the Die Cut Diva's Love, Marriage and Anniversaries Challenge.

Sunday, January 17, 2016

Ruffled Flowers

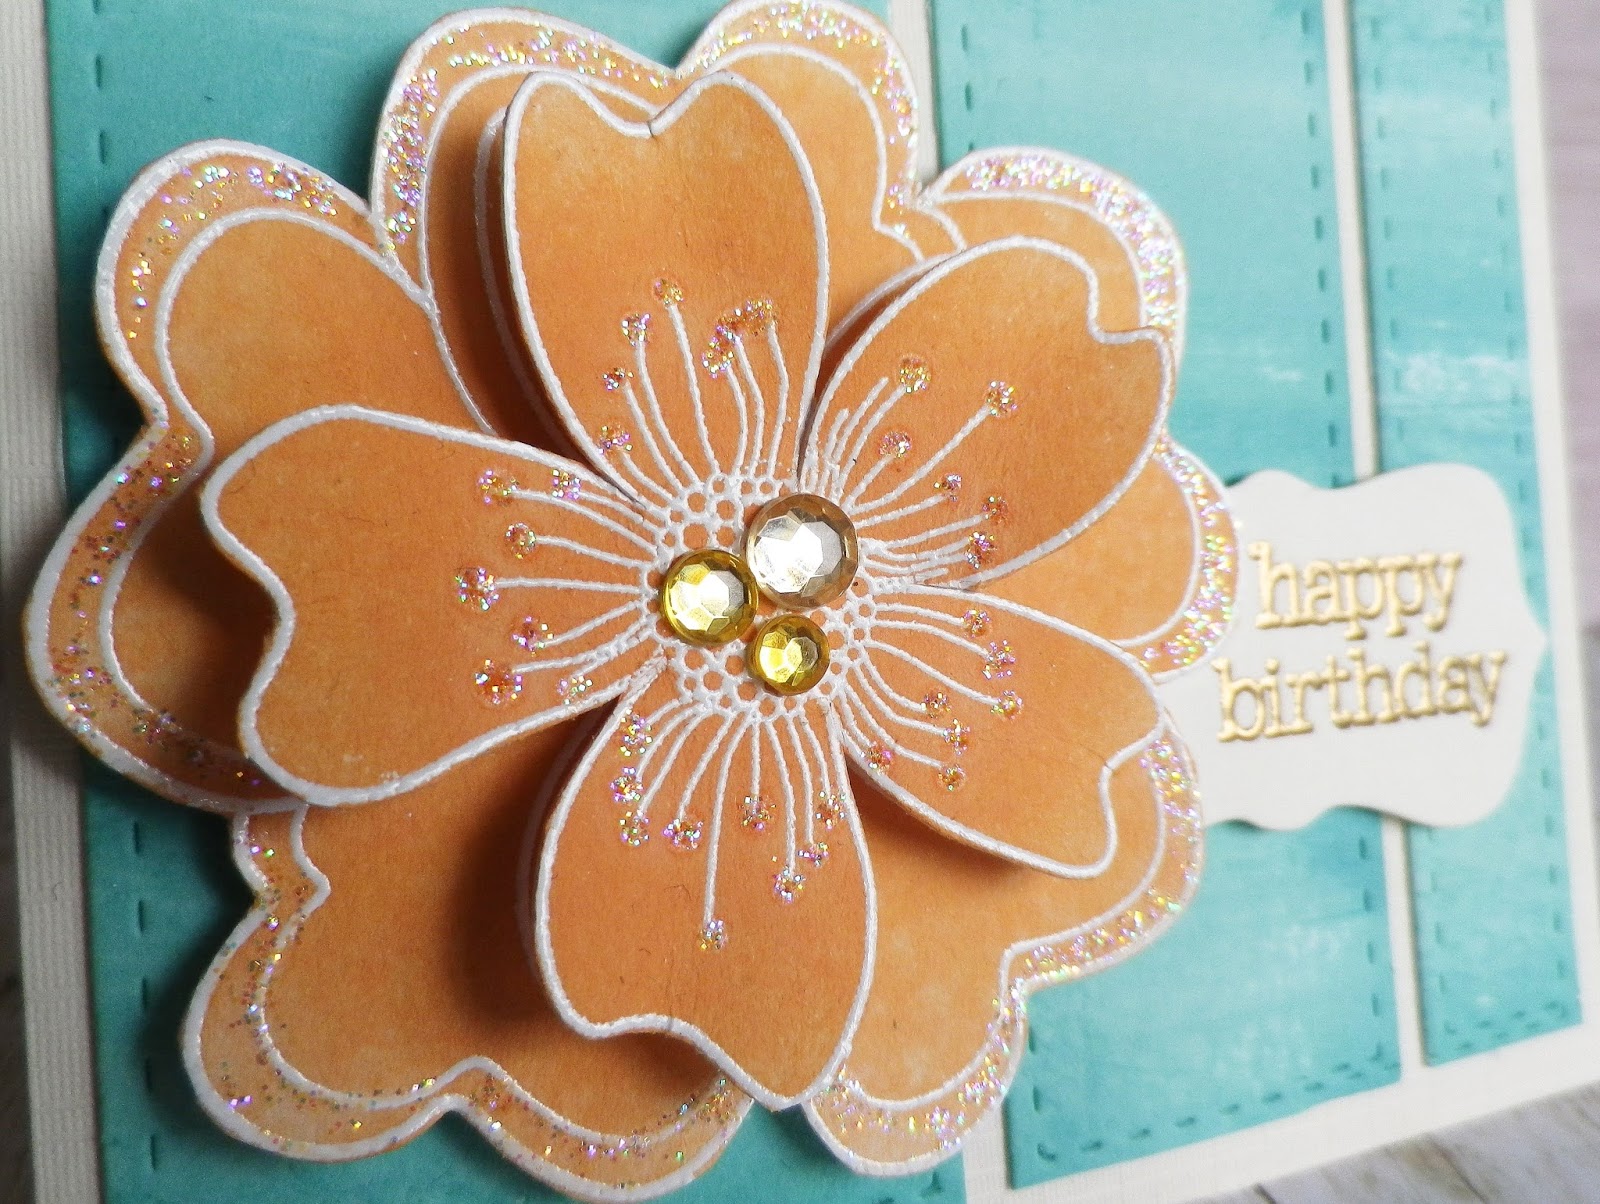
I was sorting out my woodblock stamps and came across a flower I love but haven't used in a while. Since I needed to make a couple of cards I embossed the flowers four times, trimmed them to the sizes I wanted and applied distress inks (dried marigold for the first card and a mix of shabby shutters, salty ocean and tumbled glass for the second one).


Stamps - Ruffled Flower (Hero Arts) & It's Your Day (Hero Arts)
Dies - Bundle of Stitched Shapes (Simon Says Stamp) & Tags and Bookplates (Docrafts)


The background for this card was made by dragging a Hero Arts mint to green ombre ink pad across white card a few times. After cutting the background into panels I used a die from Simon Says Stamp's Bundle of Stitched Shapes to add the stitch lines. The sentiment was embossed in gold on a die cut from Docrafts Tags and Bookplates die set. A little sparkle was added to the flower with diamond stickles and some gems. I'm submitting this card into Simon Says Stamp's Ombre Challenge.


For the next card I used up scraps of silver glitter card I had left over from making Christmas cards. I just cut strips of the card to go behind the flower and used it for the die cut sentiment too.


Stamp - Ruffled Flower (Hero Arts)
Die - Thanks Stamp & Cut (Hero Arts)


A sprinkling of sequins and gems were added for a little sparkle.

Thursday, November 12, 2015

Winter Cheer

Only 42 more days till Christmas so I'm going to have to speed up my Christmas card making! Today I used Hero Arts' pretty Winter Cheer tag set by Lia to make three cards like the one below.


Die & stamp set - Winter Cheer tag set by Lia (Hero Arts)
Embossing folder - Snowflake Trim (Darice
)


I die cut the ornament from silver card and added gold sequins and stars as my shaker elements. The gold thread I used for the bauble has been in my wool stash well over twenty years, so long in fact I can't even remember what I originally used it for!


The sentiment panel was embossed in gold and added to the bauble with foam pads. One of my favourite Christmas embossing folders was used for the background.

Recently I also used the tag set to make a set of Christmas gift tags for a Scramble I hosted over in the Hero Arts Flickr group. The theme was to use recycled bits and pieces on Christmas tags. In this instance the ribbon on the gift tags came from a box of chocolates. The chocolates are all long gone at this stage and I'm glad to have finally used up all the ribbon too:)


Supplies (Hero Arts) - Winter Cheer Tag Set by Lia & Fancy Cut Christmas

I'm submitting the card into Hero Arts Holiday Cardmaking Challenge.

Monday, October 26, 2015

Poinsettia Wreath

Today we’re going to decorate the house for Halloween and here I am thinking about Christmas again. I still have quite a few Christmas cards to make so hopefully you won’t get sick of my Christmas card posts between now and Christmas!

I wanted to make a wreath for a card and thought the pretty little flower in Hero Arts Color Layering Dimensional Bird set would be perfect for making a poinsettia wreath.


To make the background I embossed a panel of kraft card with the Snowflake Trim embossing folder from Darice and distressed the edges. The sentiment from Hero Arts Polar set by Lia was white embossed. I stuck the tail end of a piece of string to the back of the embossed panel before adhering the panel to the card base with foam pads.


Stamps (Hero Arts) - Color Layering Dimensional Bird and Polar Set by Lia
Embossing Folder (Darice) - Snowflake Trim

Next it was time to make flowers and leaves for the wreath. I stamped the flowers in barn door distress ink and the leaves in mowed lawn distress ink. After cutting out the flowers and leaves I layered the flowers and added gold sequins to the centres. Then I adhered the flowers in a circular shape and added the leaves and string bow to finish.


I’m submitting this card into Hero Arts Holiday Card Making Challenge and Simon Says Stamp Wrap it Up Challenge. Now I'm off to spookify the house:)

Wednesday, September 16, 2015

You Make Me So Happy

I wanted to join in a few challenges - the Makeover Challenge over at Hero Arts, the Happy Challenge over at A Blog Named Hero and the Die Crazy Challenge over at Simon Says Stamp.

This is the card I picked for a makeover


I wanted to stick with the same colours, sentiment stamp & die set, distress ink and sprinkling of sequins. The distress ink background was one I had originally made for the butterfly card but didn't like at the time, so left it in my bundle of scraps until today. It was made by applying distress inks (peacock feathers and tumbled glass) to an acrylic block, spritzing with water and stamping on white card.


Stamp & Die (Hero Arts) - Happy Stamp & Cut set


Another rummage through my scrap pile produced a piece of spiced marmalade card which had been left over from another project. I die cut the "happy" and applied some some diamond stickles to the piece.


Once this was dry I inlaid it into the background panel, stamped the other part of the sentiment and added a sprinkling of sequins to finish.

Sunday, September 6, 2015

Scramble Shaker Card

Over in the Hero Arts Flickr Group last night LaVon hosted a fun Scramble in which we had to make a card based on one of these three sketches.

It turned out to be a real scramble for me as I started the Scramble a bit late because I was yapping on the phone. Then after scrapping the first card I started, I decided to make a shaker card. I don't know what or if I was thinking as I'm slow at making shaker cards even at the best of times not to mind when there is a time limit!


Stamps (Hero Arts) - Playful Animals & Birthday Messages


Anyway I started by embossing the mini card base I made and then set to work on the shaker element. I used scraps of blue and green card for the sky and grass. My Mam gave me a bag with a lovely mix of sequins a while ago and I used some of these as they are pearlescent white with hints of pink. After stamping the pig twice, cutting and colouring, I popped one of the heads on foam pads for dimension. The sentiment was embossed badly and in a last minute hurry as you can no doubt see from the stray flecks of powder!

I'm submitting this card into a2z Scrapbooking's September Challenge.

Thursday, September 3, 2015

Two Card Makeovers and a Little Recycling

Hero Arts' fun Makeover Challenge gives us a chance to makeover old projects. I definitely have plenty that could do with changes but picked two butterfly cards for makeovers today.

The first card I picked is this one.


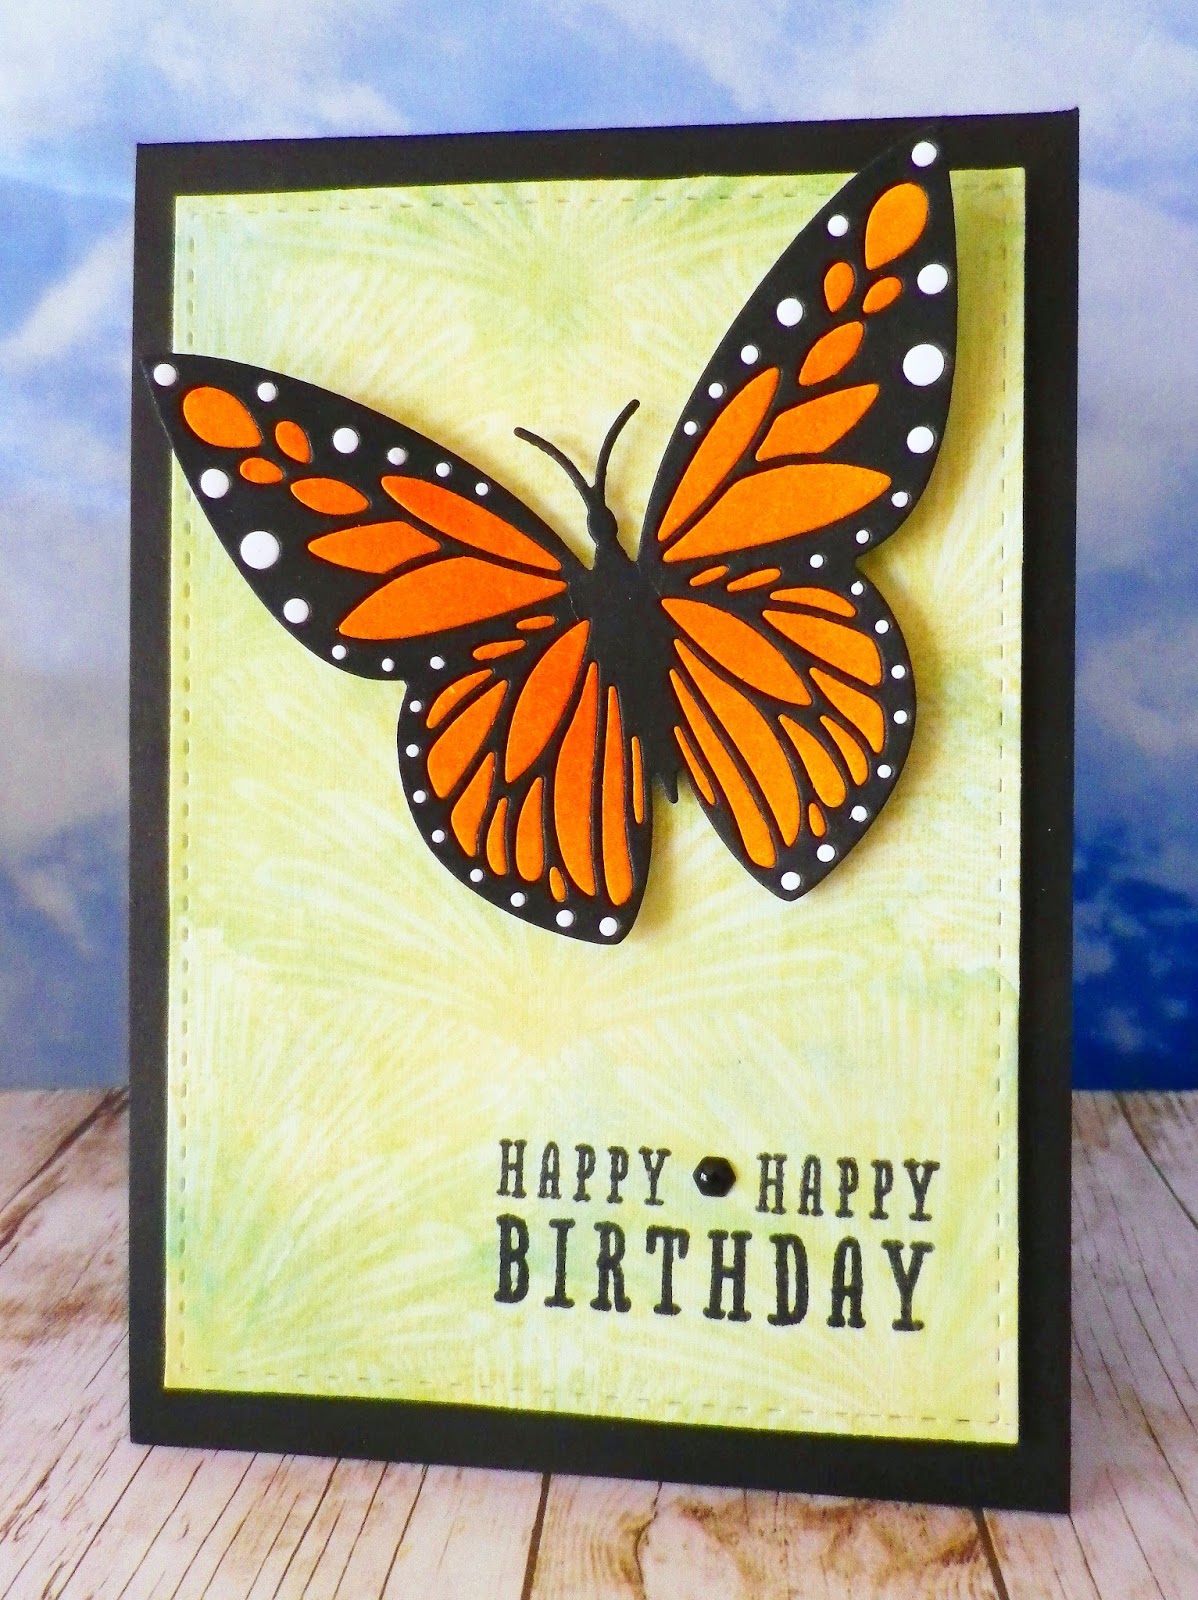
I wanted to make a butterfly in the same colours using the same inlay technique but changed the background and used less enamel hexagons. For the background I light applied distress inks (broken china, tumbled glass & shabby shutters) onto white card. Then I inked the background stamp with shabby shutters distress ink, spritzed with water and stamped on the panel. After stamping the sentiment I added one little enamel hexagon to finish.


Stamps (Hero Arts) - Tropical Background & Fantastic Birthday
Dies - Butterfly (Hero Arts) & Bundle of Stitched Shapes (Simon Says Stamp)


Next in line for a makeover was this card.


With this one I wanted to reverse the colours and add even more sparkle to the butterfly. I inked up the background stamp by dragging Hero Arts' mint julep to emerald green ombré ink pad across and down it. Then I stamped the image on a panel of white card and applied peacock feathers distress ink. Once the panel was dry, I embossed the sentiment.


Stamps (Hero Arts) - Tropical Background & Celebrate Everyday
Dies - Butterfly (Hero Arts)
& Bundle of Stitched Shapes (Simon Says Stamp)

Next it was time to do a bit of recycling to make the sparkly butterfly. I die cut the butterfly from a piece of white glitter card I had saved from a Christmas card. The butterfly was backed with glittered tulle taken from a mini bag I had received a pressie in. After adding a few gems to the butterfly's body, it was adhered to the card with foam pads and I added some sequins to finish.


Have you seen Hero Arts' new website? It looks wonderful, has a fantastic ideas area filled with inspiration and of course there are so many tempting goodies in the shop. I couldn't resist ordering lots of new stamps and dies the other day and thanks to Hero Arts' super speedy service they are already winging their way to me - can't wait!

Wednesday, June 24, 2015

Felt Flower Card and Tag

I had a birthday card and gift tag to make for an upcoming birthday so thought I'd join in on a couple of challenges while I was making them - Hero Arts Tic Tac Toe Challenge and Simon Says Stamp Use Your Favourite Technique and/or Product.

In the Hero Arts Tic Tac Toe Challenge I picked the line with circles, birthday theme and your favourite colour. My favourite colour would be a toss up between blue and green and I love combining both colours with white. For the Simon Says Stamp Challenge I used a favourite technique, stitching, and favourite product is Hero Arts Stamp & Cut sets.


Stamp & Cuts sets (Hero Arts) - Butterfly and Flowers and Happy

I stamped the flowers and leaves on felt and, after the ink had dried, hand stitched the images and cut out. To finish I added buttons and sequins to the flower centres. The die cut sentiment on the card was cut from a scrapped watercolour background that I made ages ago and the "birthday" sentiment was stamped using faded jeans distress ink. To finish I added a sprinkling of sequins.

After die cutting the gift tag, I stamped the sentiment with faded jeans distress ink, added a flower and some sequins.


Butterfly and Flowers Stamp & Cuts set (Hero Arts), Birthday Messages (Hero Arts) and Pierced Circles Dies (Spellbinders)

Saturday, June 6, 2015

Tropical Birthday

Hero Arts has a great Tic-Tac-Toe Challenge this month so when I had a bit of time to get inky this morning I just had to join in on the fun.

With the card I made I (accidentally!) managed to cover two of the lines - circles, background stamp & watercolour and background stamp, birthday theme & die cutting.


Stamps (Hero Arts) - Tropical Background & Messages with Flourish
Die (Hero Arts) - Delicate Butterfly Fancy Die


I started by applying distress inks (spiced marmalade, worn lipstick & barn door) to the background stamp, spritzed with water and applied this to cream card. After the panel had dried I stamped the sentiment, die cut the opening and adhered some acetate at the back of the panel. The bright pink backing card for the shaker was also stamped with the same background stamp but because it was stamped in pink on pink it has left a very subtle pattern. After adding a mix of sequins and putting together the shaker panel I adhered it to a cream card base. My good friend Linda sent me the pretty butterfly - thanks again, Linda:)


I heat embossed the butterfly twice using enchanted gold embossing powder and used foam pads to attach it to the card.

My Mam is doggy sitting at the moment so this morning I brought Max, our hairy friend, for a ramble up the hill behind my Mam's house. Here are some photos I snapped along the way.


Enjoy your weekend!
Related Posts with Thumbnails