Showing posts with label Bundle of Stitched Shapes. Show all posts

Monday, August 1, 2016

Blog Title Christmas Challenge

It's Monday again so time to set my friend Linda a Christmas card challenge. This week's challenge is use your blog title as inspiration for your card. So Linda with Scrappin', Stampin' and Singin' you have lots of scope for some musical fun! I had to keep stamping and stitching in mind when making my card.

I started by die cutting a panel from kraft card using a die from Simon Says Stamp's Bundle of Stitched Shapes. After stitching the panel I added it to a white card base.


Stamp - Furry Christmas (Simon Says Stamp)
Dies - Bundle of Stitched Shapes (Simon Says Stamp) & Pierced Rectangle Frames (My Favorite Things)


Then I stamped the cute image and sentiment from Simon Says Stamp's Furry Christmas, coloured with Promarkers and added diamond stickles.


It's hard to see from the photos but the hat, scarf and taller dog's head have been cut again and adhered to the panel with foam pads for some extra dimension. After die cutting and adding the glittery frame I stamped and cut out another tail so it would curl out over the frame.

Here's the matching gift tag to go with my card.


Stamp - Furry Christmas (Simon Says Stamp)
Die - Bundle of Stitched Shapes (Simon Says Stamp)


I'm submitting these into Simon Says Stamp's 50th Flickr Challenge.

Linda has another fun challenge lined up for me this week. You can find it here on her blog.

Monday, February 15, 2016

Scrappy Happy Weekend

Over the weekend I continued with the plan to use up more of my card and fabric scraps to make some more cards. I got a bit carried away and made the following four cards plus blocks to go on future cards.

I forgot to take photos of my scraps before I started and I've completely used up some of the patterned paper scraps but I had a little bundle like this put together at the start of the weekend with fabric, card and even envelopes from bills.


My favourite die from WPlus9's Quilt Cuts 2 set is the star die and I used it and the inlaid die cut technique for all of my cards. For the first two cards I used some rainbow coloured fabric which I had left over from a quilt I made years ago.


Dies - Quilt Cuts 2 (WPlus9), Scalloped Squares (Spellbinders), Tags & Bookplates (Docrafts)
Stamp - Everyday Sayings (Hero Arts)


Die - Quilt Cuts 2 (WPlus9)
Stamp - It's Your Day (Hero Arts)


I love greens and blues so I have loads of scraps in these colours left over from other projects. In my stash of plain card scraps I have lots of kraft and white so used a combination of patterned and plain scraps to make the following cards.


Dies - Quilt Cuts 2 (WPlus9), Scalloped Squares (Spellbinders) and Thanks Stamp & Cut (Hero Arts)


Dies - Quilt Cuts 2 (WPlus9), Bundle of Stitched Shapes (Simon Says Stamp) and Tags & Bookplates (Docrafts)
Stamp - Everyday Sayings (Hero Arts)


Whenever I can I like to use recycled materials on my cards and now, thanks to the blue and white patterned insides of envelopes which came with bills, I have some blocks lined up for another card. At least there's some upside to bills;)


Saturday, February 13, 2016

Love Quilt Block

My piles of scraps, both card and fabric, are getting out of hand so I'm going to make a few sets of quilt cards to try to make at least a little dent in these scrap piles. It will be fun sorting through the scraps and picking out the card/fabric that will go together.

For this card I die cut the quilt block from some scraps of patterned and black card. Then using a piece of label as an adhesive backer I inlaid the die cut pieces to make the mini quilt block.


Dies - Quilt Cuts 2 (WPlus9) and Bundle of Stitched Shapes (Simon Says Stamp)
Embossing folder - Quilted (Tim Holtz)


The block was framed with a die cut scalloped square and I added a wood button to finish the block. The block was mounted on an embossed background which my friend Linda sent me - thanks again, Linda:)


This in turn was layered on kraft card which had been die cut using a die from Simon Says Stamp's Bundle of Stitched Shapes.

I'm submitting this card into the Die Cut Diva's Love Marriage and Anniversaries Challenge.

Thursday, February 11, 2016

A Couple of Valentines

For the past number of weeks a few things have completely taken up my time and kept me away from card making but I'm happy to be finally back in the swing of things again to make a Valentine for my hubby. I ended up making two Valentine cards as I thought the first one might be too girly for him. The little glimpse below probably says it all really:)


I had some pretty wedding table sprinkles in my stash and thought they, along with some beads and pearls, would make a nice background for a couple of lovely die cuts my friend Linda sent me - thanks again Linda:) So the card came together fairly quickly once the glue I used for the sprinkles and beads had dried. This month's challenge over at Hero Arts is Fabulous Flowers so since there are flowers on the heart die and flowers in the sprinkles I'm submitting this card into the challenge.


Dies (Hero Arts) - Floral Heart Stamp & Cut by Lia and My Monthy Hero January Kit Add On

After making the card above I thought I'd try to make a more masculine looking Valentine using a favourite Hero Arts die and the inlaid die cutting technique.

Dies - Renaissance Heart (Hero Arts), Bundle of Stitched Shapes (Simon Says Stamp) & Alphabet (Docrafts)

Even though I was going for a masculine look I couldn't resist using glitter card in the heart to represent the sparkle hubby brings to my life - sorry for the soppiness but I think I can get away with it this week:)


I'm submitting the cards into A Blog Named Hero's is A Bit of Sparkle Challenge and the Die Cut Diva's Love, Marriage and Anniversaries Challenge.

Sunday, January 17, 2016

Ruffled Flowers

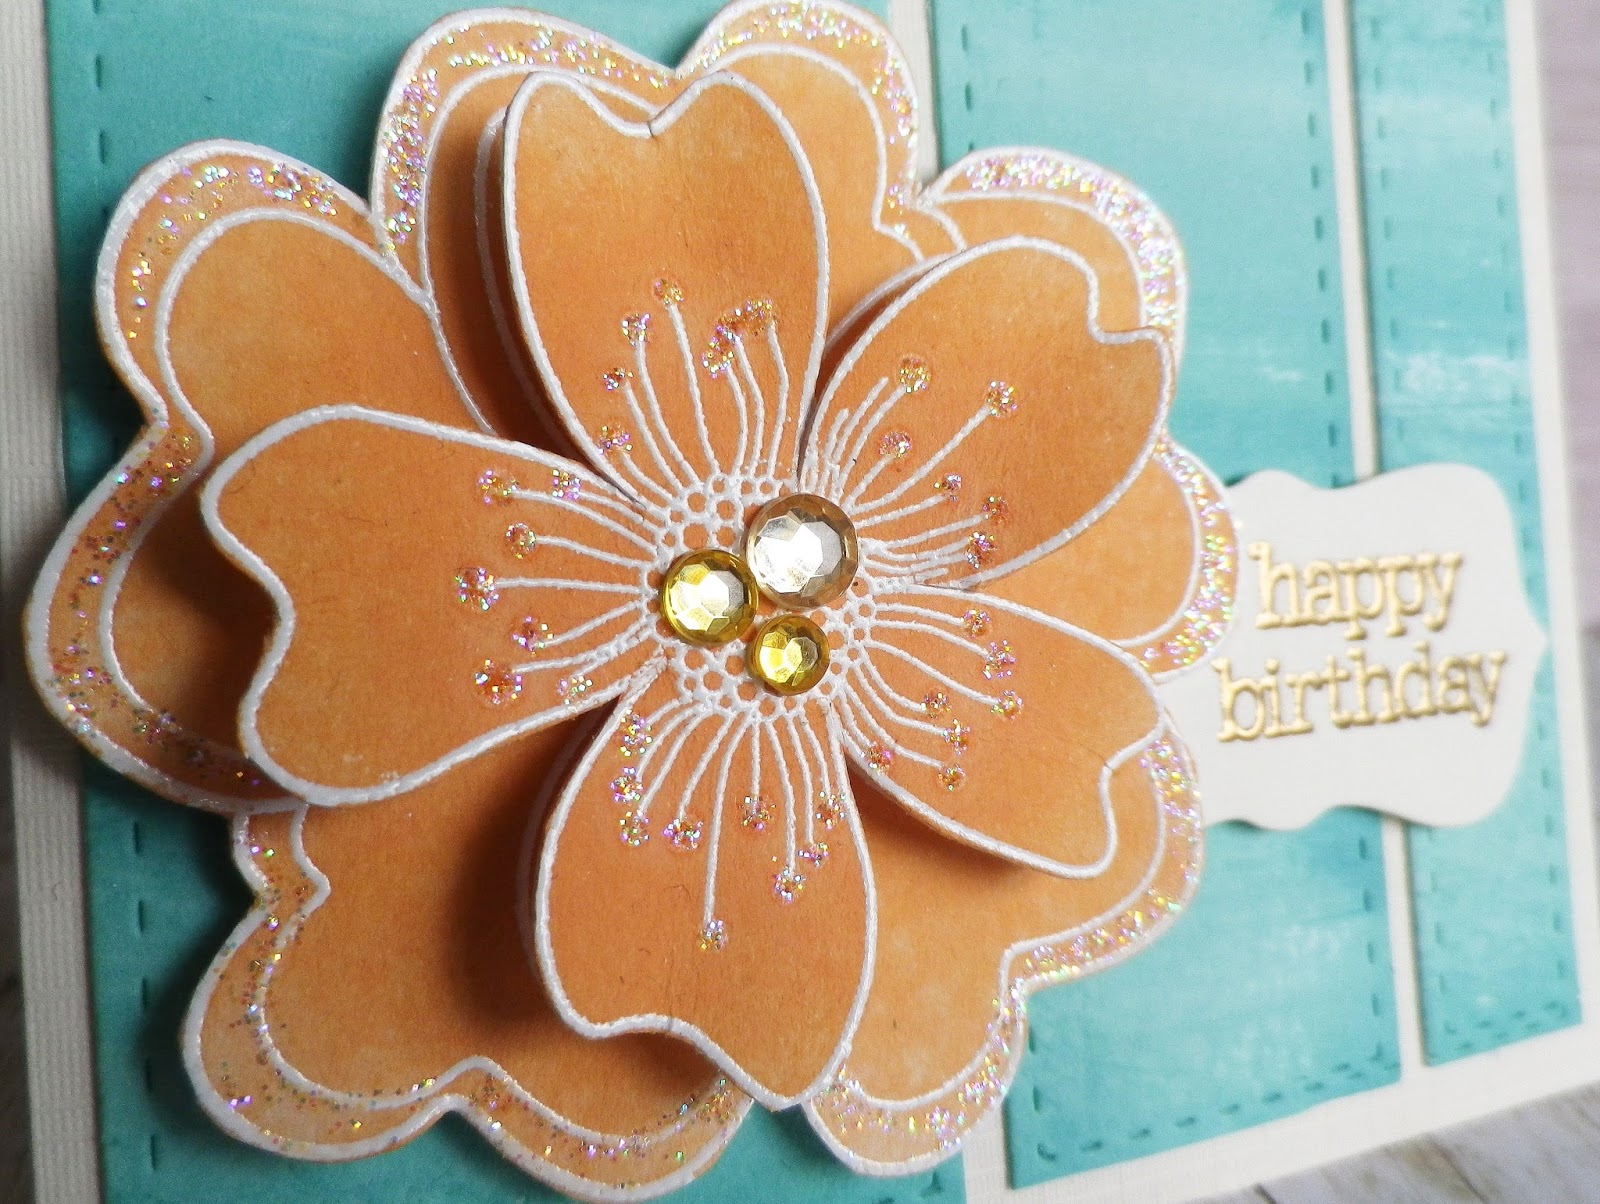
I was sorting out my woodblock stamps and came across a flower I love but haven't used in a while. Since I needed to make a couple of cards I embossed the flowers four times, trimmed them to the sizes I wanted and applied distress inks (dried marigold for the first card and a mix of shabby shutters, salty ocean and tumbled glass for the second one).


Stamps - Ruffled Flower (Hero Arts) & It's Your Day (Hero Arts)
Dies - Bundle of Stitched Shapes (Simon Says Stamp) & Tags and Bookplates (Docrafts)


The background for this card was made by dragging a Hero Arts mint to green ombre ink pad across white card a few times. After cutting the background into panels I used a die from Simon Says Stamp's Bundle of Stitched Shapes to add the stitch lines. The sentiment was embossed in gold on a die cut from Docrafts Tags and Bookplates die set. A little sparkle was added to the flower with diamond stickles and some gems. I'm submitting this card into Simon Says Stamp's Ombre Challenge.


For the next card I used up scraps of silver glitter card I had left over from making Christmas cards. I just cut strips of the card to go behind the flower and used it for the die cut sentiment too.


Stamp - Ruffled Flower (Hero Arts)
Die - Thanks Stamp & Cut (Hero Arts)


A sprinkling of sequins and gems were added for a little sparkle.

Thursday, September 3, 2015

Two Card Makeovers and a Little Recycling

Hero Arts' fun Makeover Challenge gives us a chance to makeover old projects. I definitely have plenty that could do with changes but picked two butterfly cards for makeovers today.

The first card I picked is this one.


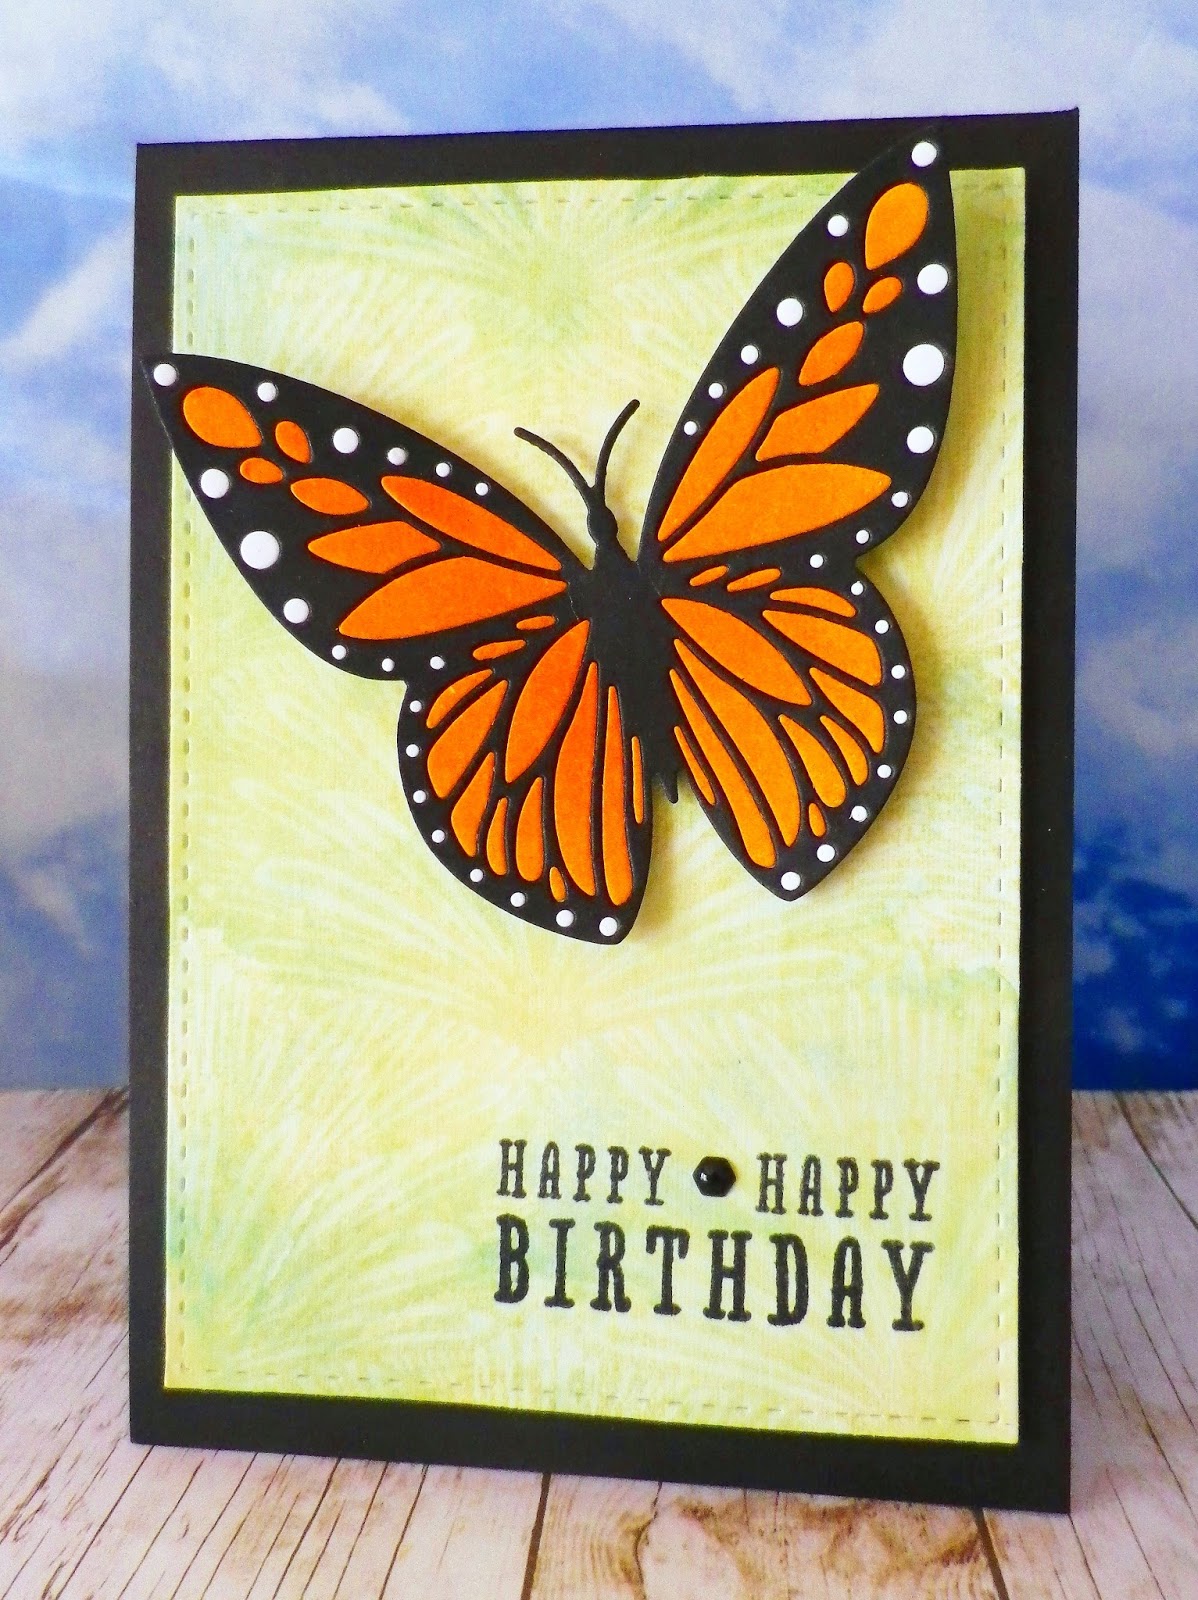
I wanted to make a butterfly in the same colours using the same inlay technique but changed the background and used less enamel hexagons. For the background I light applied distress inks (broken china, tumbled glass & shabby shutters) onto white card. Then I inked the background stamp with shabby shutters distress ink, spritzed with water and stamped on the panel. After stamping the sentiment I added one little enamel hexagon to finish.


Stamps (Hero Arts) - Tropical Background & Fantastic Birthday
Dies - Butterfly (Hero Arts) & Bundle of Stitched Shapes (Simon Says Stamp)


Next in line for a makeover was this card.


With this one I wanted to reverse the colours and add even more sparkle to the butterfly. I inked up the background stamp by dragging Hero Arts' mint julep to emerald green ombré ink pad across and down it. Then I stamped the image on a panel of white card and applied peacock feathers distress ink. Once the panel was dry, I embossed the sentiment.


Stamps (Hero Arts) - Tropical Background & Celebrate Everyday
Dies - Butterfly (Hero Arts)
& Bundle of Stitched Shapes (Simon Says Stamp)

Next it was time to do a bit of recycling to make the sparkly butterfly. I die cut the butterfly from a piece of white glitter card I had saved from a Christmas card. The butterfly was backed with glittered tulle taken from a mini bag I had received a pressie in. After adding a few gems to the butterfly's body, it was adhered to the card with foam pads and I added some sequins to finish.


Have you seen Hero Arts' new website? It looks wonderful, has a fantastic ideas area filled with inspiration and of course there are so many tempting goodies in the shop. I couldn't resist ordering lots of new stamps and dies the other day and thanks to Hero Arts' super speedy service they are already winging their way to me - can't wait!

Tuesday, June 9, 2015

Cow Wrangler

I wanted to join in on a couple of Simon Says Stamp Challenges - the Make it Masculine Challenge and Flickr Challenge #20 with this cute and summery inspiration photo:

Summertime Inspiration!

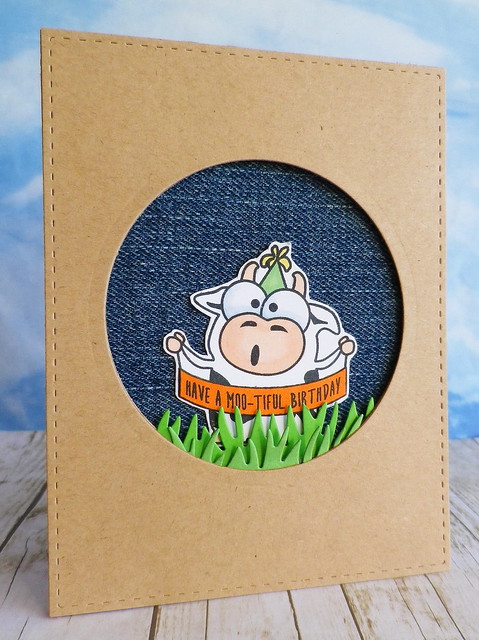
The greens in the inspiration photo made me think of the cows here out on the lush green pastures during the summer and the smiley sun in the photo inspired the cartoon cow and circular window. For masculine cards I usually try to keep things fairly plain and simple but like to throw in some humour and texture at the same time.

Cow Wrangler

Stamp - Birthday Farm Animals (Simon Says Stamp)
Dies - Bundle of Stitched Shapes (Simon Says Stamp), Grassy Border (Lawn Fawn) & Circles Nestabilities (Spellbinders)


I die cut the card face using the rectangle die from Simon Says Stamp's Bundle of Stitched Shapes and then die cut the circular window. The die cut grass was layered behind the window and I used a piece from an old pair of jeans for the background. After stamping and colouring the cow I paper pieced the sentiment in orange because it's so often used for stitching and tabs on jeans. Once the cow was complete I nestled him in the grass and adhered the card front to a kraft card base.

Monday, April 27, 2015

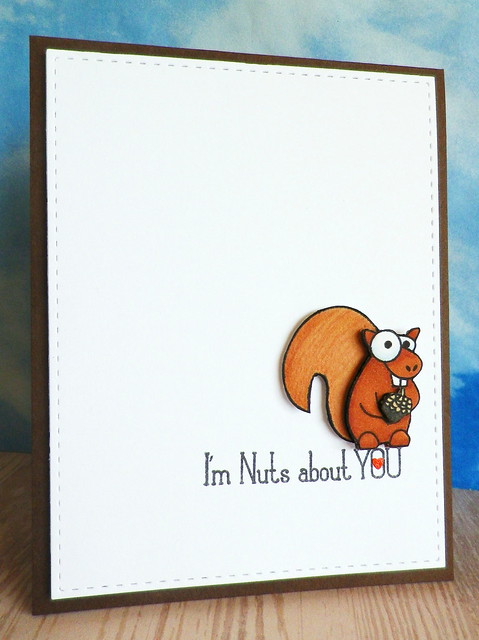
I'm Nuts About You

I thought it would be fun to join in on Simon Says Stamp's Clean and Simple Challenge and as I wanted to make a card for my hubby, pulled out one of the cute animals from Hero Arts Missing You set.

IMGP5532

Stamp set - Missing You (Hero Arts)
Die set - Bundle of Stitched Shapes (Simon Says Stamp)


After die cutting the rectangular panel with a die from Simon Says Stamp Bundle of Stitched Shapes set, I stamped the sentiment. I then punched the tiny heart, applied a layer of clear Wink of Stella and adhered it to the card. The squirrel was stamped twice. I coloured the first image fully and just coloured the main body of the second image. After cutting out the pieces I needed, I layered the images with foam pads to add some dimension. Then I stamped and cut out the nut, and again used a foam pad to stick it onto the squirrel.

Monday, January 19, 2015

Dotty Gift Bag

I'm joining in again on the Spots n Dots Challenge over at Simon Says Stamp's Flickr Group.


I wanted to make a little gift bag so had a rummage through my patterned papers and came across a Recollections set called Today Tomorrow Forever which has a lovely mix papers including dotty and wood papers that I wanted to use for this project. Recently I bought Lawn Fawn's Goodie Bag die and used that to die cut the little bag. It's such a quick and easy way of whipping up a bag in no time - love it so much! Then I cut a panel of wood patterned paper, and from it, die cut the goodie bag handle and used the banner from Simon Says Stamp's Bundle of Stitched Shapes to finish the shape.


Stamp - Birthday Farm Animals (Simon Says Stamp) Die - Bundle of Stitched Shapes (Simon Says Stamp)

After adhereing the banner to the bag I stuck a little branch on the banner and tied the bag with raffia. I stamped the chicken from the Birthday Farm Animals set, coloured it with Promarkers and did a bit of paper piecing.

As the paper I used for the bag has glitter on some of the dots I thought I'd add a bit of sparkle to the chicken using clear Wink of Stella. I tried to capture some of the sparkle on the chicken's head in the photo below.


After having very mild weather over Christmas, it looks like we're having our cold snap now. It was -3C this morning when I went out and we're due some snow tonight - brrrr!

Monday, January 12, 2015

Spring Chicken Birthday

I just love the fun images and sentiments in Simon Says Stamp's Party Animal set and decided to ink up the chicken, and a spring one at that, for the first time for a birthday card for a friend.

As I wanted the background to go with the dotty parcel that the chicken is sitting on, I used the two circles dies from Simon Says Stamp's Bundle of Stitched Shapes to make a dotty background. After randomly cutting out circles from the panel of black card, I applied backing card and adhered circles of white card which had been cut from scraps and coloured with Promarkers.


Stamps (Simon Says Stamp) - Birthday Farm Animals, Dies (Simon Says Stamp) - Bundle of Stitched Shapes

Then it was on to the chicken which I stamped twice, coloured with Promarkers and layered. After applying glossy accents to the eyes, the chicken was added to the card with foam pads.

I'm submitting this card into the Spots n Dots Challenge over in the Simon Says Stamp Flickr Group,


the Something New Challenge at Simon Says Stamp and the Die Cut Diva's Anything Goes Challenge.

Thursday, January 8, 2015

Scrap Busting for a Valentine

Happy New Year, I hope you had a wonderful Christmas. We had a great one but it went by way too quickly.

This year I hope to do as much scrap busting as possible. I have folders full of patterned scraps, plain scraps and distress ink or experimental scraps left over from other projects and hope to reduce the pile considerably by the end of the year. So I pulled out some of my distress ink scraps in rainbow colours to make this card.


Distress inks - barn door, spiced marmalade, mustard seed, mowed lawn, salty ocean and dusty concord


Last week I got Hero Arts Renaissance Heart die and couldn't wait to make something with it! So I die cut the heart in black and then in rainbow colours, added a large sticky label behind it and after trimming used the inlay technique to complete the heart.


Dies - Renaissance Heart (Hero Arts), Bundle of Stitched Shapes (Simon Says Stamp)
Stamp - Celebrate Everyday (Hero Arts)


The stitched background was die cut using the rectangle from Simon Says Stamp Bundle of Stitched Shapes and the sentiment is from Hero Arts Celebrate Everyday set. The card is for my hubby so in order to keep it as masculine looking as possible resisted all temptations to add sequins, gems, or any other bits!

As I used something new in my crafty stash I'm submitting this card into Simon Says Stamp's Something New Challenge and a2zscrapbooking's New to You Challenge. I'm also submitting it into The Die Cut Divas Anything Goes Challenge.

Tuesday, December 9, 2014

Oh Christmas Trees

No doubt like lots of you I'm fairly busy in the run up to Christmas but am enjoying all the preparations. Maybe one of these years I'll start my Christmas preparations a bit earlier than usual! Anyway I think I'm nearly there with the cards I want to make this year but took a little break away from card making to join in on Hero Arts' Deck the Halls Challenge.


I love little felt decorations so decided to make some to pop on my tree using dies from Hero Arts Merry Christmas Tree stamp and die set. To start with I die cut felt Christmas trees and then die cut green felt circles (from the same Hero Arts set) and a red heart.


Dies - Merry Christmas Tree (Hero Arts) & Bundle of Stitched Shapes (Simon Says Stamp)

Then I decorated the trees with buttons, stitching, sequins and gems. After the trees were complete I added either ribbon or baker's twine between the tree front and back then stitched the outlines and added wadding before finishing the stitching.


As I had the Christmas tree die out I decided to make another card with a removable decoration.


This time I used up lots of green scraps by putting them in rows of strips, cutting and then cutting again to make a patchy background. After die cutting the tree twice I sandwiched ribbon between the two trees and added buttons to finish. Then I added the tree to the embossed background with glue dots so that the ornament can be removed and used.

I was determined to use up every bit of the scrap background I had left over from making the tree so ended up die cutting shamrocks to put aside for next St Patrick's Day using a sweet die my friend Linda gave me. I've definitely never been this far ahead of myself before for a celebration!


Die - Shamrock (Impression Obsession)

Sunday, November 30, 2014

Bookmarks

I love making bookmarks so when I recently came across Clearly Besotted's Book Worm set, I had to snap it up.


Stamp set - Book Worm (Clearly Besotted)


So this morning I had a little inky time and decided to start making bookmarks to give along with book presents at Christmas. These bookmark have already been taken by my hubby and younger son so I'll have to get cracking on making more to go with pressies!


To start with I cut panels from kraft card and added stitched edges with Simon Says Stamp's Bundle of Stitched Shapes dies. After stamping and cutting out the images, I used Promarkers to colour them. Then I embossed the sentiments, adhered the images and added yarn to finish.


I'm submitting these bookmarks into Simon Says Stamp's Anything Goes Challenge. Hope you are having a great weekend. At the moment I have a cold that I can't seem to shake and as my older son said sound like I've sucked on twenty helium balloons! Hopefully I won't sound too much like Minnie Mouse when I go into work tomorrow:)

Wednesday, November 26, 2014

Christmas Hogs & Kisses

I recently got Simon Says Stamp's Birthday Farm Animals set and since I love the images and am still in full Christmas card making mode thought I'd use one of the funny farm animals on a Christmas card.


Stamps - Birthday Farm Animals (Simon Says Stamp), Trim the Tree & Sweet Christmas (Lawn Fawn) and Happy Holidays & Designer Snowflakes (Hero Arts)

To start with I clear embossed snowflakes on kraft card, added some white card at the bottom and cut this background out using one of the dies from Simon Says Stamp's Bundle of Stitched Shapes set. Then I had some fun with the little hog. After cutting him out and colouring him with Promarkers, I changed his party hat into a Santa hat and gave him a present and candy cane to hold from Lawn Fawn's Trim the Tree set. Then I die cut a speech bubble from Clearly Besotted's You Said It die set and used a mix of sentiments from Simon Says Stamp (Birthday Farm Animals) and Lawn Fawn (Sweet Christmas). To finish I added a tiny pom pom to the Santa hat and frosted lace stickles to the brim of the hat and on the ground. It's really foggy here today so unfortunately I didn't manage to capture any of the subtle shimmer in my photo.

I'm submitting this card into a few Simon Says Challenges - the Flickr Challenge #6 (die cutting), the Anything Goes Challenge and the Work it Wednesday Challenge (anything goes). I'm also submitting the card into The Die Cut Diva's Any Holiday Challenge.
Related Posts with Thumbnails