Showing posts with label butterfly die. Show all posts

Thursday, September 3, 2015

Two Card Makeovers and a Little Recycling

Hero Arts' fun Makeover Challenge gives us a chance to makeover old projects. I definitely have plenty that could do with changes but picked two butterfly cards for makeovers today.

The first card I picked is this one.


I wanted to make a butterfly in the same colours using the same inlay technique but changed the background and used less enamel hexagons. For the background I light applied distress inks (broken china, tumbled glass & shabby shutters) onto white card. Then I inked the background stamp with shabby shutters distress ink, spritzed with water and stamped on the panel. After stamping the sentiment I added one little enamel hexagon to finish.
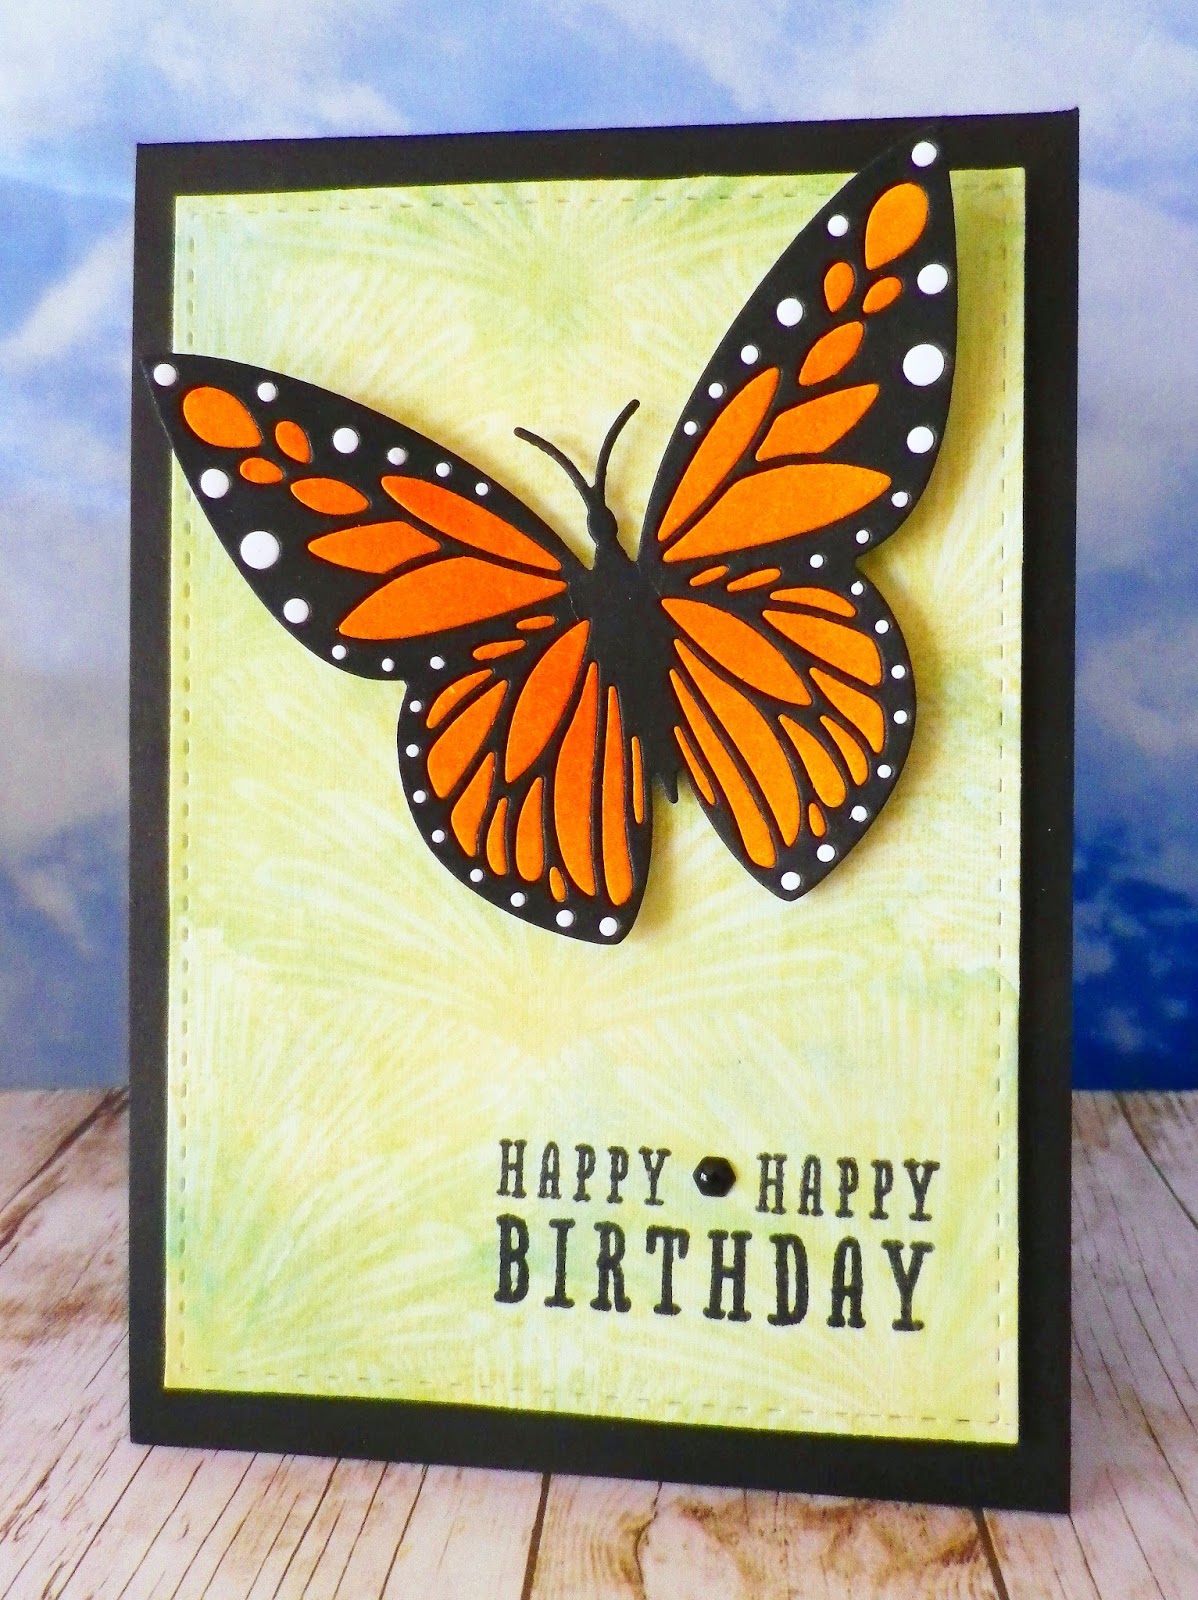

Stamps (Hero Arts) - Tropical Background & Fantastic Birthday
Dies - Butterfly (Hero Arts) & Bundle of Stitched Shapes (Simon Says Stamp)


Next in line for a makeover was this card.


With this one I wanted to reverse the colours and add even more sparkle to the butterfly. I inked up the background stamp by dragging Hero Arts' mint julep to emerald green ombré ink pad across and down it. Then I stamped the image on a panel of white card and applied peacock feathers distress ink. Once the panel was dry, I embossed the sentiment.


Stamps (Hero Arts) - Tropical Background & Celebrate Everyday
Dies - Butterfly (Hero Arts)
& Bundle of Stitched Shapes (Simon Says Stamp)

Next it was time to do a bit of recycling to make the sparkly butterfly. I die cut the butterfly from a piece of white glitter card I had saved from a Christmas card. The butterfly was backed with glittered tulle taken from a mini bag I had received a pressie in. After adding a few gems to the butterfly's body, it was adhered to the card with foam pads and I added some sequins to finish.


Have you seen Hero Arts' new website? It looks wonderful, has a fantastic ideas area filled with inspiration and of course there are so many tempting goodies in the shop. I couldn't resist ordering lots of new stamps and dies the other day and thanks to Hero Arts' super speedy service they are already winging their way to me - can't wait!

Tuesday, July 28, 2015

Just a Note

I haven't made a card in quite a while (lots of holiday gallivanting going on this month) but wanted to join in on the personal scramble that Linda organised over in the Hero Arts Flickr group.

As Scramble themes are only revealed at the start of the allotted 90 minute time frame, I decided to make the theme as much of a surprise for me as possible by jotting down various options on pieces of paper and drawing three of these out of a bag. I ended up with use a die, use only one colour as well as black, white or kraft, and add sparkle.

I started by stamping a Hero Arts mint to green ombré ink pad on white card. The pad was stamped twice with the second stamping a little lower than the original one. Oh I love this yummy ink - thanks again, Linda for sending to to me:)


After die cutting the butterfly I added some gems and diamond stickles. The butterfly is so sparkly in real life but I found it impossible to capture all the sparkle in a photo.


I embossed a panel of white card and stamped the sentiment. The panel was added to the card base with foam pads.


Die - Butterfly (Hero Arts), Stamp - Everyday Sayings (Hero Arts), Ink - mint to green ombré ink (Hero Arts) and Embossing Folder - Floral Cuts (Docrafts)

Needless to say the stickles on the butterfly hadn't dried by the time it came to adding it to the card so I ended up with sparkly fingers and thumbs. Of course I should have added the stickles after I had stuck the butterfly on the card rather than when it was first die cut - oh well I can often be afflicted by brain scramble when I take part in a Scramble:) Thanks again for the fun Scramble, Linda!

I'm also submitting this card in Simon Says Stamps Sparkle and Shine Challenge.

Thursday, April 2, 2015

Happy Birthday Splash

A week ago I hurt my right hand and haven't been able to make anything. Oh it's been a long week as I'd been hoping to start putting together a quilt I'm making for my younger son. This morning my hand is feeling much better so I thought I'd test it out with a quick card and I'm happy to say that I think I'll be sewing this afternoon:)

To make the card I applied peacock feathers distress ink to an acrylic block, spritzed with water and stamped on white card. I repeated with the process until I was happy with the result. After the card had dried I stamped the sentiments - LOVE this gorgeous and versatile Stamp & Die set with Kelly Rasmussen's pretty handwriting. To finish the background I added a sprinkling of sequins.


Stamp - Happy Stamp & Cut (Hero Arts)
Dies - Isabella & Pippi Butterflies (Memory Box)


So then it was time to make my butterfly. I used scraps of black card and a piece of card, covered with spiced marmalade distress ink, which had been left over from another project.


After assembling the butterfly I attached it to the card using foam pads. I'm submitting this card into Simon Says Stamp's Happy Birthday Challenge.

Sunday, July 27, 2014

Butterfly Birthdays

This morning I still had a Hero Arts Butterfly die on the table and couldn't resist making another butterfly card using this die. I love the dramatic colour combination on monarch butterflies so went with these colours on this card.


Die (Hero Arts) - Butterfly
Stamp (Hero Arts) - It's Your Day


I started by die cutting the butterfly in black. Then I applied distress inks (dried marigold, spiced marmalade and barn door) to white card and die cut the wing pieces from this and scraps of white card. After the pieces were inlaid into the black butterfly I placed it on an embossed panel and added some enamel dots and the sentiment.

Last night I also made a butterfly card using the same die for a fun scramble Judy hosted over at the Hero Arts Flickr Group. Judy's theme was to make a card using pastels but also to add touches of black. Whenever I've made pastel coloured cards in the past I've always stuck with white or pale colours, so it was great to try out Judy's theme and see all the wonderful creations everyone came up with. Now I'll definitely put black with pastels more often. You'll find all the cards here.


Die (Hero Arts) - Butterfly
Stamps (Hero Arts) - Solid Dots Pattern & It's Your Day


To start with I embossed the sentiment on the background and then embossed the dots with a stamp that Marilyn had sent me (thanks again, Marilyn:)) I used stardust embossing powder which has given a lovely sparkle to the card but is impossible to photograph!


As we were restricted to 90 minutes last night (and I'm a very slow cardmaker!) I just added pastel pieces to the main body of the butterfly and left out the small dots all around the edges of the butterfly. Also in my haste I managed to poke holes in a couple of pastel body pieces but sure a scramble wouldn't be a scramble for me without those kind of mishaps! For my touches of black I added some enamel dots and a black mat.

I'm submitting these cards into Simon Says Stamp Emboss It Challenge. Hope you are having a lovely and inky weekend. I'm hoping to get inky again later with some fun images my son Mark drew for me. I asked him to draw some quirky images for me to put on cards and now I can't wait to play with them!

Thursday, September 26, 2013

Gossamer Wings in Handmade Cards

I like when I can combine a bit of stamping and a bit of stitching on my cards. In the case of this card today, there’s a little stamping and a lot of stitching.

Gossamer Wings

Stamp (Hero Arts) – It’s Your Day
Die (Hero Arts) – Butterfly

The card was recently published in the fabric and fibres section of Paper Crafts Handmade Cards. When I came home from work this evening, I started poring over the digital version of the magazine. It looks like it's packed full of wonderful projects and I'm not even halfway through the magazine yet.


For the background I used lots of distress inks (barn door, spiced marmalade, mustard seed, shabby shutters, tumbled glass and dusty concord) and went with matching threads on each panel. After die cutting the butterfly, I added a piece of silver organza to the back to give parts of the wings a semi transparent look. To finish it off I added a bit of bling. Thanks for visiting:)

Monday, June 24, 2013

Moxie Fabber and Thanks

Moxie Fab World is one of my favourite places to visit and I can't tell you how surprised and delighted I was when I received a lovely email from Cath inviting me to be a Moxie Fabber of the Week! I would definitely never think of myself as being moxie fab so it was amazing to have been paid that compliment - thanks a million, Cath! If you'd like to see the post, you can find it here.

I have a few thank you cards to make and want to make a variety of cards using the gorgeous Hero Arts butterfly die. Today I only had a chance to make one card, but I suppose it's a start anyway!

IMGP1255

Stamp (Hero Arts) - Celebrate Everyday
Die (Hero Arts) - Butterfly


For the background I sanded an embossed panel my friend Linda had sent (thanks again, Linda:)) and added some stitching around the edges. The sentiment is a Happy Thanksgiving one, but I love the font, so often partially ink it to use on thank you cards.

IMGP1250

I was trying to mimic the light, papery look of a butterfly's wings so backed the die cut butterfly with a wrinkle ribbon from May Arts. A little baker's twine bow and heart gem completed the butterfly.

Thanks so much for visiting:)
Related Posts with Thumbnails