Showing posts with label gems. Show all posts

Friday, April 2, 2021

An Easter Card on Good Friday

I've used Simon Says Stamp's pretty Outline Floral Cross die on quite a few Communion and Confirmation cards, but for my first time I'm using it on an Easter card.

To start with I used distress inks and water spritzing to make a rainbow panel, or I should say three rainbow panels on different cardstocks with differing results. After that I die cut the cross and decided which background it looked best against. The cross was adhered to the panel with foam pads and I added a Hero Arts flower gem to finish. I matted the panel on white card and added it to the card base using foam pads.

Die - Outline Floral Cross (Simon Says Stamp) & Distress Inks (barn door, spiced marmalade, mustard seed, mowed lawn, tumbled glass and dusty concord) - Tim Holtz Ranger

For the inside I stamped the sentiment from Hero Arts' Celebrate Everyday set, die cut it out and matted it on a piece die cut from one of the other rainbow panels.

Stamp - Celebrate Everyday (Hero Arts), Die - Labels 4 (Spellbinders) & Distress Inks (mowed lawn, tumbled glass and dusty concord) - Tim Holtz Ranger

I'm submitting this card into Simon Says Anything Goes Challenge.

Wednesday, July 13, 2016

Linda's Snowflakes and Dry Embossing Challenge

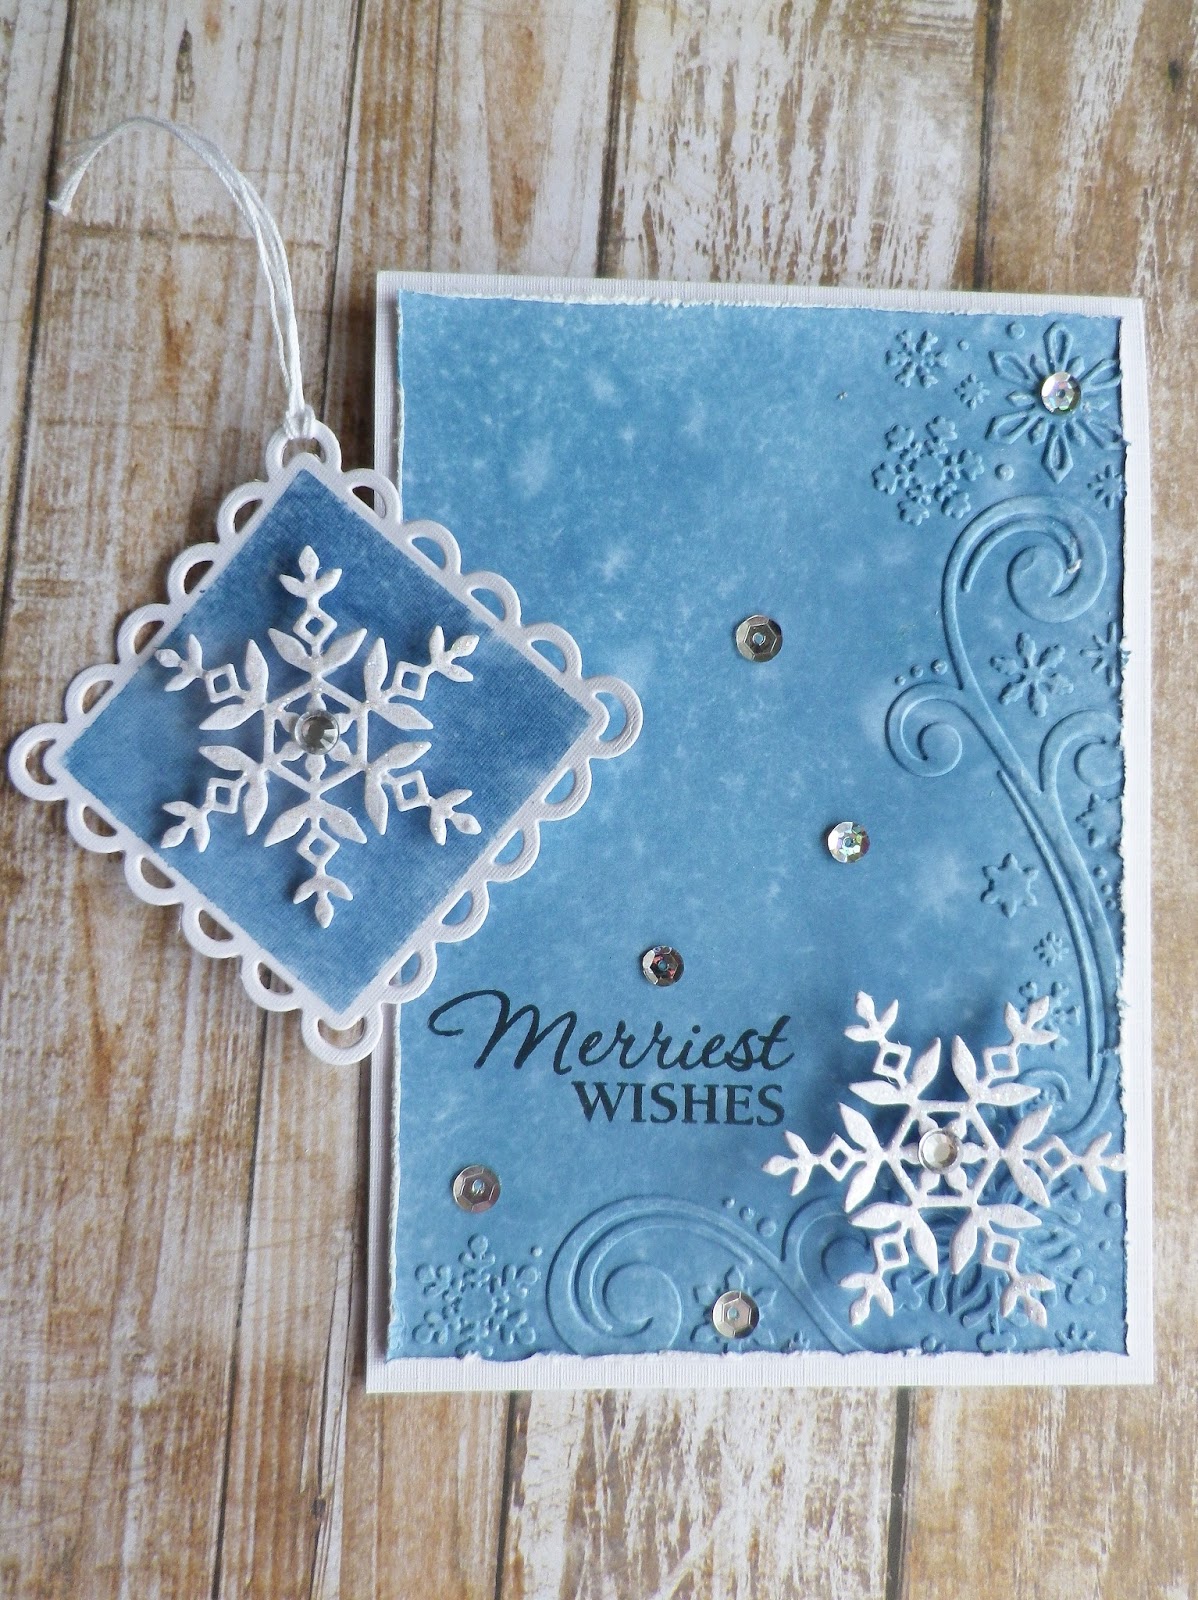
As I'm off work for a few days I was able to get straight into making a Christmas card for the challenge set yesterday by my friend Linda - a card with snowflakes and dry embossing.

I started by applying distress inks (faded jeans, broken china & tumbled glass) to a piece of white card, spritzed it with water and then embossed it using a gorgeous folder that Linda gave me when we met on holidays recently - thanks again, Linda! The pretty snowflake dies Kristina Werner designed for Simon Says Stamp are my favourites so I just had to add one of them to my card too.


Embossing folder - Snowflake Scroll (Darice)
Die - Kate Snowflake (Simon Says Stamp)
Stamp - Very Merry Christmas (Hero Arts)


The snowflake was die cut from white card and a layer of diamond stickles and a gem applied for some sparkle.


Next up I made a matching gift tag with pretty much the same supplies.


Dies - Kate Snowflake (Simon Says Stamp) & Lacey Squares (Spellbinders)

It's great to have another card and tag to put into my bundle for Christmas. Linda, thanks again for the fun challenge and helping me be better prepared for Christmas this year!

Sunday, January 17, 2016

Ruffled Flowers

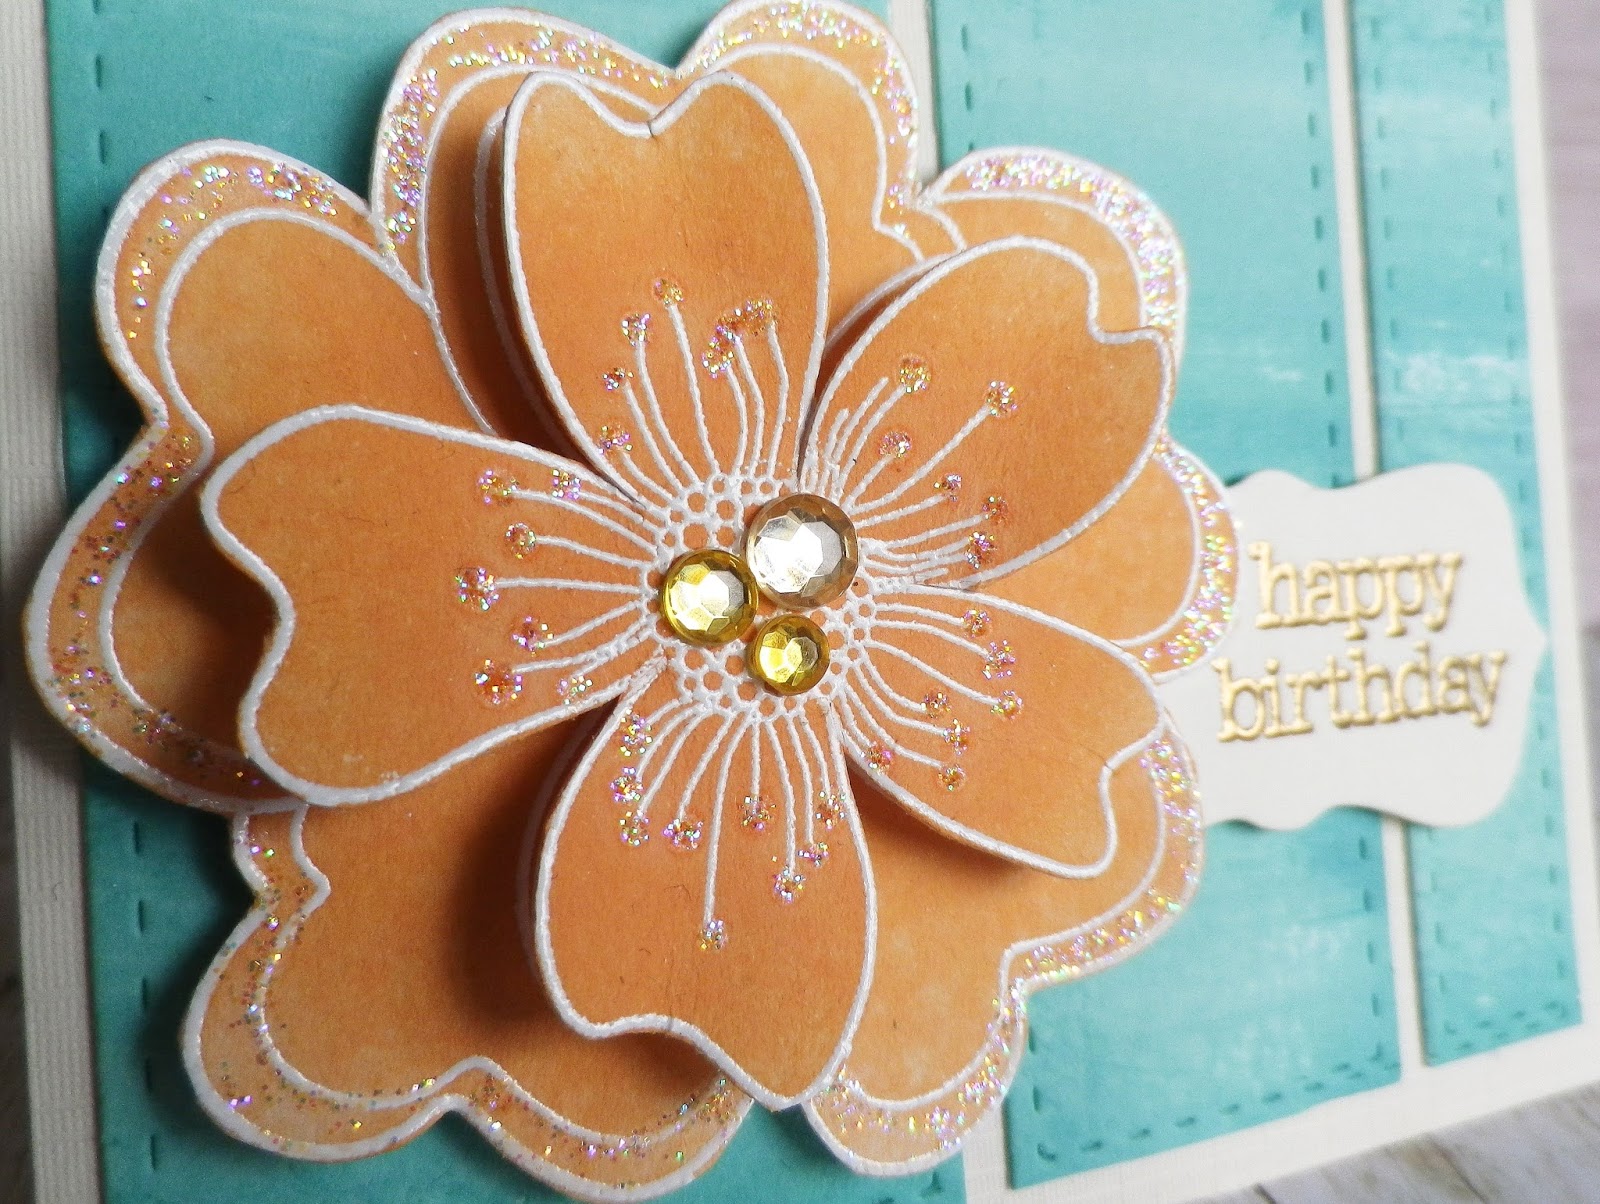
I was sorting out my woodblock stamps and came across a flower I love but haven't used in a while. Since I needed to make a couple of cards I embossed the flowers four times, trimmed them to the sizes I wanted and applied distress inks (dried marigold for the first card and a mix of shabby shutters, salty ocean and tumbled glass for the second one).


Stamps - Ruffled Flower (Hero Arts) & It's Your Day (Hero Arts)
Dies - Bundle of Stitched Shapes (Simon Says Stamp) & Tags and Bookplates (Docrafts)


The background for this card was made by dragging a Hero Arts mint to green ombre ink pad across white card a few times. After cutting the background into panels I used a die from Simon Says Stamp's Bundle of Stitched Shapes to add the stitch lines. The sentiment was embossed in gold on a die cut from Docrafts Tags and Bookplates die set. A little sparkle was added to the flower with diamond stickles and some gems. I'm submitting this card into Simon Says Stamp's Ombre Challenge.


For the next card I used up scraps of silver glitter card I had left over from making Christmas cards. I just cut strips of the card to go behind the flower and used it for the die cut sentiment too.


Stamp - Ruffled Flower (Hero Arts)
Die - Thanks Stamp & Cut (Hero Arts)


A sprinkling of sequins and gems were added for a little sparkle.

Saturday, October 24, 2015

Snowflake Card and Bag

I love using kraft, white and red on Christmas projects and as I still had Hero Arts Hand Drawn Snowflakes and Fancy Cut Christmas out on my table, I thought I'd make another Christmas card and a matching gift bag.


To make the card I white embossed the snowflakes on a panel of kraft card and applied white ink around the edges. After die cutting the sentiment out of the panel I die cut the sentiment again from glitter card and inlaid it into the panel. For some extra sparkle I added a sprinkling of gems.


Hero Arts - Hand Drawn Snowflakes and Fancy Cut Christmas

Next it was on to my gift bag. After die cutting the bag, I embossed snowflakes on the back and front panel. Again I used the inlaid technique and added some gems and baker's twine once the bag was assembled.


Hero Arts - Hand Drawn Snowflakes and Fancy Cut Christmas
Lawn Fawn - Goodie Bag Die

I'm submitting the card into Hero Arts Holiday Card Making Challenge and the gift bag into Simon Says Stamp Wrap It Up Challenge.

Thursday, September 3, 2015

Two Card Makeovers and a Little Recycling

Hero Arts' fun Makeover Challenge gives us a chance to makeover old projects. I definitely have plenty that could do with changes but picked two butterfly cards for makeovers today.

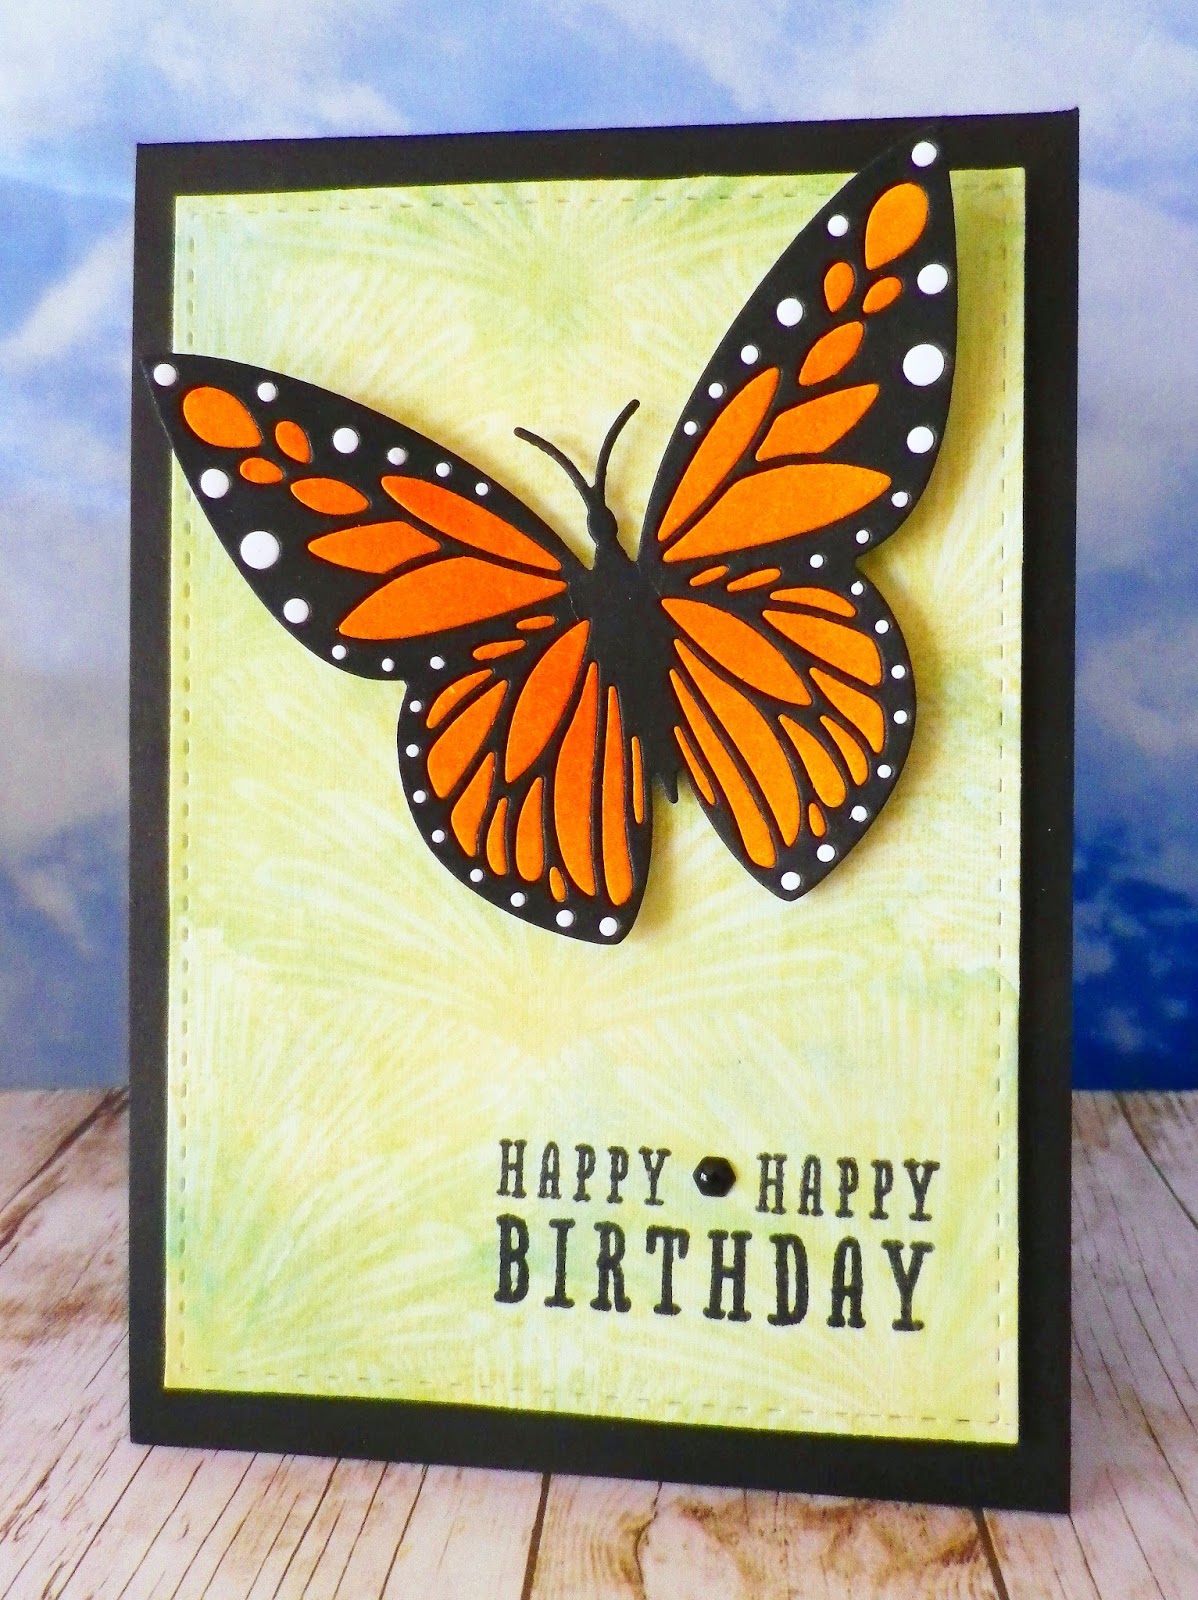
The first card I picked is this one.


I wanted to make a butterfly in the same colours using the same inlay technique but changed the background and used less enamel hexagons. For the background I light applied distress inks (broken china, tumbled glass & shabby shutters) onto white card. Then I inked the background stamp with shabby shutters distress ink, spritzed with water and stamped on the panel. After stamping the sentiment I added one little enamel hexagon to finish.


Stamps (Hero Arts) - Tropical Background & Fantastic Birthday
Dies - Butterfly (Hero Arts) & Bundle of Stitched Shapes (Simon Says Stamp)


Next in line for a makeover was this card.


With this one I wanted to reverse the colours and add even more sparkle to the butterfly. I inked up the background stamp by dragging Hero Arts' mint julep to emerald green ombré ink pad across and down it. Then I stamped the image on a panel of white card and applied peacock feathers distress ink. Once the panel was dry, I embossed the sentiment.


Stamps (Hero Arts) - Tropical Background & Celebrate Everyday
Dies - Butterfly (Hero Arts)
& Bundle of Stitched Shapes (Simon Says Stamp)

Next it was time to do a bit of recycling to make the sparkly butterfly. I die cut the butterfly from a piece of white glitter card I had saved from a Christmas card. The butterfly was backed with glittered tulle taken from a mini bag I had received a pressie in. After adding a few gems to the butterfly's body, it was adhered to the card with foam pads and I added some sequins to finish.


Have you seen Hero Arts' new website? It looks wonderful, has a fantastic ideas area filled with inspiration and of course there are so many tempting goodies in the shop. I couldn't resist ordering lots of new stamps and dies the other day and thanks to Hero Arts' super speedy service they are already winging their way to me - can't wait!

Tuesday, July 28, 2015

Just a Note

I haven't made a card in quite a while (lots of holiday gallivanting going on this month) but wanted to join in on the personal scramble that Linda organised over in the Hero Arts Flickr group.

As Scramble themes are only revealed at the start of the allotted 90 minute time frame, I decided to make the theme as much of a surprise for me as possible by jotting down various options on pieces of paper and drawing three of these out of a bag. I ended up with use a die, use only one colour as well as black, white or kraft, and add sparkle.

I started by stamping a Hero Arts mint to green ombré ink pad on white card. The pad was stamped twice with the second stamping a little lower than the original one. Oh I love this yummy ink - thanks again, Linda for sending to to me:)


After die cutting the butterfly I added some gems and diamond stickles. The butterfly is so sparkly in real life but I found it impossible to capture all the sparkle in a photo.


I embossed a panel of white card and stamped the sentiment. The panel was added to the card base with foam pads.


Die - Butterfly (Hero Arts), Stamp - Everyday Sayings (Hero Arts), Ink - mint to green ombré ink (Hero Arts) and Embossing Folder - Floral Cuts (Docrafts)

Needless to say the stickles on the butterfly hadn't dried by the time it came to adding it to the card so I ended up with sparkly fingers and thumbs. Of course I should have added the stickles after I had stuck the butterfly on the card rather than when it was first die cut - oh well I can often be afflicted by brain scramble when I take part in a Scramble:) Thanks again for the fun Scramble, Linda!

I'm also submitting this card in Simon Says Stamps Sparkle and Shine Challenge.

Monday, April 13, 2015

Birthday Brunch

I needed to give my hands a break from all the snipping that's involved in finishing a raggy quilt so thought I make a card for an upcoming birthday.

To start with I mixed a white and a red watercolour paint to make various shades of pink. After applying paint to a panel of watercolour card, that had been moistened with water, I added some splashes in the stronger pinks. Once the panel was dry I added the "happy" die cut sentiment that was made up of three layers and the gold embossed sentiment panel.

IMGP5523

Stamps & die (Hero Arts) - Happy Stamp & Cut and It's Your Day

Then to finish I added a sprinkling of sequins and gems in various shades of pink. I don't eat much ice cream but every time I look at this card it reminds me of one ice cream that I do like, a brunch, and now I'd fancy having one! Because of the splashes of paint and the sparkle of the sequins and gems I thought the card would fit into the showers part of Simon Says Stamp's April Showers and\or Spring Flowers Challenge.

Sunday, November 2, 2014

Sequin Ornaments and Gift Tags

This year I'm hoping to make more Christmas cards to send than I managed to make last year - hope you're not getting sick of all the Christmas stuff on my blog!

My friend Trinh sent me a gorgeous collection of sequins in a wonderful range of colours and I wanted to use some of them on my cards and gift tags.


Stamps & Die set - Hero Arts Stamp and Cut Ornament


To make the card I die cut ornaments windows in panel of kraft card, embossed it with Darice's Snowflake Trim folder and lightly inked the edges with white ink. The sentiment was embossed. I then cut ornaments from red glitter card, stuck sequins on the ornaments and popped them behind the windows in the kraft panel.


To complete the card I added thread and gems.

As I had two die cut ornaments left over from cutting out the windows on the card, I decided to use them to make a couple of gift tags to go on pressies. I have a huge roll of brown parcel paper (that seems endless!) so used some of this to wrap a present. To make the wrapping paper I embossed some snowflakes and added gems and baker's twine.

The first tag was made by embossing an ornament in white and adding a sequin and gem to the centre.


Hero Arts - Designer Snowflakes set & Stamp and Cut Ornament


The second tag is supposed to match the card so I again embossed an ornament on the die cut and cut out the centre piece. Another ornament was die cut from red glitter card and after I added sequins, I adhered the upper layer with some foam pads.


Hero Arts - Designer Snowflakes set & Stamp and Cut Ornament


I'm submitting these projects into Hero Arts' Holiday Challenge (Anything Goes & Tag It), Simon Says Stamp's Anything Goes Challenge, Die Cut Diva's Any Holiday Challenge and a2z Scrapbooking Anything Goes Challenge.

Hope you're enjoying the weekend. After two very wet and windy days it's wonderful to see the sun shining here again today!


Sunday, October 26, 2014

Joyful Flurry

I wanted to join in again on the Simon Says Stamp Watercolouring Challenge over on Flickr, so last night I got out some purple and blue watercolour paints to make a background. I much prefer the colour of the card in real life compared to how it appears in the photo. In real life it's more purple than blue, but for some reason my camera seems to be picking up the blues more than the purples no matter how many photos I've taken in different lights! Anyway you'll just have to imagine this card as being purple:)


Dies - Simon Says Stamp (Eliza & Kate snowflakes), Die-mamics (By the Letters), Memory Box (Bristol Snowflake)


To make the background I applied water to watercolour paper and then added the paint. Then I sprinkled some salt on parts of the panel. I wasn't quite sure how that would work out but I like the look it gave to the panel.


Then it was just a matter of scattering snowflakes on the panel. I used Simon Says Stamp's Eliza and Kate snowflake dies, a snowflake punch and some pretty snowflakes my friend Linda had sent me. For some sparkle I added sequins and gems. I die cut the sentiment a number of times from silver card, layered the letters and added silver glitter to the top layer.


Hope you're enjoying the weekend. Tomorrow is a bank holiday for us so we're looking forward to the extra long weekend and mid-term break from school.

Sunday, October 19, 2014

Snowflake Christmas Ornament

Every year I seem to have a mad dash in the lead up to Christmas as I try to make a lot of Christmas cards to send to family and friends. So shortly after last Christmas when I was talking to my friend Linda we thought it would be a great idea to make two Christmas cards each month throughout the year to save the flurry of cardmaking before Christmas. Well Linda is all up to date (and maybe even a little ahead) in her cardmaking, but let's just say I'm not!

So I decided to pull out some supplies again this morning to make another Christmas card.

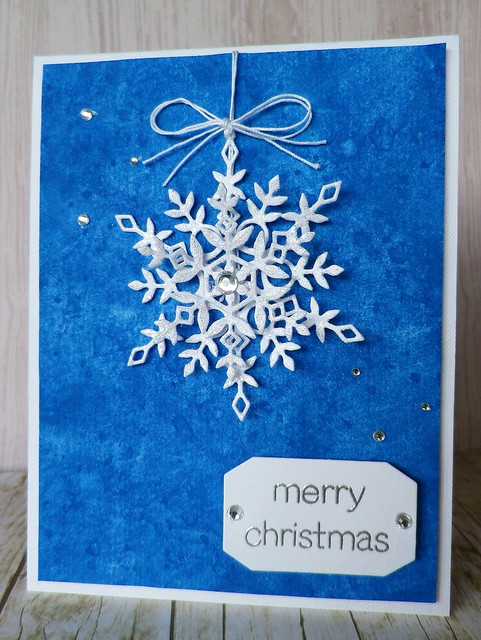
Snowflake Ornament

Dies (Simon Says Stamp) - Eliza Snowflake & Kate Snowflake
Stamp (Lawn Fawn) - Trim the Tree


Over at the Simon Says Stamp group on Flickr Barb has a fun challenge going on which is watercolouring. So I thought I'd make a watercolour background for a snowflake Christmas ornament. I used three watercolour paints (two blue & one white) to make the background. I think there are layers and layers of paint on the panel at this stage as I'd be just about happy with it when I'd add something and mess it up! Anyway when I had an okay background I decided to call a halt and just added a few more splashes of paint.

Next it was time to make the ornament. When Simon Says Stamp released a whole range of pretty snowflake dies last year I fell completely in love with them. For this card I die cut two different snowflakes and applied star dust stickles to them.

IMGP4469

After the snowflakes had dried, I layered them together using foam pads and added some string to suspend the ornament from the panel. The sentiment was embossed in silver and to finish off the card I added a sprinkling of gems.

I'm so happy to have my quota of Christmas cards made for this month, now I just have to catch up on the rest of the cards I was supposed to make throughout the year!

Saturday, October 18, 2014

Sparkling Season's Greetings

I haven't posted in a while but now that I've finished making things to donate to Christmas fairs and am back from our holiday in Disneyland Paris, I'm all ready to get into making more cards for Christmas.

Hero Arts has a great Holiday Challenge going on at the moment with a number of different fun categories. I decided to combine two of the categories - - Mad About Metallics and White Out.


Ornament stamp & die set (Hero Arts) & pine branch die (Impression Obsession)


My good friend Linda sent me a gorgeous new set from Hero Arts called Stamp & Cut Ornament - thanks again, Linda. The set has a few pretty ornaments, a lovely mix of sentiments and a die to cut out the ornaments - love this as it will definitely help speed up my Christmas card making!

To start with I made a card base and using foam pads added a panel which I had embossed using the Snowflake Trim embossing folder from Darice. Linda had also sent me pretty pine branch die cuts from Impression Obsession so I took one of these, embossed it with star dust embossing powder and to add even more sparkle applied a layer of star dust stickles.


I embossed the ornaments in silver, die cut them and then added gems, dots of stickles and thread to suspend them from the branch. The sentiment was also embossed in silver and to finish I added a sprinkling of gems to the background and on the branch.

Hope you are enjoying the weekend. We're having stormy weather with lots of rain and I think it's due to continue on that way for the weekend - it's a really good reason to stay inside and get inky!

Saturday, November 9, 2013

Moxie Fab Thanks! Blog Hop


I'm delighted to be part of the Moxie Fab Thanks! Blog Hop, to celebrate and thank the moxie fab Cath Edvalson, former editor at Paper Crafts Magazine and brilliant blogger at Moxie Fab World!

You should have arrived here from sunny California from the blog of the very talented and sweet Nancy Krueger. If you didn't begin at the start of the hop, you can go to Moxie Fab World where the hop begins. A list of all of the stops on this blog hop will also be listed there.


Cath has been such a big part of the paper crafting world so needless to say I was very shocked and saddened when I read Cath's farewell post over at Moxie Fab World. So today I'd love to say thanks a million to Cath for everything and let her know I'll miss her so much.


In her farewell post Cath quoted Winnie the Pooh, and today I have to say to Cath, also in the words of that wise bear, I knew when I met you an adventure was going to happen. And what adventures I've had since I came across Cath's wonderful, inspiring, eloquent, fun and intriguing posts in Moxie Fab World. Because of Cath, visits to Moxie Fab World have always been a must for me. I've also thoroughly enjoyed playing along with the Tuesday Trigger and the amazing variety of challenges Cath has come up with over the years. Cath has always been so generous with her kind words of encouragement to paper crafters. She has even managed to keep me, a non trendy person, interested in and abreast of all the latest trends. My online “visits” to CHA with Cath have been fantastic. Often because of her I’ve ended up with a very long shopping list indeed!

IMGP1797

Stamps (Hero Arts) - Exotic Bloom & Dolls (sentiment)

Cath, this card was made for you and about you. The panel represents all the colour you have brought into my life, something for which I will always be thankful. I want to wish you all of the very best in your new adventure in life. I'm sure many, many exciting and fun experiences lie ahead! As the blog hop banner says, Cath, you'll always be moxie fab! Hugs and best wishes :)

Thanks so much for visiting today and now why don't you join me as I hop from here in Ireland over to Switzerland for the next stop in the hop. You will be visiting the lovely and talented Isha Gupta . Happy hopping and hope you have a wonderful weekend!

Saturday, November 2, 2013

Merriest Wishes

Now that Halloween is over, it's full steam ahead with making Christmas cards. I'm trying to come up with some ideas for quick cards to make for Christmas so I can get a number of cards made in any one sitting, or I should say standing, as I always seem to stand when making cards!

I pulled out the Merry Christmas Tree stamp and die set I got last year to make a card that is very quick and easy to put together. This card is for a relative who loves muted colours and lots of bling, so I went a bit wild on the shimmery gems! I'll probably make a couple more cards like this using different colour combinations.

IMGP1781

Stamps & die (Hero Arts) - Merry Christmas Tree & Very Merry Christmas

I started by embossing a square of vellum using a snowflake folder and applied some white ink here and there. Then I embossed the Christmas tree, die cut it and added lots of gems and a bow. The sentiment was also embossed and I lightly inked the edges of the sentiment piece and added a little gem.

I'm submitting this card into the current Hero Arts Challenge (A Few of my Favourite Things category) as I used embossing which is one of my favourite stamping techniques. Also I'm submitting it into the Die Cut Divas Let's Celebrate Challenge and Simon Says Stamp Anything Goes Challenge.

Someone here is already in their relaxed weekend mode!


Hope you have a relaxing, fun and inky weekend!

Saturday, September 21, 2013

Splatter Ghosts

When I was playing with images from the Brush Strokes set from Hero Arts, the bigger splatters reminded me of the fingerprint ghosts my boys used to make in school when they were younger. So I thought I'd make a Halloween card using these splatters.

Splatter Ghosts

Stamps (Hero Arts) - Ghostly Greetings & Brush Strokes


I embossed the splatters on black card and cut eyes and mouths out of black card. After adhering these to the ghosts I applied a layer of glossy accents for some sheen. It's impossible to see from the photo but I also stamped some cobwebs in black on the background. The sentiment was also embossed and I popped up the little ghost on the sentiment panel on a foam pad. To finish I just added a few gems and baker's twine.

I'm submitting this card into the current Hero Arts Challenge as the card was inspired by the super cute Halloween card (splatters on the background and popped up ghost) on page 28 of Hero Arts' Holiday & Stamp Your Story catalogue. Edited to add - I've just found out that Lisa Spangler made the card in the catalogue. You can see more on her fun card here.

Hope you are having a fun and inky weekend!


Monday, July 15, 2013

Mixy-Matchy Congratulations

As I tend to shy away for mixing lots of papers or patterns on my cards, I thought I'd have a go again and play along again with Cath's Mixy-Matchy Style Challenge in the Moxie Fab World.

IMGP1367

Stamp (Hero Arts) - Warmest Wedding Wishes

My good friend Linda sent me an exquisite Pink Paislee paper pad called London Market. The papers are so pretty and romantic looking, I couldn't wait to use them! Just to be a little more mixy matchy I teamed some of these papers with a brown text paper from a Docrafts Wellington Bear paper pad. To make the card I layered the papers and punched some circles for the scalloped border. After adhering the papers to the card base, I cut out an extra butterfly and popped it up on a foam pad. To finish I added lace and gems and embossed the sentiment.

I'm squeezing this card in on the last day of the challenge, but if you'd like to get mixy-matchy today too, you'll find all the details here.

Sunday, September 4, 2011

Shades of Autumn

I really love the glorious range of colours on trees in autumn. This week on the way to work, I've been enjoying the beautiful displays nature has on offer, glowing in the early morning sunlight. So with these colours in mind, I made this card for the current Hero Arts Challenge and the Lily Pad Cards Resist Challenge.

Shades of AutumnStamp - Flower Text (Hero Arts)

To start with I embossed the image in white on white card and applied spiced marmalade and rusty hinge distress inks. I embossed the image again in white on white card and applied distress inks (walnut stain, barn door, mustard seed and shabby shutters) to the flowers and leaves. Now I really have inky multicoloured hands! I pieced the flowers and leaves and added gems and buttons to finish.

Hope you are all having a great weekend:)

Tuesday, August 16, 2011

Fabric Flowers for Friends

I love making fabric flowers and over the weekend spent time making them for some friends. Instead of just putting the flowers in an envelope, I make a holder for them and also a little card with a tiny fabric flower to match.

Flowers for Friends
Stamps (Hero Arts) – Be Happy, Clouds Background, Antique Engravings & Sew Artsy

A tutorial for the fabric flowers can be found here. I applied tumbled glass distress ink to the Clouds Background, lightly spritzed with water and stamped on white card.

DSCN8738

The butterflies were stamped on scraps of white card which had barn door distress ink applied. I used some patterned paper for the grass\leaves and a little piece of baker’s twine for the flower stem.


Just to show the size of the tiny flower on the card.

I'm submitting these projects into the Fabric\Felt Challenge at Lily Pad Cards, Creative Card Crew's Hand Made Flowers Challenge, Paper Creations Ink's Show Us Your Flowers Challenge and also the current Hero Arts Challenge.

Friday, March 18, 2011

Hero Hostess Takeover!

It’s Hero Hostess week on the Hero Arts blog this week and we’ve had such a fun time making birthday cards and projects for the blog!

Linda and Sharon were first up on Monday with wonderful cards for a friend and a guy. On Tuesday Sally shared a stunning gift box which she had created and is sure to make a present extra special. Wednesday saw Anita with her very first video tutorial and she created a gorgeous card with wonderful instructions on how to make twisted ribbon flowers. So Friday is finally here and I’m sharing some gift wrapping ideas.

Gift Wrapping Presents
Stamps (Hero Arts) Antique Engravings, Blossom Art, Large Flower & Birthday Messages

I often make my own wrapping paper and embellishments for gifts. I love choosing the stamps and colours to make these and had great fun going through my Hero Arts stamps to wrap these particular gifts. Full instructions on how I wrapped the gifts are here on the Hero Arts website so I’ll just give the short version now. I stamped a butterfly randomly over pieces of some blue craft paper using VersaMark.


To decorate the parcels I white embossed the butterflies and flowers on vellum and added a selection of gems – thanks again Joy for some of these! The bottom layer of the sentiment was also white embossed on vellum with the top layer white embossed on a scrap of the blue paper.


The blue paper I used was from a roll which is 70m long and cost the same as a single sheet of wrapping paper. So I’ll be able to wrap lots of presents from this roll and will be able to customise them to suit the recipient’s tastes. The other day I wrapped a present for a friend using different paper and stamped embellishments. She told me that she has saved the embellishments so that she can make her first cards using them – hopefully she’ll get hooked on card making too!


I'm submitting this project into The Shabby Tea Room "Party Time" Challenge and the Simon Says Stamp Happy Birthday Challenge.

Hope you all have a wonderful weekend!

Thursday, August 26, 2010

PaperPlay Challenge – Sketch and Stash.

The challenge on PaperPlay this week is “Sketch and Stash”. Sandie has provided the great sketch below for you to try this week.

An added option to the challenge is to use some of your new stash. I have to put my hand up and admit to being guilty of buying goodies and then not using them for ages or even worse, ever! The mottled pink card is my something new from my stash.


Wink, Wink, Ink is kindly sponsoring this week’s challenge and the lucky winner will receive 3 digi images from the store here. I had such a hard time deciding which Wink, Wink, Ink image to use on my card as there are so many cute and gorgeous images to choose from. In the end I opted for this cutie called Pearl. I love the adorable images in this set and the fact that they are in both b&w and colour. The coloured version would be so handy for printing out and whipping up a quick card. The sentiments to go with the images are great too.

Stamps used:- Pearl (Wink, Wink, Ink) & Clouds Background (Hero Arts)

I coloured the image with watercolour pencils, popped up the sunhat and a couple of the little ruffles on the back of the swimsuit and added a pearl to the shell. The sentiment inside the card is one of the ones provided with Pearl – “Finding a friend like you is a rare and unexpected blessing!”

My 10 month old computer decided to stop working completely on Monday and I really thought it was gone beyond repair. Thankfully, it’s back in action again at half speed at the moment, but with a replacement part it should be back to normal later today. I have a lot of catching up to do! I missed the computer so much I even resorted to using my sons' PlayStation 3 to access the internet for a few things! But it’s so much better and quicker to be using a keyboard again. Luckily I haven’t lost anything (especially photos) but my motto from now on is backup, backup, backup.
Related Posts with Thumbnails