Sunday, July 31, 2016

It's Purple Really

This week my friend Linda challenged me to make a card using the emboss resist technique. It's been a bit of a hectic week so I only got around to making my card today.

I just love this technique - nothing like doing a bit of embossing and then getting inky!


Unfortunately my camera seems to be having a problem distinguishing purple from blue today so even though my card is very purple having used shaded lilac and dusty concord distress inks, my card and tag look more blue in the photos.


I started by clear embossing snowflakes from a number of Hero Arts sets (will add names tomorrow) on white card. After applying the distress inks I sprinkled water on the panel using Tim Holtz's Splatter Brush which Linda recently gave me - thanks again, Linda:) Once the panel was panel was dry I adhered it to a card base, added the embossed sentiment and finished it off with some gems.

I repeated the process on a tag I had die cut.


Another two items ready to go into my stash for Christmas.

Monday, July 25, 2016

Critter Christmas

Oh where did that weekend go?! Just before I head to work I want to set another Christmas card challenge for my friend Linda. This week I’m going with Critter\s Christmas so the card should have any type of animal\s on it.

For my card and tag I inked up a funny reindeer image from Art Impressions. As soon as I spotted the reindeer with the wobbly bottom I had to get it – I know some of my family and friends will get a laugh out of that fella when they see him on their Christmas cards.


Stamp – Jingle Set (Art Impressions)
Embossing Folder – Snowflake Scroll (Darice)


After stamping, colouring and cutting out the reindeer I adhered him to a card panel that had been embossed and stamped with the sentiment. Then I cut out and coloured an extra bottom which shakes as it’s been adhered to the larger image with an action wobble.


I had to add a little sparkle so out came diamond stickles to go on the bells.

Next up I made a matching tag. Even reindeer are taking selfies now:)


Stamp – Jingle Set (Art Impressions)
Dies - Film & Polaroid – (Greeting Farm) and Romantic Rectangles 2 (Spellbinders)


Linda has already set her challenge here - it's a good one and one of my favourite techniques!

Sunday, July 24, 2016

Linda's One Layer Challenge

Earlier in the week my friend Linda set a challenge to make a one layer Christmas card. I rarely make one layer cards but it was fun, and I have to admit a little challenging, to give it a go. Midweek I was in the process of making a card and as there was a lot of colouring left to do on it I brought it into work on Friday to finish it at lunchtime. Then what did I do - left it in work by mistake! So this morning I started again from scratch using the same images but made a less "busy" card which I think I prefer to the one that's still sitting in my drawer in work.

I started by heat embossing the sentiment in gold and then stamped a mix of images on part of the card. After that I used Promarkers to colour the flowers and pine cones. I wish I was brave enough to try a bit of splattering but after dropping an inky block and messing up what was my first attempt at this morning's card, I left the card as it was.


Stamps (Hero Arts) - Color Layering Dimensional Bird, Very Merry Christmas and Build a Wreath by Lia

To finish I just added diamond stickles to the flower centres - hopefully it's okay to do that on one layer cards!


Next up was the matching tag which I think I'll redo as I wrinkled it a bit when trying to flatten it after it got a little warped from heat embossing. Lol it has been a day for stampy mishaps so I think I'll try my hand at something else today!


Stamps (Hero Arts) - Color Layering Dimensional Bird, Very Merry Christmas and Build a Wreath by Lia


Monday, July 18, 2016

Not a Christmas Image

It's time again to challenge my friend Linda to make a Christmas card and this time I'm going with the theme of making a card on which the main image is not a Christmas related one.

This week I've made a card for a friend who is mad into golf. I think she'd play golf on Christmas Day except for the fact that her club is closed! For my main image I used a fun golf martini stamp from a set Linda gave me recently - thanks again Linda! The image was coloured with Promarkers and I added a sprig of holly for a festive feel.

Stamps: Fore Retirement - Impression Obsession, Woodland Wreaths (sentiment) - WPlus9 & Christmas Characters (holly) - Inkadinkado
Die: Elegant Ovals (Spellbinders)


The top part of the glass and the flag are popped up on foam pads for extra dimension and I added a layer of Glossy Accents to the glass.


For a matching tag I treated the die cut golf ball as if it were a Christmas pudding by topping it with a sprig of holly.

Dies: Golf Ball and Tee - Taylored Expressions & Nesting Gift Tags (Docrafts Xcut)
Stamp: Christmas Characters (holly) - Inkadinkado


Linda has already set me a challenge for this week. You can see it here. Oh I think her challenge is the most difficult type of card for me to make - hope I can come up with something that's even semi okay!!


Friday, July 15, 2016

Lavender Sachets

Now that lavender is in full bloom here, except in my garden where it seems to be a bit behind this year, my sister gave me two big bunches from her garden which I am currently drying out on trays covered with tissue paper.


I still have some dried lavender in a jar which came from both of our gardens last year so I decided to make lavender sachets using some pretty felt die cuts my friend Linda gave me recently. You can see gorgeous sachets that Linda made here and pick up some great tips from her too.


These Simon Says Stamp dies have gone straight to the top of my shopping list - thanks for enabling me, yet again, Linda;) The first sachet was made for my sister so she could enjoy the glorious scent of lavender from her garden year round.

Dies - Plush Blooming Heart & Plush Charmed Heart (Simon Says Stamp)

I popped the heart in a little cellophane bag and die cut and folded over the larger oval die to use as a topper.
Dies - Plush Blooming Heart & Plush Charmed Heart (Simon Says Stamp) and Elegant Ovals Nestabilities (Spellbinders
Stamp - Sew Artsy (Hero Arts)


The other sachet is for my Mam. Next up I think I'll make one for myself and get an order in with Simon Says Stamp:)
Dies - Plush Blooming Heart & Plush Charmed Heart (Simon Says Stamp)

Wednesday, July 13, 2016

Linda's Snowflakes and Dry Embossing Challenge

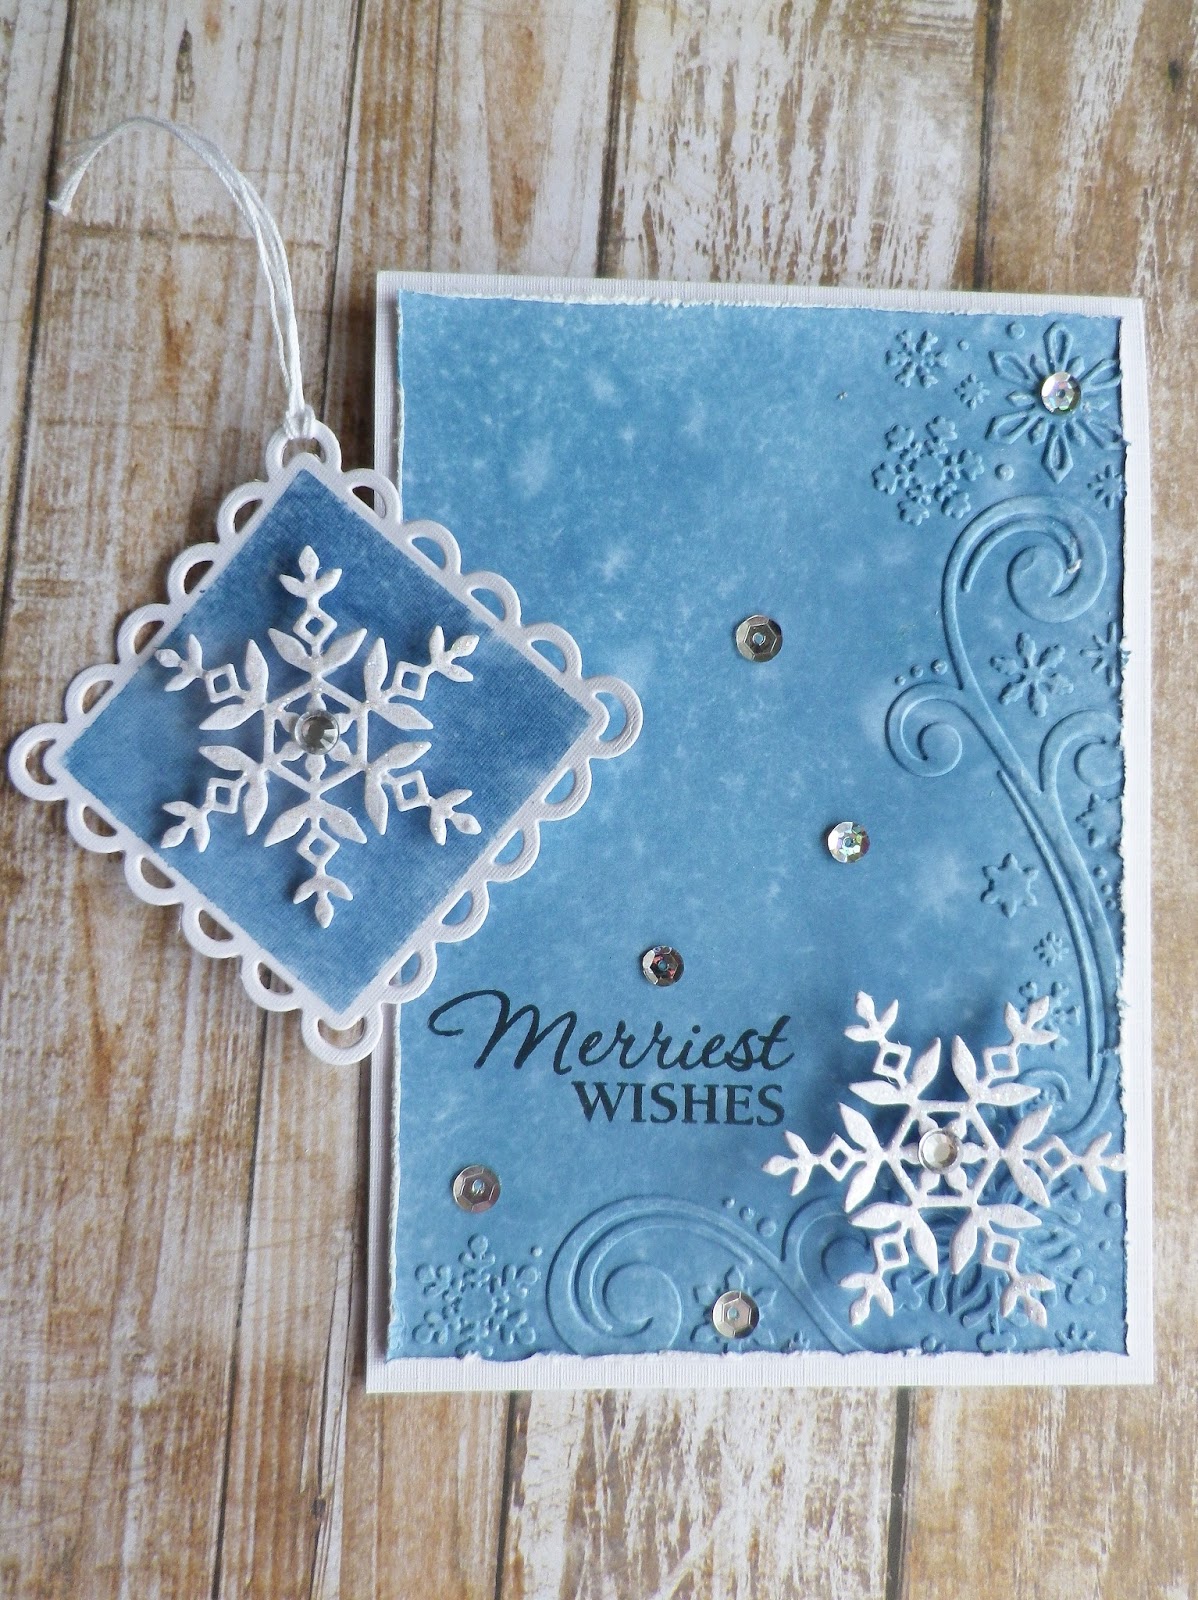
As I'm off work for a few days I was able to get straight into making a Christmas card for the challenge set yesterday by my friend Linda - a card with snowflakes and dry embossing.

I started by applying distress inks (faded jeans, broken china & tumbled glass) to a piece of white card, spritzed it with water and then embossed it using a gorgeous folder that Linda gave me when we met on holidays recently - thanks again, Linda! The pretty snowflake dies Kristina Werner designed for Simon Says Stamp are my favourites so I just had to add one of them to my card too.


Embossing folder - Snowflake Scroll (Darice)
Die - Kate Snowflake (Simon Says Stamp)
Stamp - Very Merry Christmas (Hero Arts)


The snowflake was die cut from white card and a layer of diamond stickles and a gem applied for some sparkle.


Next up I made a matching gift tag with pretty much the same supplies.


Dies - Kate Snowflake (Simon Says Stamp) & Lacey Squares (Spellbinders)

It's great to have another card and tag to put into my bundle for Christmas. Linda, thanks again for the fun challenge and helping me be better prepared for Christmas this year!

Tuesday, July 12, 2016

CAS Christmas

It's time again to set a Christmas card challenge for my friend Linda and this week it's going to be a CAS Christmas card. I have to say CAS cards are definitely a challenge for me but I thought I'd give it a go anyway this week. I see Linda has already posted a challenge for me here on her blog - can't wait to make a start on something!

After die cutting a window and stamping a sentiment on a panel of white card, I added a little elf peeking out of the window. I adhered an embossed circle to the card base before attaching the panel with foam pads. To finish I applied stickles to the trim and bobble on the elf's hat. It was such a quick and easy card to make especially as I had the elf image already coloured with Promarkers and ready to go on a card.


Stamps - Santa's Elves Stamp & Cut (Hero Arts) & Woodland Wreaths (WPlus9)
Die - Nestabilities Circles (Spellbinders)
Embossing folder - Cuttlebug Lace Tree (Provo Craft)


For my matching tag I used another elf image from the same Hero Arts set and sandwiched baker's twine between the embossed circle and a backing circle.


Stamp - Santa's Elves Stamp & Cut (Hero Arts)
Die - Nestabilities Circles (Spellbinders)
Embossing folder - Cuttlebug Lace Tree (Provo Craft)


If you'd like to join in on Linda's challenge and/or mine we'd love you to add a link to your card on either of our blogs.
Related Posts with Thumbnails