Saturday, December 24, 2011

Happy Christmas!!

I just wanted to pop by and wish you all a very Happy Christmas! Hope you all have a fantastic time with your family, friends and of course furry family members!


Toby Claus

I just have a couple of Christmas cards to share today. Anita is brilliant for organising fun card swaps and I was delighted to take part in the one she put together for Christmas over at the Hero Arts Flickr group. The card below is the one I sent to Greta about 4,500 miles from here. I was in such a hurry to get Greta's card to her that I forgot to take a photo of it, so Greta kindly took one for me - thanks again, Greta!


Stamps (Hero Arts) - Stunning Snowflakes, Decorative Ornament & Very Merry Christmas

In the exchange I received this wonderful card from Ivy! Thanks again Ivy, I love it:)


As well as receiving a gorgeous card in the swap, it has been great getting to know Greta and Ivy a bit more. Now I'm off to watch one of my favourite Christmas films, Home Alone with the lads and I think there might be some hot chocolate, popcorn and chocolate involved - yummy!

Happy Christmas everyone!

Sunday, December 18, 2011

A Gift Card Hidden in the Snow

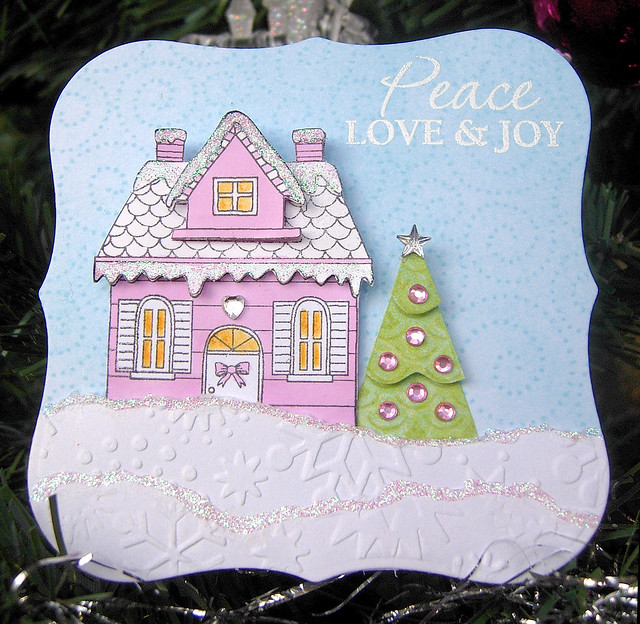
The current Hero Arts challenge includes a pocket card category, so I thought I’d make a little card for a gift token I’m giving at Christmas.

A Gift Card in the Snow
Stamps (Hero Arts) – Snowy House, Magical Background, Friendly Flags and Very Merry Christmas.

For the front of the card I applied tumbled glass distress ink to white card and using the same ink, stamped it with the magical background. The ground was embossed with snowflakes and some stickles added for a bit of sparkle. I coloured the house with a ProMarker and watercolour pencil, layer it and added stickles for yet more sparkle – lol went a bit sparkle mad on this card! I loved the way Kelly Rasmussen used one of the flags from the Friendly Flag set for Christmas trees on this gorgeous pocket card. So I decided to use a flag with a scallop pattern for my tree here. I layered the tree to add some dimension and added some pink gems and a star to finish. The sentiment is embossed in white.

A Gift Card in the Snow
The inside of the card was made in the same way as the outside, except instead of sticking down the snowdrifts I just attached them to the card on three sides using machine stitching.

A Gift Card in the Snow - inside
My little fella is hoping for it to be as snowy here as on the card on Christmas Eve\Day to make it easier for Santa to get here. Although we've had flurries of snow and a cold snap over the last little while, it's supposed to get warmer during the week. Do you think you will have snow in your neck of the woods for Santa next week??

Thursday, December 15, 2011

Santa Mitten

Yikes it’s been quite some time since I posted, but here I am back again after a fun but busy time for the craft fair.

After a very mild November the weather has changed here with a bit of snow this week and decidedly colder weather. So it’s back to the gloves, hats and scarves again. This reminded me of a pair of mittens I knitted a few years ago for a friend’s little one, which she always called her Santa mittens. Now she’s all grown up (12 1\2!) and I hope she likes her Santa mitten Christmas card.

DSCN9199
Stamps (Hero Arts) – Holly Flourish, Stunning Snowflakes and Small Variety Alphabet.

For the background I applied tumbled glass distress ink to white card and using the same ink stamped the Holly Flourish Background. On another piece of white card I white embossed the snowflakes, applied barn door distress ink and cut out a mitten shape. For the top of the mitten I knitted a piece in single rib pattern using wool left over from making the original mittens - I really shouldn't hoard things! I made a little pocket at the back of the mitten to hold the gift card and attached the ho ho ho sentiment (stamped in barn door distress ink) to it so the gift card could be pulled out.

Hopefully it won't be another month before I post again!

Wednesday, November 16, 2011

A Gift on a Gift

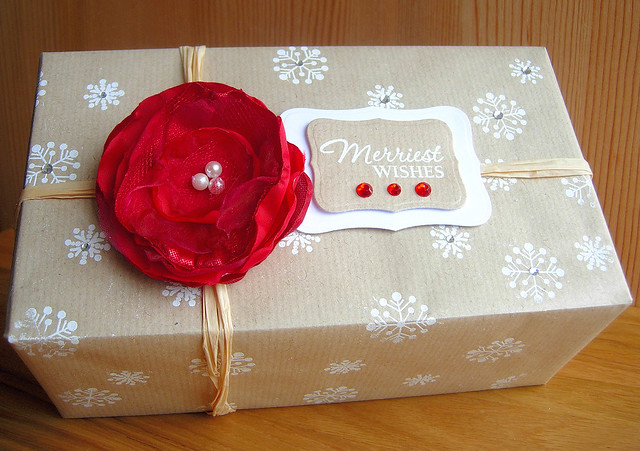
Yesterday I started making some brooches for a craft fair and thought it might be nice to add one to a gift wrapped present, so that the recipient will end up with a gift on a gift.

A Gift on a Gift
Stamps (Hero Arts) – Holiday Dolls (snowflakes) & Very Merry Christmas

To make the gift wrap I randomly embossed the snowflakes on a piece of inexpensive (€1.50 for 20m) parcel paper. After wrapping the box and tying with raffia, I added one of the brooches. The tag has the greeting one side and “to” & “from” on the other side. To finish I just added a scattering of gems to the gift wrap and tag. I’m submitting this project into the current Hero Arts Challenge.

I really enjoy making these flowers and making them has been a great fabric stash buster, though I think I’d need to make hundreds of them to make any real dent in my stash!

Monday, November 14, 2011

Blinged Up Butterflies Gift Box

I can’t believe it’s been over a month since I posted anything so I had to clear the cobwebs off the cobwebs on the blog this morning!

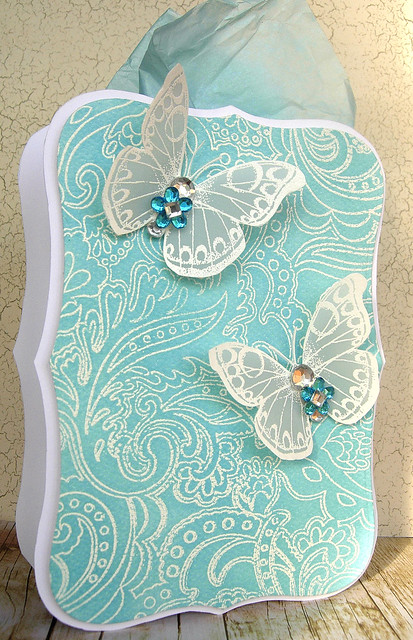
Part of this month’s Hero Arts Challenge is to bling up a project so I went a bit bling crazy on the butterflies for this gift box!

Blinged up Butterflies Gift Box
Hero Arts Stamps (Flower Dot Pattern & Antique Engravings)

To start with I made a small opened topped box – instructions on this post. Then I added white Label 8 die cuts to the front and back of the box. The Flower Dot Pattern was embossed in white on watercolor card and I applied broken china and tumbled glass distress inks.

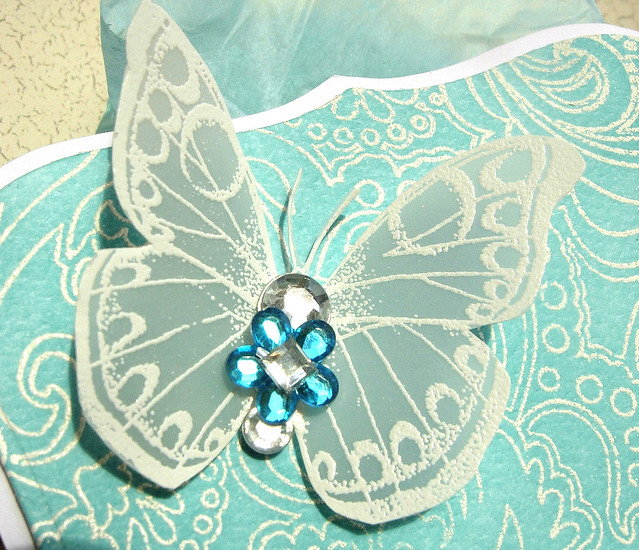
The butterflies were embossed in white on vellum and blinged up with lots of Hero Arts gems.

Blinged Up Butterfly Gift Box - close up

Recently I’ve been busy with work and the craft fair so hopefully in December I’ll be back to blogging as usual again.

Thursday, October 6, 2011

Loved up Christmas

I can't believe I've actually made my hubby's Christmas card and it's only the 6th of October!

My friend Linda sent me a wonderful package of goodies including the Very Merry Christmas stamp set and embossed images of the Flower Dot Pattern - thanks again, Linda! I've been admiring the Flower Dot Pattern for a while and was delighted to get to play with it. I know the sentiment set is going to get a lot of use in the lead up to Christmas and also throughout the year by using only parts of the sentiments.

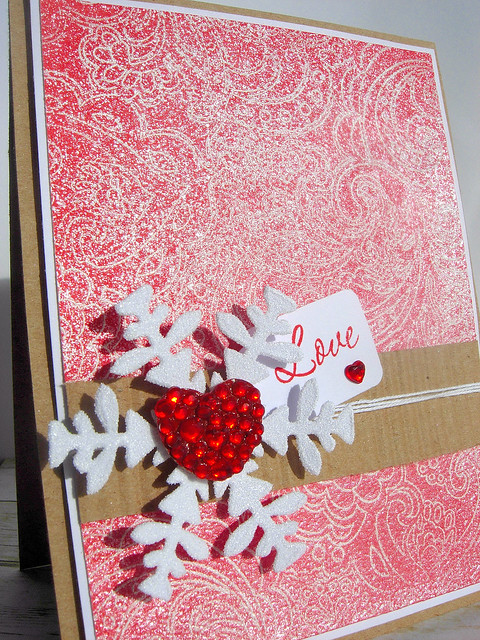
Hubby's Christmas Card
Stamps (Hero Arts) - Flower Dot Pattern and Very Merry Christmas

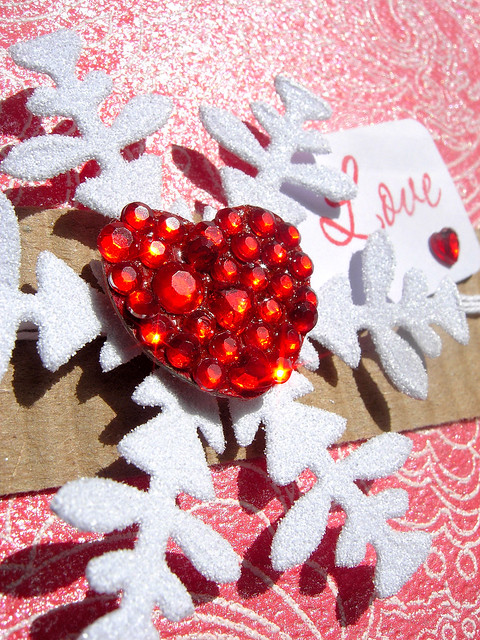
To start with I applied barn door distress ink to the embossed image and sprayed liberally with a water and perfect pearls mix. I love the wonderful shimmery effect of the perfect pearls but just not when I'm trying to take of photo of it! The snowflake is covered with white glitter and the chipboard heart is encrusted with red gems including a couple of heart shaped ones.

Hubby's Christmas Card - close up of the bling and sparkle.

The sentiment is stamped with barn door distress ink. I'm submitting this card into the Lily Pad Cards Bling Challenge , the Textured to Perfection Challenge in the Moxie Fab World and the current Hero Arts Challenge.

DSCN9025

Just showing the shimmer of perfect pearls in this photo.

My blogging is probably going to be a little bit patchy over the next little while (and it already has been for a while!), as at the moment I'm helping with organising a Christmas craft fair and trying to get some bits and pieces made for it - just need a few more hours in the day!

Sunday, October 2, 2011

Happy Christmas from the Snow Drifts

After many weeks of thinking I must get started, I finally made my first Christmas card! For my first card I couldn’t resist playing with this cute car with Christmas tree image that my friend Linda sent me.

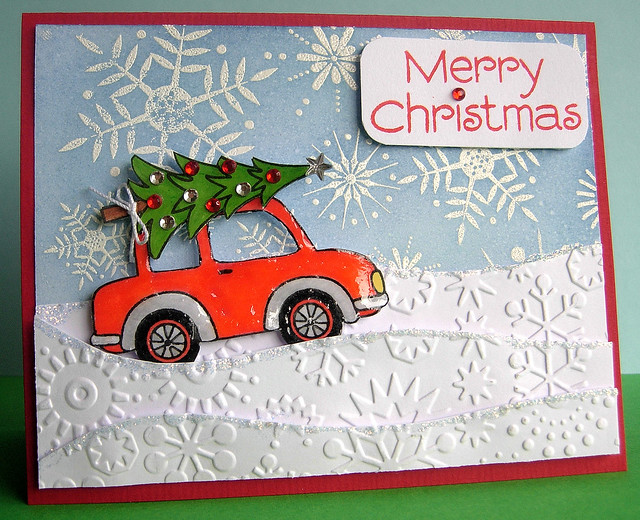
Merry Christmas from the Snow Drifts

Stamps (Hero Arts) - Stunning Snowflakes, Car With Tree and Celebrate Everyday

For the background, I white embossed white card with the snowflakes, applied distress inks (broken china & faded jeans) and spritzed lightly with water. The embossed snow drifts are on foam adhesive pads for dimension and are topped with diamond stickles. I coloured the car and tree with ProMarkers & watercolour pencils and coated the car with Glossy Accents. It’s questionable whether anyone would be going through snow drifts with a fully decorated Christmas tree on top of their car, but that’s one of the great things about card making, anything is possible, lol! The sentiment is stamped with barn door distress ink.

I’m submitting the card into Lily Pad Cards Bling Challenge
Related Posts with Thumbnails