Showing posts with label Be Happy. Show all posts

Wednesday, September 30, 2015

Beauty Spot Bee

Over at the Hero Arts group on Flickr, Martha is hosting a fun 90 minute scramble over a 24 hour period. Her theme is to make a project in grey, black, white and use a small pop of one colour.

With this theme I decided to use a cute little bee image from Hero Arts, have yellow as my pop of colour and use hexagons wherever I could. To start with I clear embossed the hexagon background on a panel of grey pearlescent card. Then I die cut a hexagon from white card and die cut a black hexagon frame. After stamping the sentiment, I adhered the frame onto the white hexagon with foam pads and also use foam pads to attach the piece to the background.


Stamps (Hero Arts) - Hexagon Background, Be Happy & Everyday Sayings

Then it was time to make the little bee. I black embossed the bee twice and coloured the images. After cutting out the bee and the bee's head from the second image, I used foam pads to layer the head for some extra dimension. In my haste to meet the scramble deadline, a stray speck of embossing powder ended up on the bee's face, so she's ended up with a beauty spot;) To finish I added some diamond stickles to the wings. I'm submitting this card into Simon Says Stamp's Anything Goes Challenge.


I'm happy to say we're having an Indian summer here this week and it's great to get out on walks and enjoy the pretty autumn colours that are starting to appear on the trees. Hope you're enjoying beautiful weather too wherever you are.


Thursday, June 11, 2015

Making Roses out of the Messy Bits

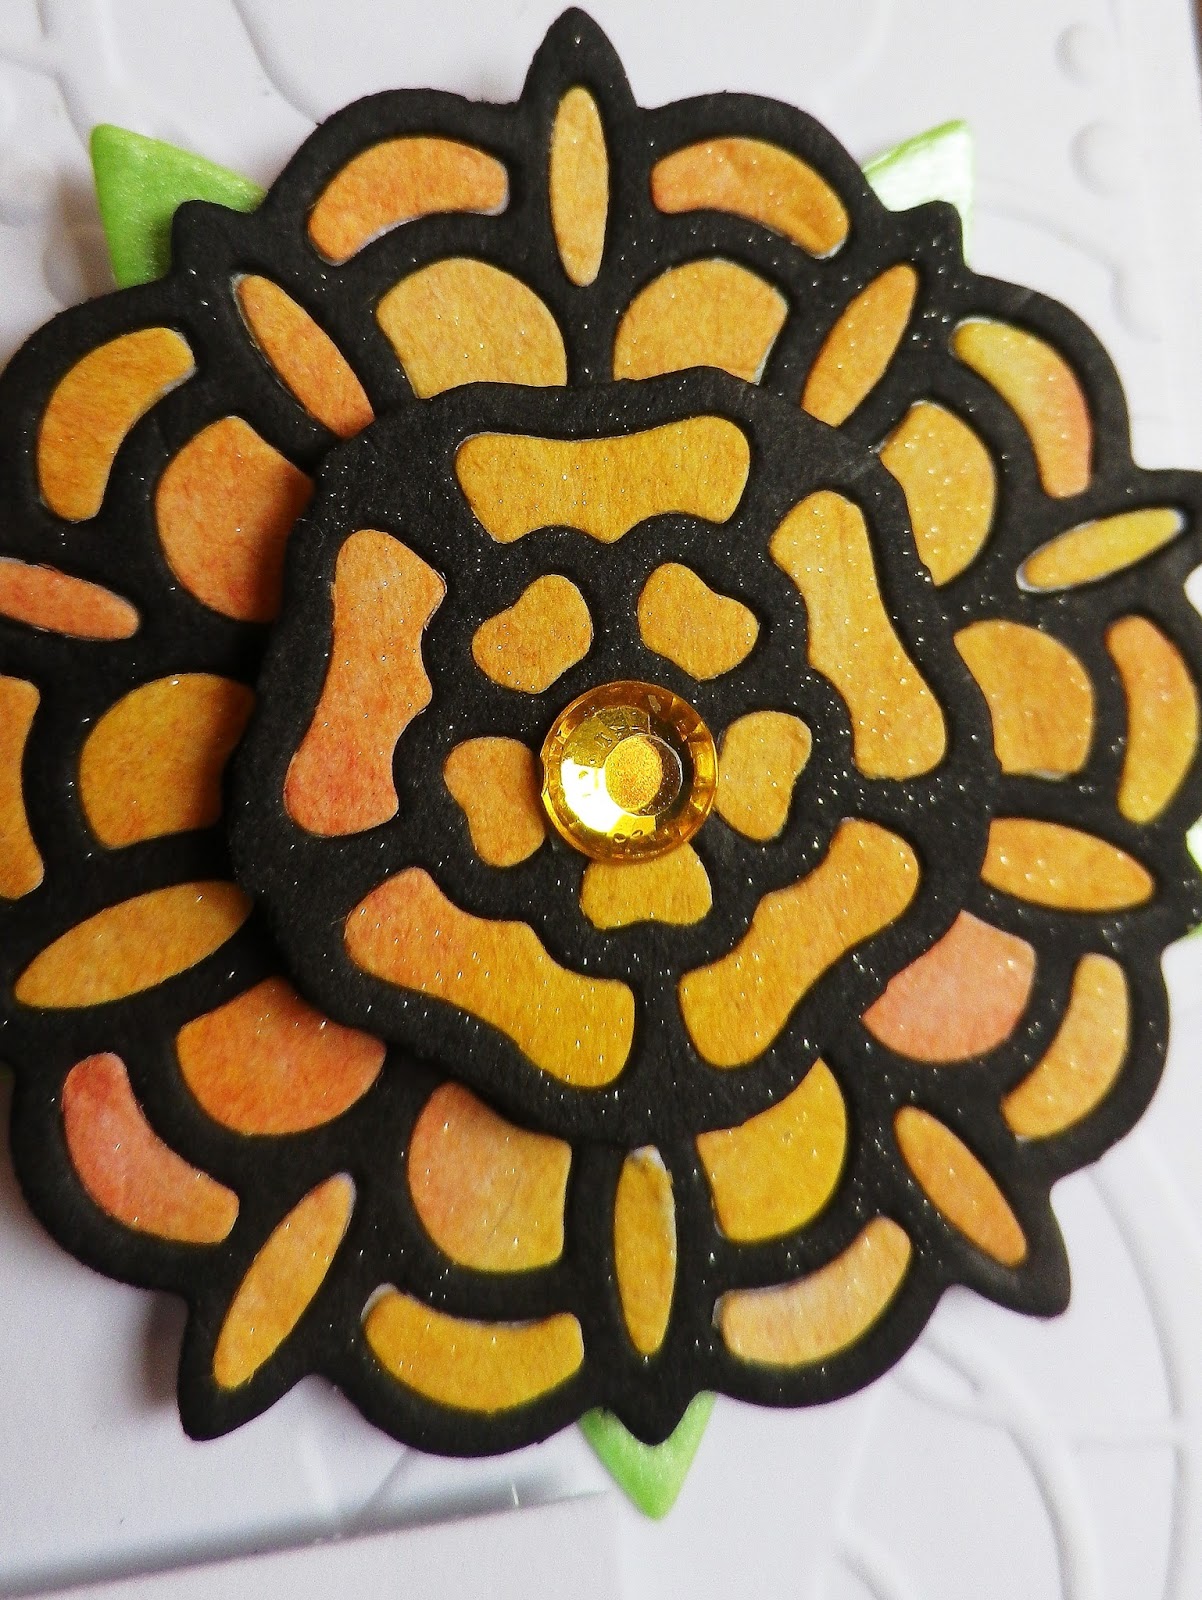
Recently I bought a beautiful set of Spellbinders dies called Tudor Rose and used a couple of the dies on a card, gift bag and set of cards for a friend's upcoming birthday.

I have lots of what you could charitably call experimental pieces but in reality they are messed up inked or painted backgrounds that didn't work out and could never use in solid pieces!


Anyway over the years I've found that these kind of yucky panels can look okay if used in smaller amounts rather than in big solid pieces. Because of this I never dump my inking disasters as they'll always get used up in some way.

For the flowers I used the die cut inlay technique which I always enjoy. This is the card I made for my friend

Die - Tudor Rose (Spellbinders)
Stamps (Hero Arts) - It's Your Day & Be Happy


and this is the matching gift bag.

Dies - Tudor Rose (Spellbinders) & Goodie Bag (Lawn Fawn)
Embossing Folder - Textile Texture (Cuttlebug)


Since I was enjoying making the flowers and clearing out some of my messy pieces, I continued making flowers and put together a little set of cards to include with my friend's birthday pressie.


Die - Tudor Rose (Spellbinders)
Stamp - Making the World a Better Place (Hero Arts)


Die - Tudor Rose (Spellbinders)
Stamp - It's Your Day (Hero Arts)


Die - Tudor Rose (Spellbinders)
Stamp - Everyday Sayings (Hero Arts)
Embossing Folder - Butterfly Corner (Darice)


Die - Tudor Rose (Spellbinders)
Stamp - Everyday Sayings (Hero Arts)
Embossing Folder - Butterfly Corner (Darice)


It's hard to see in the photos above, but each flower is layered in the centre and I've applied Wink of Stella (love that stuff!) on the flowers for some lovely shimmer.


I'm submitting these cards and gift bag into Simon Says Stamp Friends or Superhero Challenge.


Sunday, August 24, 2014

Adam's First Challenges

My twelve year old son Adam was very excited when he heard about Simon Says Stamp's Summer Vacation Kid’s Challenge and this morning decided to make a card before his breakfast.


It took him a bit longer than he thought it would to make the card (lol that happens to me all the time too!) but he just wouldn't take a break for breakfast until he was finished. Well first off he rummaged through my stamps to find all the images he liked and then he drew a rough idea of what he wanted to do.


He particularly loved using the Big Shot and was delighted with how quickly he could cut a strip of grass with it.

Die - Grassy Border (Lawn Fawn)

Something else he really enjoyed was doing the colouring on the dog and ice cream. His first practice stamping is on the piece of scrap paper underneath.

Stamp - Critters at the Dog Park (Lawn Fawn)

Stamp - Fantastic Birthday (Hero Arts)

Here he is sticking the last stamped piece to his card and the final touch was when he added sprinkles to the ice cream.


The bonus was eating the extra sprinkles that he had "accidentally" poured out for the top of the ice cream;)


So here's the end result of all his hard work, fueled only be some sprinkles:)

Stamps - Hero Arts (Be Happy, Picnic & Fantastic Birthday) & Lawn Fawn (Critters at the Dog Park)

I just love Adam's card and all the fun he had from start to finish making it. The super happy dog with the best ever treat in his bowl and the sun with the happy face and sunglasses make me smile every time I look at this card:):) Hope you enjoy it too!

As Adam added texture to his card by using sprinkles he's also submitting his card into Lawnscaping's Texture Challenge.

Thursday, July 24, 2014

ATC Trade with Jutta

Recently for an ATC swap over at the Hero Arts Group on Flickr I made a couple of ATCs and ATC backgrounds to swap with Jutta.

Jutta picked a theme (shabby chic or vintage collage), I picked a theme (favourites) and we were to make a background for the other to complete. I ended up making two backgrounds and was undecided about which one I should send to Jutta, so ended up sending both.

For the shabby chic ATC I embossed the image on cream card and applied a mix of distress inks (shabby shutters, broken china and tumbled glass). Then I embossed the butterfly on cream card and applied antique linen distress ink. After that I just added some Hero Arts lace ribbon and lots of pearls to hopefully give the card a shabby chic look.

Stamp (Hero Arts) - Greetings

Next up was the favourites theme and I had fun with some fabric from my stash and sticky back canvas that my friend Linda gave me - thanks again, Linda:) I stamped the Old Letter Writing on Fabric and after stamping the flower on sticky back canvas coloured it and cut it out. To add a little more texture, I lightly frayed the edges of the image. Some stickles and a gem were added to the flower centre. The sentiment was also stamped on sticky back canvas - love that stuff!


Stamps (Hero Arts) - Old Letter Writing, Flower Text and Be Happy

Next up are the two backgrounds I made for Jutta to complete. For the first one I again used some fabric (which I think in real life looks nicer than in the photo!) and embossed the flowers in copper.


Stamp (Hero Arts) - Exotic Bloom

For the second background I used a gorgeous set called Together that Laura had sent me as part of her scramble prize - thanks again, Laura:) I applied distress inks (broken china, faded denim and dusty concord) to white card and spritzed with water. After the background was dry I stamped a couple of images from the set.


Stamp set (Hero Arts) - Together

Jutta sent me this fabulous set of ATCs using a wonderful mix of images. Thanks again for swapping with me, Jutta:)

Thursday, July 10, 2014

Butterfly Hello

I enjoyed making this shaker card the other day so wanted to make another one today using a pretty Memory Box die (thanks again, Linda!) and a couple of Hero Arts stamps.


Die - Isabella Butterfly (Memory Box)
Stamps - Be Happy & Messages With Flourish (Hero Arts)


I started by making a black card and embossing the sentiment. After cutting the butterflies out of a panel, I layered a strip of acetate to the back of the panel and partially adhered the butterflies' bodies. A coat of glossy accents was applied to the bodies and the stamped butterfly trails were added.

To make the colourful backs for the butterflies, I applied various distress inks (broken china, tumbled glass, mowed lawn, shabby shutters, spiced marmalade, worn lipstick and spun sugar) to white card and splattered/spritzed the card with water. Clear glass beads were trapped between the acetate and backing layer. After adding the panel to the card, I adhered strips of baker's twine to the sides.


I'm submitting this card into Simon Says Stamp Let's Be Clear Challenge ( I used clear beads, acetate, glossy accents and clear stamps) and Virginia's View Die Cut Challenge.

Monday, June 23, 2014

Turning Snowflakes into Flowers and a Bit of Blarney

In this post I used the pretty Simon Says Stamp Kate Snowflake die to make a border and today pulled out another very pretty snowflake die from Simon Says Stamp called the Eliza Snowflake, to see what non Christmassy thing I could make with it.

IMGP3239

Die (Simon Says Stamp) - Eliza Snowflake, Stamp (Hero Arts) - Be Happy


I thought I'd try to make some flowers this time and cut out the bits and pieces I needed from Studio Calico (Snippets) patterned papers.


After die cutting, I trimmed away the pieces I didn't need and layered two pieces to form a flower.


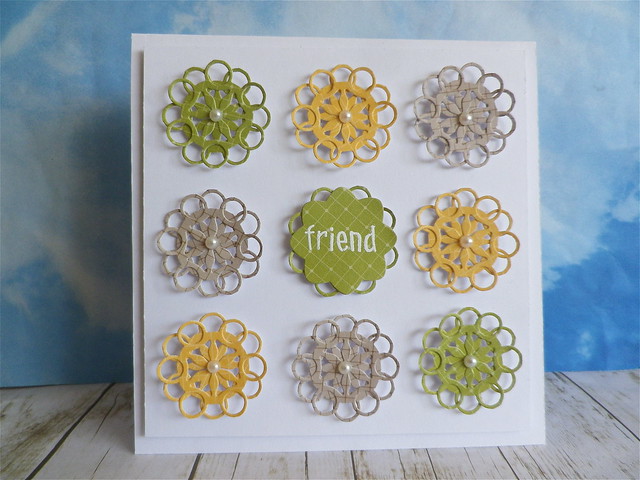
To finish the flowers I added a little pearl to the centres. The sentiment was embossed on another die cut (Dahlia Nestabilities) and I stuck little pieces, from the snowflake die cut, to the back so that rings peek out between each petal.

I'm submitting this card into Simon Says Stamp Work It Wednesday Challenge and Simon Says Stamp You Gotta Have Friends Challenge

The past few weeks have been busy, busy here so I'm only getting around to posting some more photos of the little trip Linda and I did around the place. Next stop is Blarney Castle.

A beautiful walk, by a little stream, leads to the castle. It was lovely to hear the babbling sounds of the stream and all the birdsong as we made our way to the castle. We were blessed with the weather that morning, it was absolutely glorious.


Both of us skipped kissing the Blarney Stone. I have to say with my head for heights, dangling backwards out over a castle wall doesn't really appeal to me! But in this photo you can see a lady (beside the man in the red jacket) who is just about lean out and go for it - better her than me:)


I enjoyed the views instead and will just have to do without the gift of eloquence!


After visiting the castle we had a lovely stroll around the grounds. There was a fascinating poison garden beside the castle, but I must have been so intrigued with it I forgot to take any photos! I loved the fern garden which has some of the biggest ferns I've ever seen.


Winding through the walks we could tell the wild garlic was in full bloom - the faint smell of garlic wafting in the breeze was lovely.


Blarney House wasn't open when we visited but I enjoyed seeing it again and....


...spotting the wonderful features like this water spout.


We couldn't have picked a better time of the year for our visit with the bluebells and rhododendron in full bloom.


Hope you enjoyed the little bit of Blarney:)


Thursday, March 13, 2014

Lil Hoot Birthdays

If you've visited here before you may have noticed that I'm mad about the cute little critters from Hero Arts Lil Hoot set. I don't think they've spent a lot of time in their package since they popped through the letterbox!

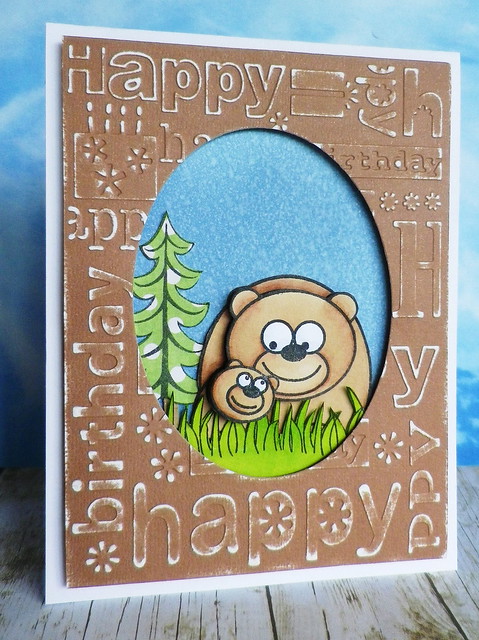
Anyway today I pulled out the owls and bears again to make a couple of birthday cards. On the first card I started by cutting a window in a panel of Core'dinations card, embossed it and did a bit of sanding. For the sky I applied distress inks (tumbled glass and faded jeans) onto white card and spritzed with water.

Happy Birthday Bears

Stamps (Hero Arts) - Lil Hoot, Christmas Reindeer & Be Happy

The bears were coloured with ProMarkers and layered for some dimension. After stamping and cutting out the grass I coloured it with ProMarkers and mowed lawn distress ink.

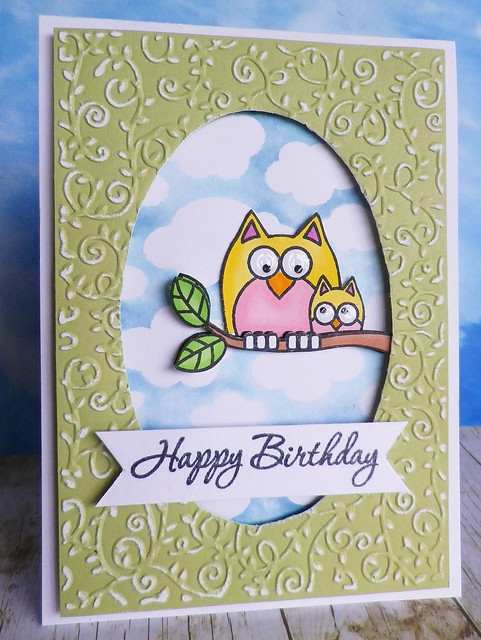
Next up are the owls. Again I die cut, embossed and sanded a panel of Core'dinations card. For the sky I applied distress inks (tumbled glass and faded jeans) to the clouds background, spritzed with water and stamped on white card.

Happy Birthday Owls

Stamps (Hero Arts) - Lil Hoot, Clouds Background & It's Your Day

The owls were coloured with ProMarkers and to finish I added glossy accents to the eyes.

I'm submitting the cards into Hero Arts' Birthday Challenge (kids catagory).

Sunday, January 19, 2014

Happy Birthday Bear

I had a birthday card to make and pulled out the cute new Lil Hoot set from Hero Arts for it - love all the adorable critters in this set!

IMGP2387

Stamps (Hero Arts) - Lil Hoot, Friendly Flags & Be Happy

I started by inking a panel of white card with faded jeans and tumbled glass distress inks and splashed some water on it. My good friend Linda sent me the gorgeous die cut tree trunks (thanks again, Linda!) and I applied some antique linen distress ink to them before adhering them to the card with foam pads. Scraps of green card were used for the background and grass. I embossed the flags and placed them on a piece of baker's twine which had been strung through the trees. It's hard to tell from the photo, but for some dimension, the big bear's head has been layered once and the little bear's head twice.

IMGP2400

I'm submitting this card into A Blog Named Hero's New Year, New Stash Challenge, Simon Says Stamp's Emboss It Challenge and Paper Crafts and Scrapbooking January Gallery Challenge.

Hope you're having a great weekend! We're enjoying a lovely sunny but cool day:)


Thursday, March 21, 2013

ATCs Swapped with Libby

Last week I blogged about the fabulous ATCs I received from Libby in a swap organised over at the Hero Arts Flickr Group. Now Libby has finally received the ATCs I sent her. Unfortunately, this set was made in bit of a hurry as I mislaid the set I had originally made for Libby, so please ignore the dodgy bits on the ATCs! Libby came up with the great idea of making the ATCs based on what we love, so here are some of the things I love:

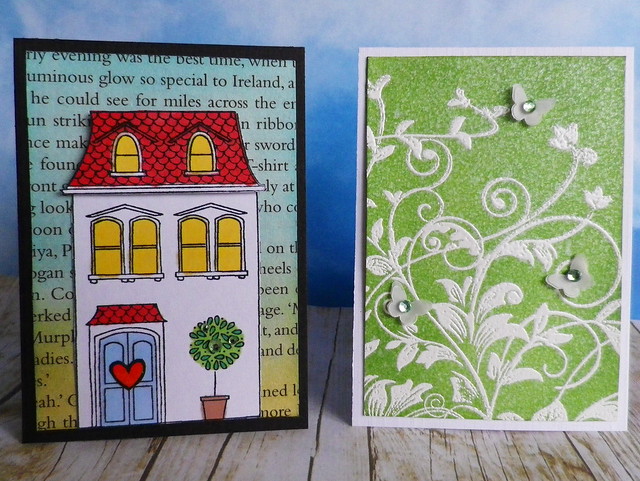
1. Family and home & 2. Gardening and butterflies
ATC Swap With Libby 5 & 6

Stamps (Hero Arts) 1. House with Plant & Right at Home 2. Leafy Vines

On the first ATC I just applied distress inks to a piece of paper from a book and coloured the house with markers. For the second one I embossed the vines, applied mowed lawn distress ink and spritzed with a mix of perfect pearls and water. The tiny layered butterflies were punched out.

3. Sewing/fabric & 4. Ireland

ATC Swap With Libby 3 & 4

Stamps (Hero Arts) 3. Sew Artsy & Be Happy 4. Postcard Collage

For the sewing ATC I embossed the machine, cut out the image and added some thread. Then I frayed some fabric for the background, stamped the sentiment and hand stitched over it. On the Ireland ATC I just stamped the map on some kraft card, distressed the edges and used markers to colour the map of Ireland.

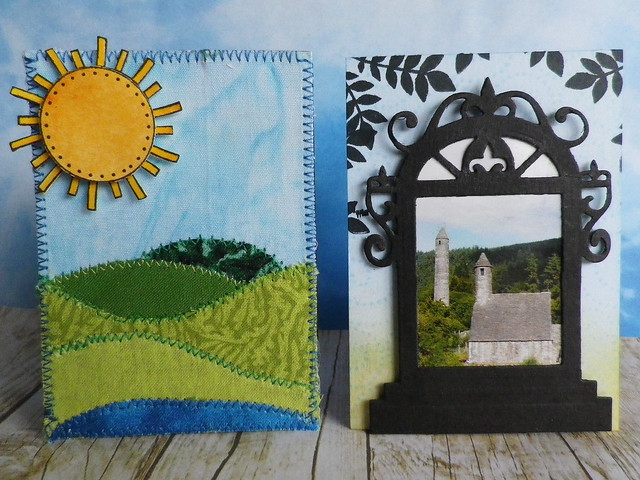
5. Hillwalking & 6. Glendalough/historical places

ATC Swap With Libby 1 & 2

Stamps (Hero Arts) 5. Be Happy 6. Scattered Leaves & Magical Background

On the hillwalking card I rummaged through my fabrics for a mix of colours, shades and patterns and tried to make a background that looked like a lake and mountains. The sun was stamped on card with distress ink applied. Then on my last ATC I framed a photo from Glendalough in a die cut window and added it to a background which had been covered with distress ink and stamped with the Magical Background and leaves.

I had so much fun making these little cards and really enjoyed my swap with Libby.


Related Posts with Thumbnails