Hero Arts' fun
Makeover Challenge gives us a chance to makeover old projects. I definitely have plenty that could do with changes but picked two butterfly cards for makeovers today.
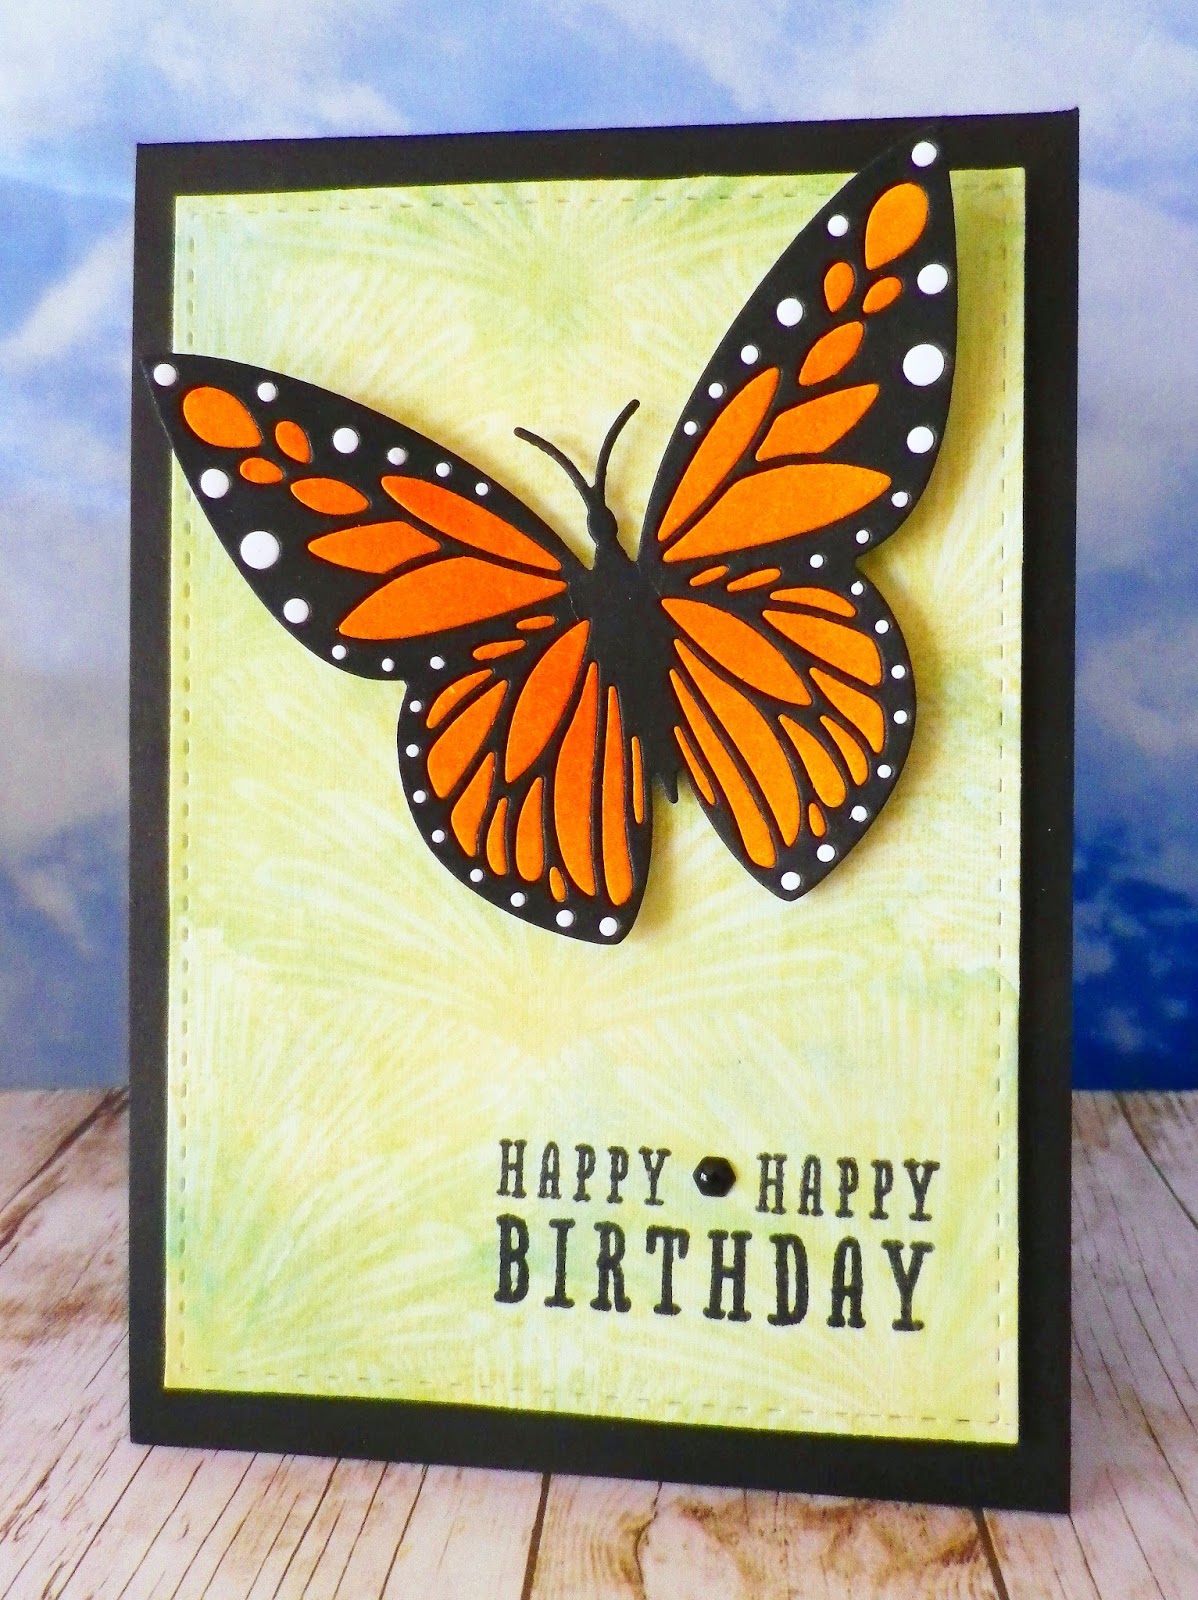
The first card I picked is
this one.
I wanted to make a butterfly in the same colours using the same inlay technique but changed the background and used less enamel hexagons. For the background I light applied distress inks (broken china, tumbled glass & shabby shutters) onto white card. Then I inked the background stamp with shabby shutters distress ink, spritzed with water and stamped on the panel. After stamping the sentiment I added one little enamel hexagon to finish.
Stamps (Hero Arts) - Tropical Background & Fantastic Birthday
Dies - Butterfly (Hero Arts) & Bundle of Stitched Shapes (Simon Says Stamp)
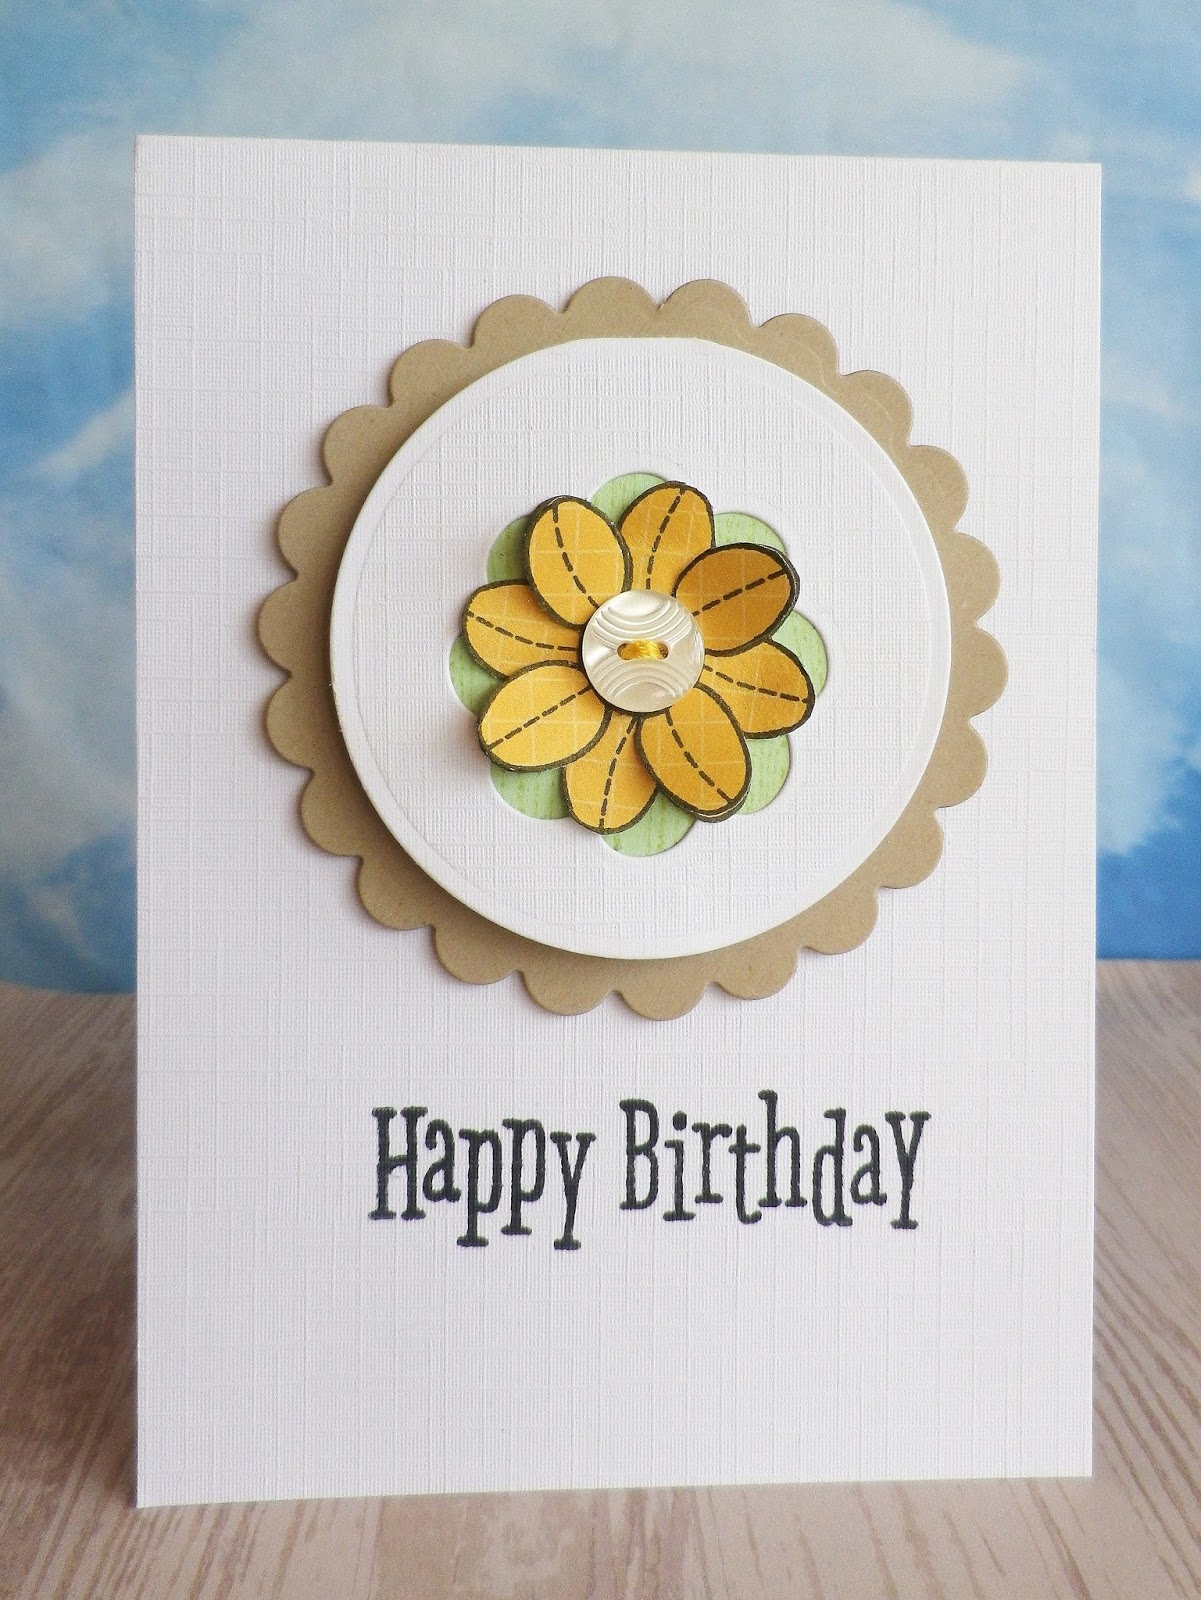
Next in line for a makeover was
this card.
With this one I wanted to reverse the colours and add even more sparkle to the butterfly. I inked up the background stamp by dragging Hero Arts' mint julep to emerald green
ombré ink pad across and down it. Then I stamped the image on a panel of white card and applied peacock feathers distress ink. Once the panel was dry, I embossed the sentiment.
Stamps (Hero Arts) - Tropical Background & Celebrate Everyday
Dies - Butterfly (Hero Arts) & Bundle of Stitched Shapes (Simon Says Stamp)
Next it was time to do a bit of recycling to make the sparkly butterfly. I die cut the butterfly from a piece of white glitter card I had saved from a Christmas card. The butterfly was backed with glittered tulle taken from a mini bag I had received a pressie in. After adding a few gems to the butterfly's body, it was adhered to the card with foam pads and I added some sequins to finish.
Have you seen
Hero Arts' new website? It looks wonderful, has a fantastic ideas area filled with inspiration and of course there are so many tempting goodies in the
shop. I couldn't resist ordering lots of new stamps and dies the other day and thanks to Hero Arts' super speedy service they are already winging their way to me - can't wait!