Showing posts with label distress inks. Show all posts

Friday, April 2, 2021

An Easter Card on Good Friday

I've used Simon Says Stamp's pretty Outline Floral Cross die on quite a few Communion and Confirmation cards, but for my first time I'm using it on an Easter card.

To start with I used distress inks and water spritzing to make a rainbow panel, or I should say three rainbow panels on different cardstocks with differing results. After that I die cut the cross and decided which background it looked best against. The cross was adhered to the panel with foam pads and I added a Hero Arts flower gem to finish. I matted the panel on white card and added it to the card base using foam pads.

Die - Outline Floral Cross (Simon Says Stamp) & Distress Inks (barn door, spiced marmalade, mustard seed, mowed lawn, tumbled glass and dusty concord) - Tim Holtz Ranger

For the inside I stamped the sentiment from Hero Arts' Celebrate Everyday set, die cut it out and matted it on a piece die cut from one of the other rainbow panels.

Stamp - Celebrate Everyday (Hero Arts), Die - Labels 4 (Spellbinders) & Distress Inks (mowed lawn, tumbled glass and dusty concord) - Tim Holtz Ranger

I'm submitting this card into Simon Says Anything Goes Challenge.

Monday, March 22, 2021

Jar of Roses Slimline Card

This month's challenge over at the Die Cut Divas is to make a slimline card. I haven't made many slimline cards so thought I'd challenge myself and give it a go.

Stamps - Everything's Rosy (Sunny Studio Stamps), Bouquet For You (Stampendous), It's Your Birthday (Hero Arts), Embossing Folder - Happy Birthday (Cuttlebug), Dies - Everything's Rosy (Sunny Studio Stamps), Christmas Florals (Precious Marieke)

One of my favourite layering stamp sets is Sunny Studio Stamps' Everything's Rosy set. I love how dimensional and realistic the flowers and leaves images look and it's fun coming up with different ink mixes for them.

I made a cardbase and added an embossed background layered on silver glitter card. Next up I had some fun getting inky to make the flowers and leaves.
I arranged the stamped images and die cut foliage filler pieces on a jar I had coloured with distress inks (tumbled glass, broken china and faded jeans). The stems were coloured using watercolour pencils. To finish I stamped a sentiment from a Hero Arts set on a strip of card and fishtailed one end.

Thursday, November 15, 2018

Glittering Gold

Today I was making a card for a friend who has a heart of gold and thought it would be fun to go with the theme set for Simon Says Stamp's Wednesday Challenge - All That Glitters is Gold.


These are the main supplies I gathered together for the card.


Stamps - Lavender Stamp Set (Power Poppy) & Maple Leaf (Hero Arts)
Embossing folder - Foliage (Darice)
Dies - Circles Nestabilities (Spellbinders) & Stitched Circle Dies (Pink & Main)
Distress Inks - spiced marmalade, mustard seed, barn door & rusty hinge (Tim Holtz Ranger)


I enjoyed getting inky with distress inks to make the leaves.


Originally I bought the Power Poppy set for the pretty lavender images but love the lovely sentiments in the set including this one that I embossed in gold.


On the background I used a Darice embossing folder with some autumnal coloured Core'dinations paper. After the panel was embossed I lightly sanded it and distress the edges slightly.


Friday, April 21, 2017

Rainbow Flower

I love the theme of this week's Wednesday challenge over at Simon Says Stamp - Showers and/or Flowers and had fun today playing along with the challenge. For my card I decided to have silver sequins representing the rain and, as a rainbow is always a great bonus after a shower, made a rainbow background for the card.

Dies - Tudor Rose Collection (Spellbinders), Curvy Leaves (Elizabeth Craft Designs) and Thanks Stamp & Cut (Hero Arts)

I started by applying distress inks (barn door, spiced marmalade, mustard seed, mowed lawn, salty ocean and shaded lilac) to white card, spritzed with water and repeated the process. Once I was happy with the background I matted it top and bottom with black card and adhered it to a white card base. As the background was so colourful I decided to die cut my flowers and leaves from white card. When the flowers were layered, I added a silver sequin to the flower centre.


The sentiment was die cut twice from black card and layered for some dimension. A sprinkling of silver sequins finished the card.

Sunday, April 16, 2017

Happy Easter

Happy Easter! My good friend Linda sent me lots of die cuts and stamped images from Hero Arts' super cute March kit - thanks again, Linda:) I had lots of fun using some of them to make an Easter card for Linda.

I started by adhering the die cut drills and fence to the card base. The sentiment was stamped using mowed lawn distress ink. I used Promarkers to colour the bunny and carrots and added them to the scene.


Supplies - My Monthy Hero March 2017 kit & Celebrate Everyday (Hero Arts)

As this bunny is no ordinary bunny, he is also cultivating some glittery Easter eggs in his garden:)


I'm off now to enjoy my Easter eggs and bunny, including a beautiful dyed egg given to me by a sweet lady in my neighbourhood who hails from Romania and a delicious locally made Lily O'Brien's egg. Hope you have a wonderful Easter!

Friday, January 13, 2017

January Noel

I don't usually make New Year's resolutions (as I inevitably break them!) but I do hope this year to make more Christmas cards than usual throughout the year. So if you don't like seeing Christmas cards in January it might be an idea to look away now:)

The Merry Monday Challenge Blog is always a great place to find a theme and inspiration for Christmas cards. This week's challenge is to have the word "Noel" and/or a Scandinavian feel to the card. I decided to go with a red and white colour combination and add texture with an embossing folder that has a cosy knitted look.


Die - Christmas Tree (Docrafts)
Embossing Folder - Cable Knit Pattern (Docrafts)


I started by embossing a card panel and added it to the card base using foam pads. Next I die cut the Christmas tree three times. The top layer was cut from white card and the other layers from red card. I applied barn door distress ink to the white die cut and adhered the trees together. To finish I added a small bow to the tree. An added little bonus is a panel I have from when I applied the distress ink to the die cut and the die cut acted as a mask. I'll make another card from that over the weekend.


Saturday, October 1, 2016

Love Mittens

My Christmas card making ground to a halt in August but thanks to my friend Linda sending me some goodies from Hero Arts new Christmas release I'm getting back into working on my cards again.


Hero Arts' cute Holiday Mittens set reminded me of the long crochet chains my Mam used to make to string through my jackets and attach to my mittens to prevent them being lost. So of course I had to make a card using the pretty mittens from the set.


Stamps (Hero Arts) - Holiday Mittens, Hand Drawn Snowflakes Bold Prints and Holiday Messages and Tags

I started by applying distress inks (broken china and salty ocean) to white card, spritzed with water and stamped the snowflakes in faded denim distress ink. Then I had fun colouring the cute little mittens and added diamond stickles to the centres of the snowflakes for a little sparkle.


Instead of crocheting a chain, I plaited thread and used it to connect the mittens. By using tiny pieces of a glue dot I was able to form and keep a heart shape in the plaited piece. Only 85 days till Christmas - I'll have to get cracking on making more cards!


I'm submitting this card into Simon Says Stamps Anything Goes Challenge.

Monday, August 15, 2016

Inked Embossing Folder Challenge

It's time to set another Christmas card challenge for my friend Linda. This time the challenge is to ink an embossing folder.

This week I needed to make a quick card so inked up the snowflake embossing folder (thanks again, Linda!) with dusty concord and milled lavender distress inks. After spritzing some water on the ink I embossed a panel of white card. Once the ink had dried I added it to the card base with foam pads and added some gems. The sentiment was stamped in dusty concord distress ink.


Embossing folder - Snowflake Set (Hero Arts)
Stamp - Very Merry Christmas (Hero Arts)


There are little splodges of ink on the snowflake which I kind of like as it give the snowflake a bit of a distressed look. On my first attempt at making the panel I definitely went way overboard spritzing water on the ink on the embossing folder which meant the ink ran everywhere, including on the snowflake, when I passed the folder through the Big Shot. Anyway I ended up with a panel I can use on another card.


You should pop over to Linda's blog where you'll find a fun Christmas card challenge again this week.

Sunday, July 31, 2016

It's Purple Really

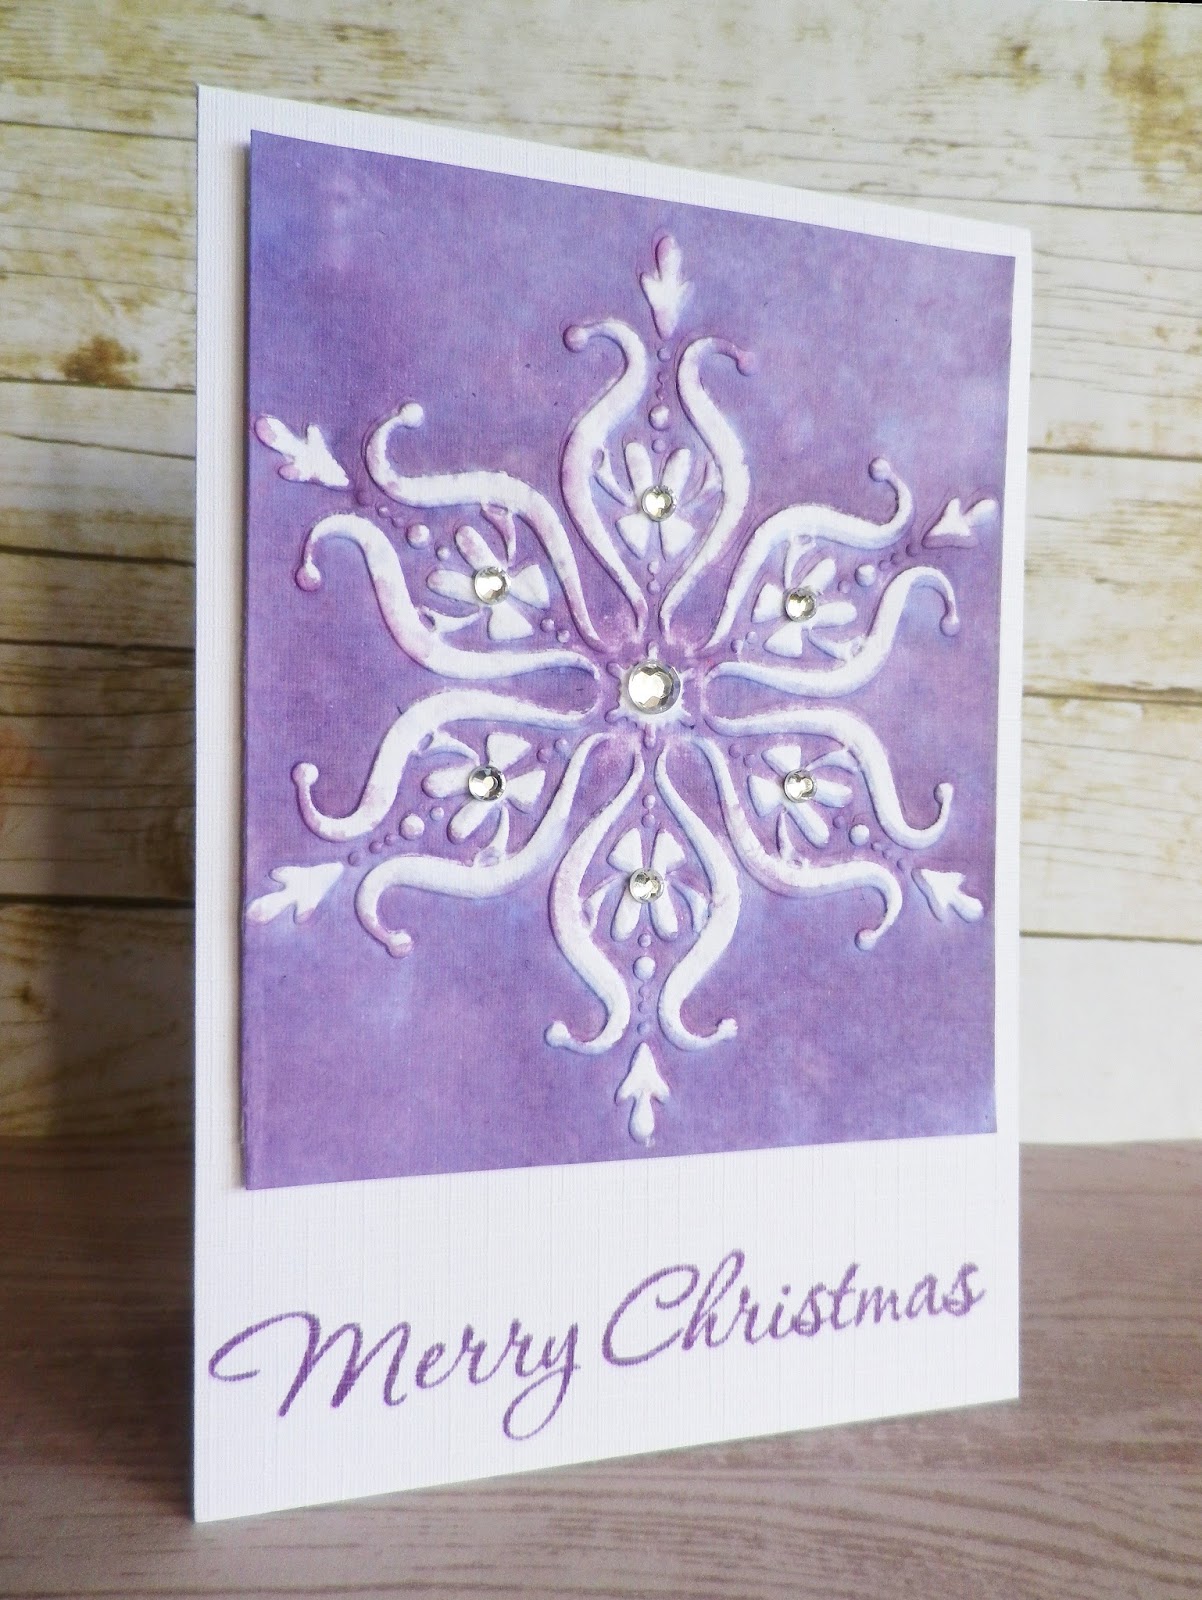
This week my friend Linda challenged me to make a card using the emboss resist technique. It's been a bit of a hectic week so I only got around to making my card today.

I just love this technique - nothing like doing a bit of embossing and then getting inky!


Unfortunately my camera seems to be having a problem distinguishing purple from blue today so even though my card is very purple having used shaded lilac and dusty concord distress inks, my card and tag look more blue in the photos.


I started by clear embossing snowflakes from a number of Hero Arts sets (will add names tomorrow) on white card. After applying the distress inks I sprinkled water on the panel using Tim Holtz's Splatter Brush which Linda recently gave me - thanks again, Linda:) Once the panel was panel was dry I adhered it to a card base, added the embossed sentiment and finished it off with some gems.

I repeated the process on a tag I had die cut.


Another two items ready to go into my stash for Christmas.

Sunday, July 24, 2016

Linda's One Layer Challenge

Earlier in the week my friend Linda set a challenge to make a one layer Christmas card. I rarely make one layer cards but it was fun, and I have to admit a little challenging, to give it a go. Midweek I was in the process of making a card and as there was a lot of colouring left to do on it I brought it into work on Friday to finish it at lunchtime. Then what did I do - left it in work by mistake! So this morning I started again from scratch using the same images but made a less "busy" card which I think I prefer to the one that's still sitting in my drawer in work.

I started by heat embossing the sentiment in gold and then stamped a mix of images on part of the card. After that I used Promarkers to colour the flowers and pine cones. I wish I was brave enough to try a bit of splattering but after dropping an inky block and messing up what was my first attempt at this morning's card, I left the card as it was.


Stamps (Hero Arts) - Color Layering Dimensional Bird, Very Merry Christmas and Build a Wreath by Lia

To finish I just added diamond stickles to the flower centres - hopefully it's okay to do that on one layer cards!


Next up was the matching tag which I think I'll redo as I wrinkled it a bit when trying to flatten it after it got a little warped from heat embossing. Lol it has been a day for stampy mishaps so I think I'll try my hand at something else today!


Stamps (Hero Arts) - Color Layering Dimensional Bird, Very Merry Christmas and Build a Wreath by Lia


Wednesday, July 13, 2016

Linda's Snowflakes and Dry Embossing Challenge

As I'm off work for a few days I was able to get straight into making a Christmas card for the challenge set yesterday by my friend Linda - a card with snowflakes and dry embossing.

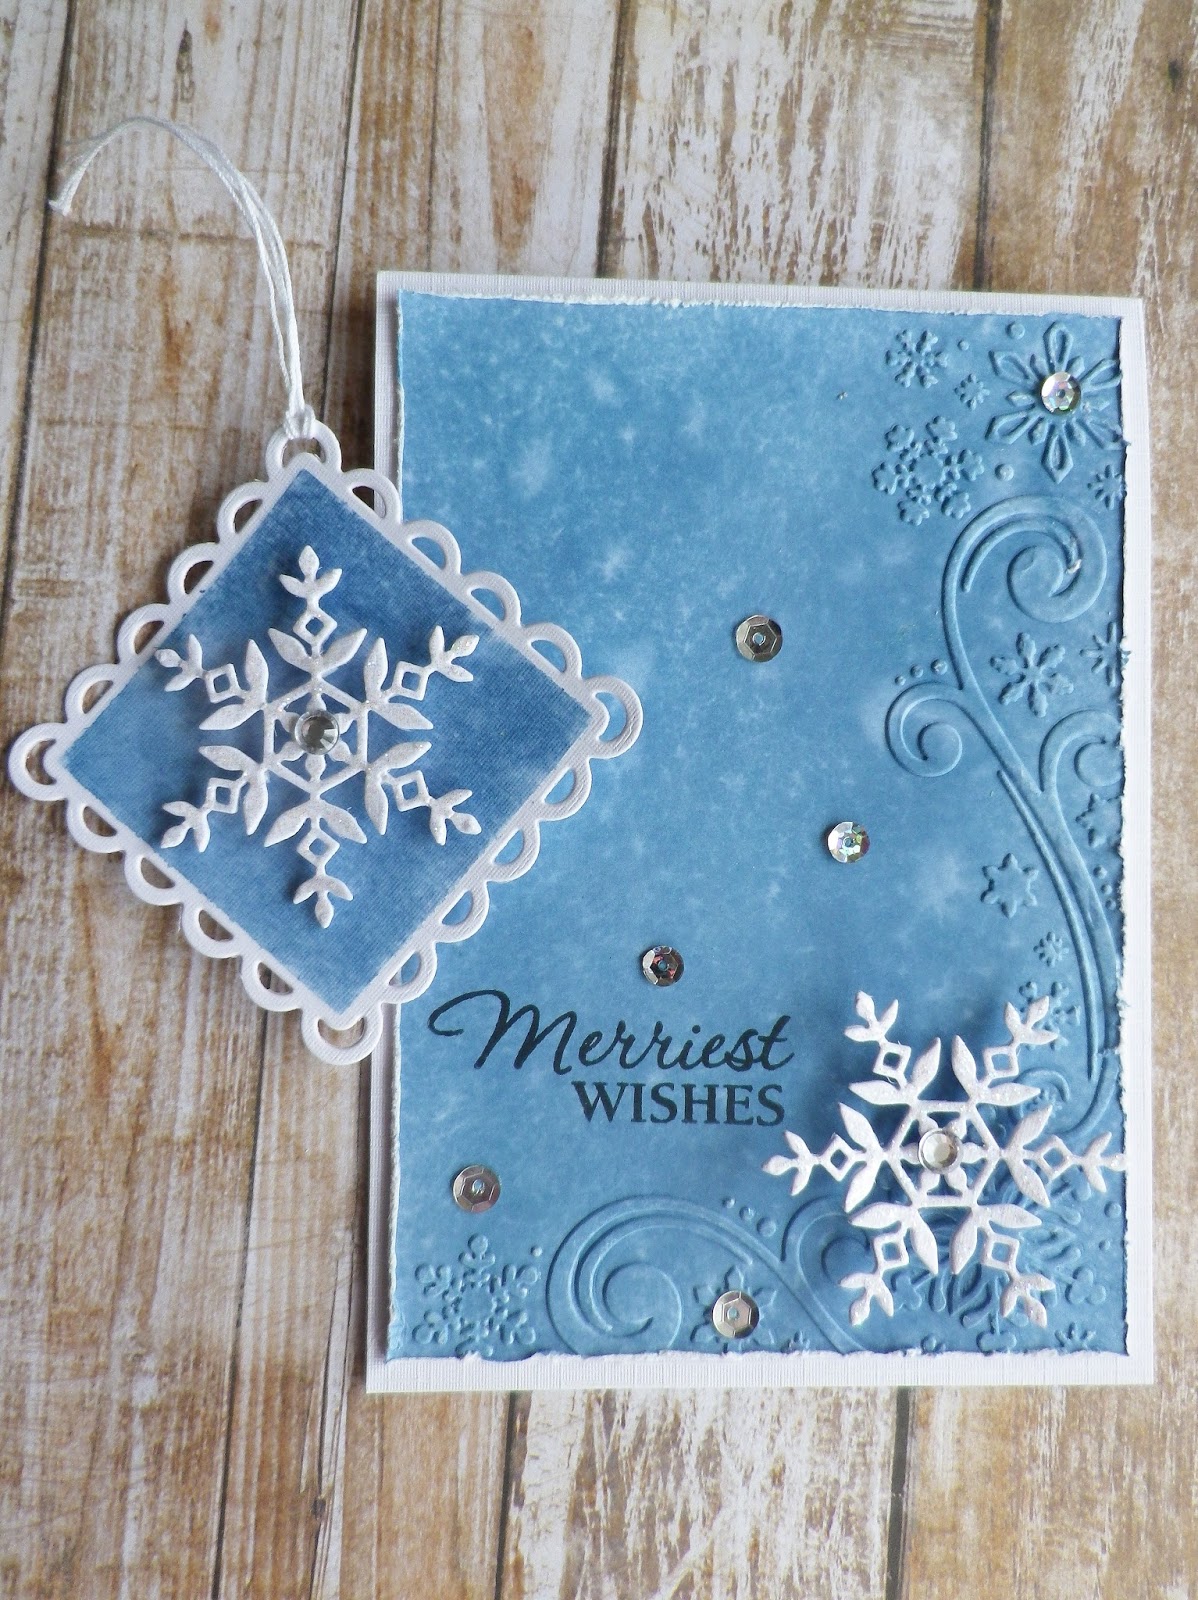
I started by applying distress inks (faded jeans, broken china & tumbled glass) to a piece of white card, spritzed it with water and then embossed it using a gorgeous folder that Linda gave me when we met on holidays recently - thanks again, Linda! The pretty snowflake dies Kristina Werner designed for Simon Says Stamp are my favourites so I just had to add one of them to my card too.


Embossing folder - Snowflake Scroll (Darice)
Die - Kate Snowflake (Simon Says Stamp)
Stamp - Very Merry Christmas (Hero Arts)


The snowflake was die cut from white card and a layer of diamond stickles and a gem applied for some sparkle.


Next up I made a matching gift tag with pretty much the same supplies.


Dies - Kate Snowflake (Simon Says Stamp) & Lacey Squares (Spellbinders)

It's great to have another card and tag to put into my bundle for Christmas. Linda, thanks again for the fun challenge and helping me be better prepared for Christmas this year!

Sunday, January 17, 2016

Ruffled Flowers

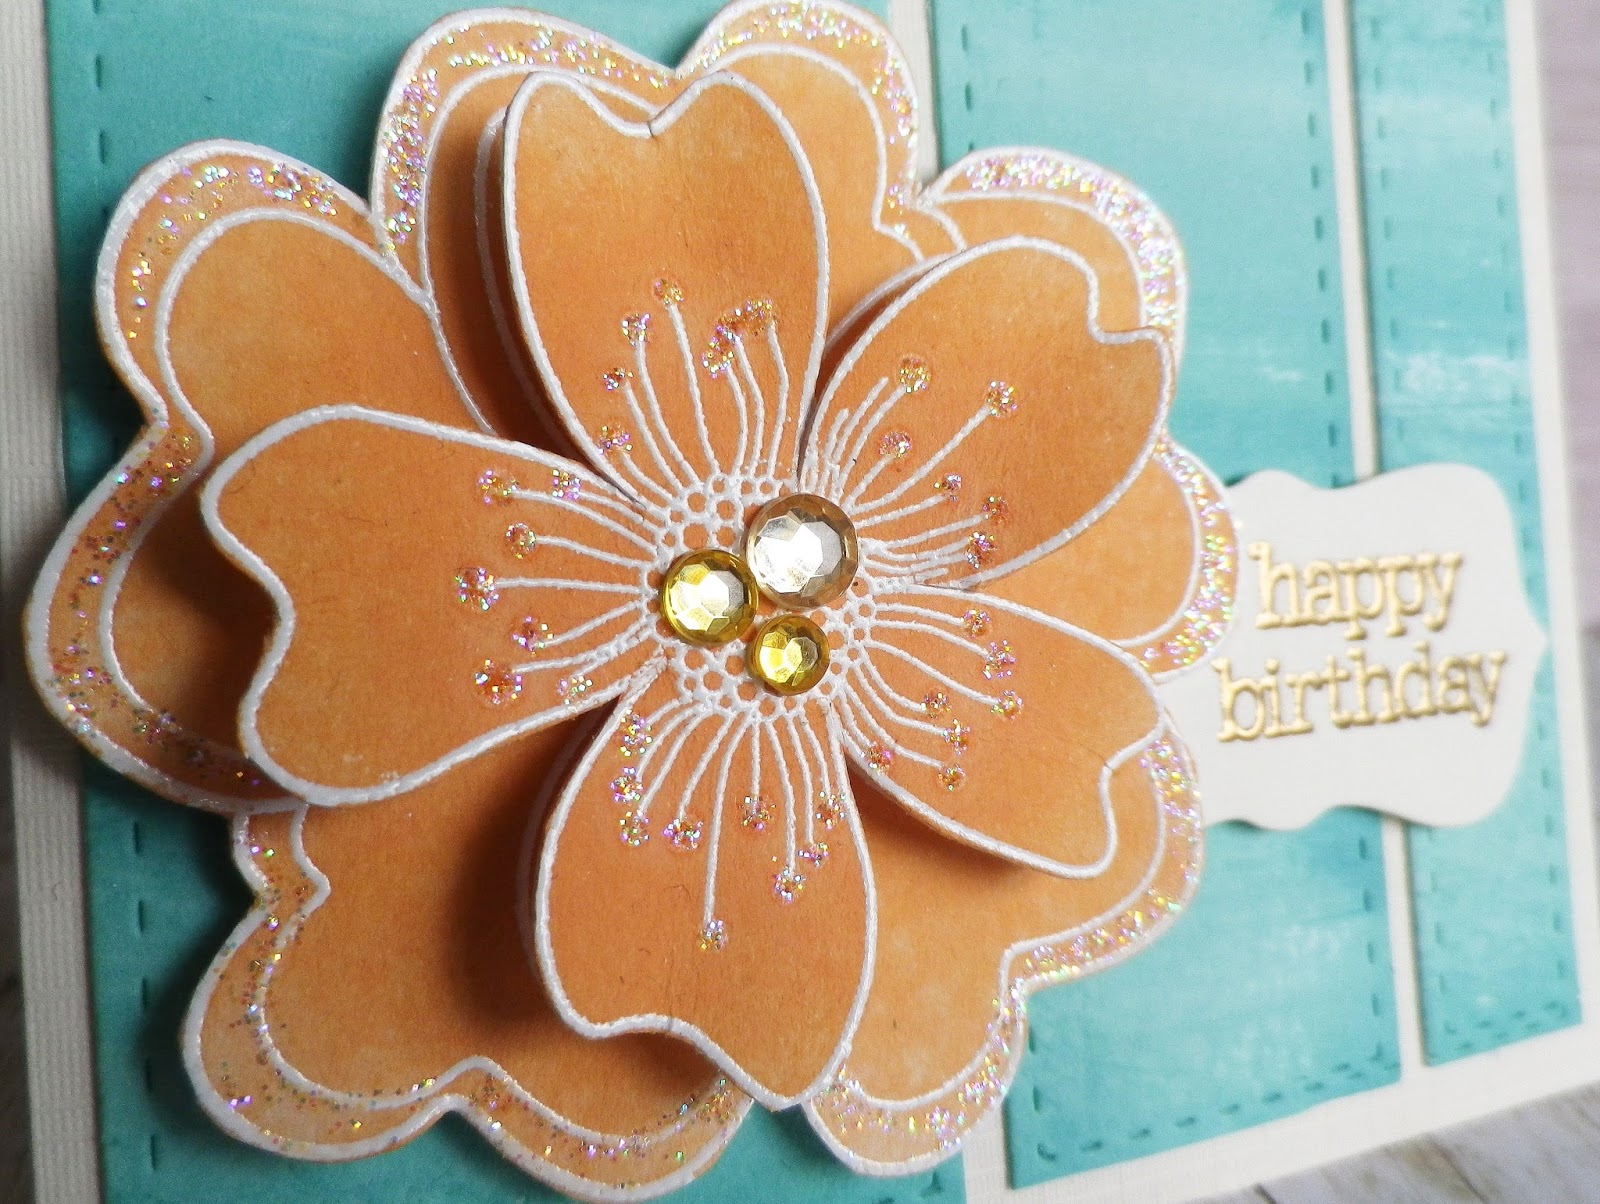
I was sorting out my woodblock stamps and came across a flower I love but haven't used in a while. Since I needed to make a couple of cards I embossed the flowers four times, trimmed them to the sizes I wanted and applied distress inks (dried marigold for the first card and a mix of shabby shutters, salty ocean and tumbled glass for the second one).


Stamps - Ruffled Flower (Hero Arts) & It's Your Day (Hero Arts)
Dies - Bundle of Stitched Shapes (Simon Says Stamp) & Tags and Bookplates (Docrafts)


The background for this card was made by dragging a Hero Arts mint to green ombre ink pad across white card a few times. After cutting the background into panels I used a die from Simon Says Stamp's Bundle of Stitched Shapes to add the stitch lines. The sentiment was embossed in gold on a die cut from Docrafts Tags and Bookplates die set. A little sparkle was added to the flower with diamond stickles and some gems. I'm submitting this card into Simon Says Stamp's Ombre Challenge.


For the next card I used up scraps of silver glitter card I had left over from making Christmas cards. I just cut strips of the card to go behind the flower and used it for the die cut sentiment too.


Stamp - Ruffled Flower (Hero Arts)
Die - Thanks Stamp & Cut (Hero Arts)


A sprinkling of sequins and gems were added for a little sparkle.

Saturday, January 16, 2016

Ombre Butterflies

I love the ombre look on cards, clothes, hair etc. so I wanted to join in on Simon Says Stamp's Ombre Challenge. Anyway I thought I'd use some distress inks to make an ombre background. As I seem to have a lot of blues in my stash (no surprise there!) I used tumbled glass, broken china, faded jeans and salty ocean for this card.


Supplies - It's Your Day (Hero Arts), M-Bossabilities Bricks and Bark (Spellbinders), Isabella & Pippi butterfly dies (Memory Box) and distress inks (Tim Holtz/Ranger)

To start with I die cut a circle from a panel of white card and embossed the panel with the aperture. Then I inked a panel of white card with the distress inks and after stamping the sentiment adhered it to my cardbase. The embossed panel was then adhered to the card. I die cut the butterflies from scraps of white card and pieces leftover from the inked background. To finish I added a gems to the butterflies' bodies.


Making the card was the enjoyable part of the day and now I'm off to do the not so enjoyable bit - washing machine shopping as our current machine has given up the ghost. Exciting shopping here I come!?!

Thursday, October 29, 2015

Merry Christmoose

Yesterday I received some very happy mail thanks to the generosity of my favourite company - Hero Arts. Thanks a million Hero Arts:) I’m so glad I’m off work for most of this week so I can dive in and get inky! I started by making some items for a Scramble I’m hosting in the Hero Arts Flickr group on Saturday, but since the theme is a surprise I can’t post them just yet.

Anyway next up I wanted to use Christmas lights from the new Sparkle Borders set. I always like to make some cute Christmas cards and this time decided to have the funny moose from the Missing You set decorated or decorating for Christmas.


Stamps (Hero Arts) – Sparkle Borders, Missing You, Very Merry Christmas, Christmas Reindeer (snowflake), Polar Set by Lia (snowflake) and Fancy Cut Christmas (snowflake)


After die cutting a circle from a panel of kraft card, I embossed the panel and left it aside. For the background I inked a piece of white card with tumbled glass and salty ocean distress inks. After spritzing it with water and allowing time to dry, I stamped a mix of snowflakes in faded jeans distress ink . I adhered some snow banks onto the panel. These were made by tearing white card and distressing the edges with a scissors. I stamped the moose on white card and drew a line of string for my lights. The smallest light image from the Sparkle Borders set was stamped along the string. After cutting out the moose and lights image I coloured it with Promarkers and added diamond stickles and glossy accents to the lights.


The sentiment was made by combining sentiments from the Very Merry Christmas and Missing You sets.

I’m submitting this card into Merry Monday’s Christmas Lights and Glitter Challenge, Simon Says Stamps’ Anything Goes Challenge and Hero Arts’ Holiday Card Making Challenge.

Monday, October 26, 2015

Poinsettia Wreath

Today we’re going to decorate the house for Halloween and here I am thinking about Christmas again. I still have quite a few Christmas cards to make so hopefully you won’t get sick of my Christmas card posts between now and Christmas!

I wanted to make a wreath for a card and thought the pretty little flower in Hero Arts Color Layering Dimensional Bird set would be perfect for making a poinsettia wreath.


To make the background I embossed a panel of kraft card with the Snowflake Trim embossing folder from Darice and distressed the edges. The sentiment from Hero Arts Polar set by Lia was white embossed. I stuck the tail end of a piece of string to the back of the embossed panel before adhering the panel to the card base with foam pads.


Stamps (Hero Arts) - Color Layering Dimensional Bird and Polar Set by Lia
Embossing Folder (Darice) - Snowflake Trim

Next it was time to make flowers and leaves for the wreath. I stamped the flowers in barn door distress ink and the leaves in mowed lawn distress ink. After cutting out the flowers and leaves I layered the flowers and added gold sequins to the centres. Then I adhered the flowers in a circular shape and added the leaves and string bow to finish.


I’m submitting this card into Hero Arts Holiday Card Making Challenge and Simon Says Stamp Wrap it Up Challenge. Now I'm off to spookify the house:)

Friday, October 23, 2015

Snowflakes Christmas Card Set

This year I seem to be far behind on making Christmas cards compared to other years so I think it's time to start making sets of quick cards to help speed up the process.


Stamp (Hero Arts) - Hand Drawn Snowflakes Bold Prints
Die (Hero Arts) - Fancy Cut Christmas


I can't seem to resist pretty snowflake stamps or dies and this year I'm delighted to have added Hero Arts Hand Drawn Snowflakes Bold Prints to my stash.

Distress inks - shaded lilac, dusty concord & faded jeans

The snowflakes on this stamp are so delicate and gorgeous looking and I also love that the stamp is large (6"x 6") so it's the perfect size for anything I want to make.
Distress inks - tumbled glass, broken china, faded jeans & salty ocean

To make the cards I started by white embossing the snowflakes onto squares of white card. Then I applied distress inks and spritzed with water. As I wanted the snowflakes to be the main feature on the cards, I just added the Christmas sentiments I had die cut using one of the dies from Hero Arts Fancy Cut Christmas .

Distress inks - barn door & spiced marmalade

The sentiments have four layers, the upper layer die cut from either glitter card or plain card which had a coat of diamond stickles applied and the three other layers are die cut from matching plain card. After adhering the embossed panels to card bases, using foam pads, I added some gems to finish.

Distress inks - shabby shutters & mowed lawn

I'm submitting these cards into Hero Arts Holiday Card Making Challenge . This weekend is a bank holiday weekend here so no work or school on Monday. Also the clocks change this weekend, so an extra hour in bed on Sunday or maybe that will be an extra hour of crafting instead! There's lots to look forward to this weekend. Hope you have a great weekend too:)
Related Posts with Thumbnails